This guide describes how to onboard Garo Entity chargers with Tap.
Onboarding in this context means getting the charger communicating with Tap. If you are looking for a complete guide for setting up an account and configuring your locations, see our Quick Start Guide.
To connect Garo Entity, you will need Garo Connect mobile app.
- Open the Garo Connect app.
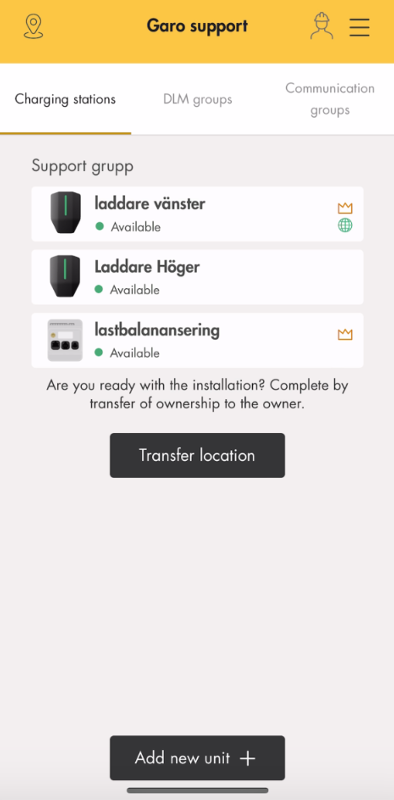
- Select the location you wish to onboard.
You need onboard each master charger at the location. If a master charger has any linked slave units, they will automatically be onboarded.
-
Select the last master charger in the list.
-
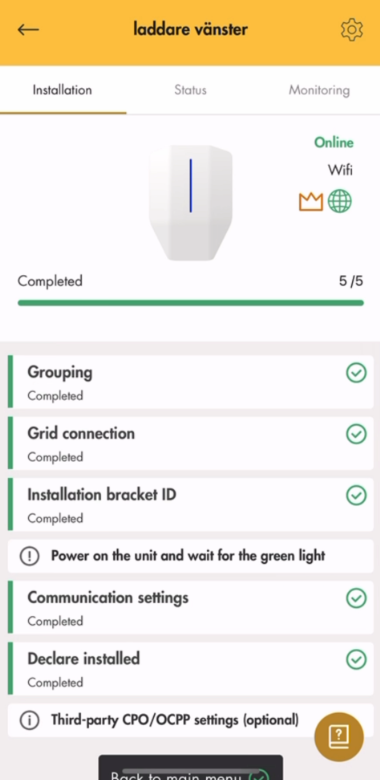
Click on "Third-party CPO/OCPP settings (optional)".
-
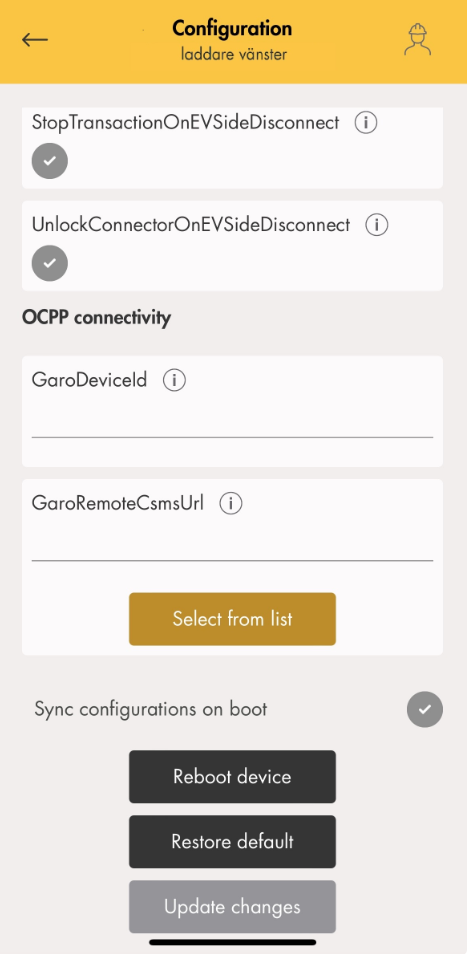
Enter your desired charger name in GaroDeviceId. Copy this as you will need to paste it into Tap.
-
In GaroRemoteCsmsUrl, choose "Select from list". Select Tap Electric.
-
Reboot the charger.
-
Repeat these steps for every master in the list.
-
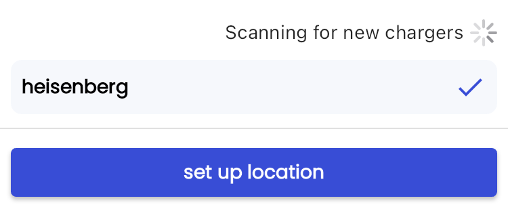
Open the Tap app. Navigate to Locations > connect new charger
-
Select Garo Entity.
-
Select Enter Charger ID.
-
Paste the GaroDeviceId you copied in the Garo app.
-
After a minute the charger should appear in the list and you can proceed with onboarding.