This guide describes how to onboard Blitz chargers with Tap.
Onboarding in this context means getting the charger communicating with Tap. If you are looking for a complete guide for setting up an account and configuring your locations, see our Quick Start Guide.
To connect a Blitz Power charger, you will need to be physically located at the charger with a laptop. You can either connect to the charger using a USB-C cable, or connect the laptop to the internet on the same LAN network as the charger.
- Connect the charger to your laptop with a USB-C cable. If the charger is connected to the internet via LAN, you can alternatively just connect the laptop to the same LAN network.
- Open a web browser on a laptop. Enter the URL: http://ev3000.local:3000
- Login using the following credentials:
Username: operator
Password: blitzoperator91500591
- Select Quick Setup.
- Navigate to Network. The next step depends on whether you are using a wired (LAN) internet connection, or a Tap SIM card.

Wired/LAN Internet Connection
- Select "DHCP". This will automatically fill in IP Address and Subnet Mask.
- Your Gateway is the IP, but with the numbers behind the last period replaced with a 1. For example: if your IP is 192.123.4.56, then your Gateway is 192.123.4.1
Tap SIM Card
- Enter the following details:
SIM Pin: - leave blank -
APN: Tapelectric
- Save the new fields.
-
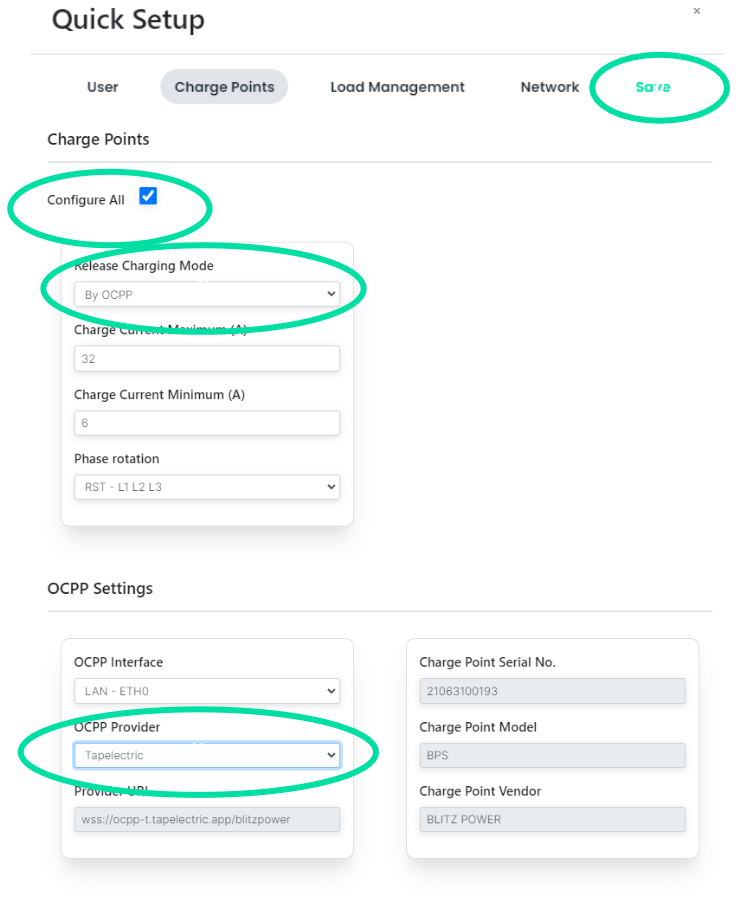
Navigate to Charge Points.
-
Select "Configure All".
-
Set Release Charging Mode to OCPP.
-
Set OCPP Provider to Tap Electric.
-
Copy the Charge Point Serial No., you will need to paste this into Tap.
-
Click Save.
-
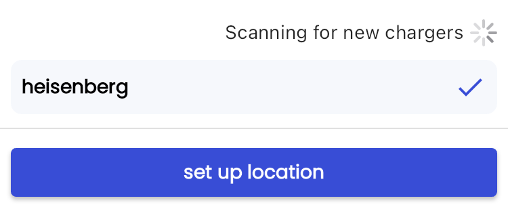
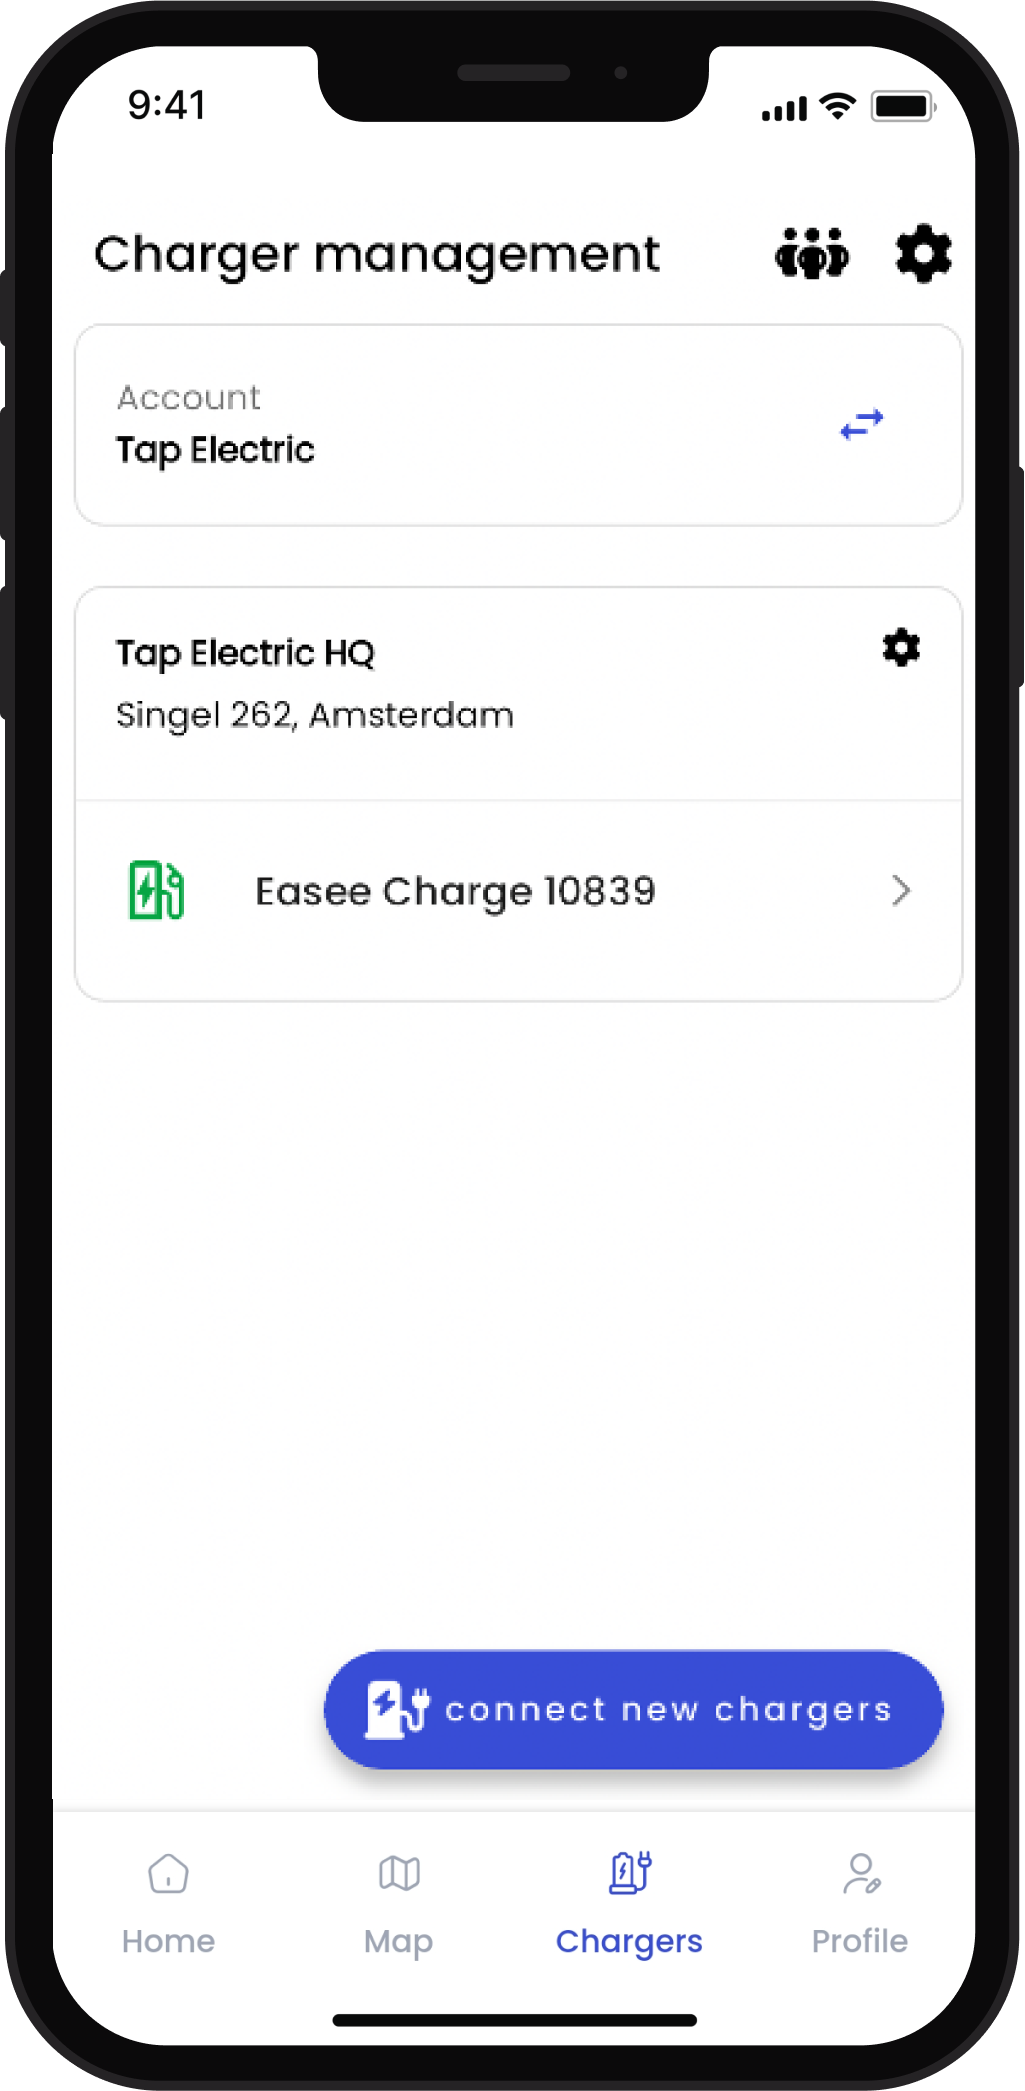
Open the Tap app. Navigate to Locations > connect new charger
-
Select Blitz Power.
-
Select Enter Charger ID.
-
After a minute the charger should appear in the list and you can proceed with onboarding.