This guide describes how to onboard Charge Amps chargers with Tap.
Onboarding in this context means getting the charger communicating with Tap. If you are looking for a complete guide for setting up an account and configuring your locations, see our Quick Start Guide.
To connect Charge Amps chargers to Tap, you will need to be physically located near the charger. You will also need your charger PIN code that can be found in the documentation which came with the packaging.
-
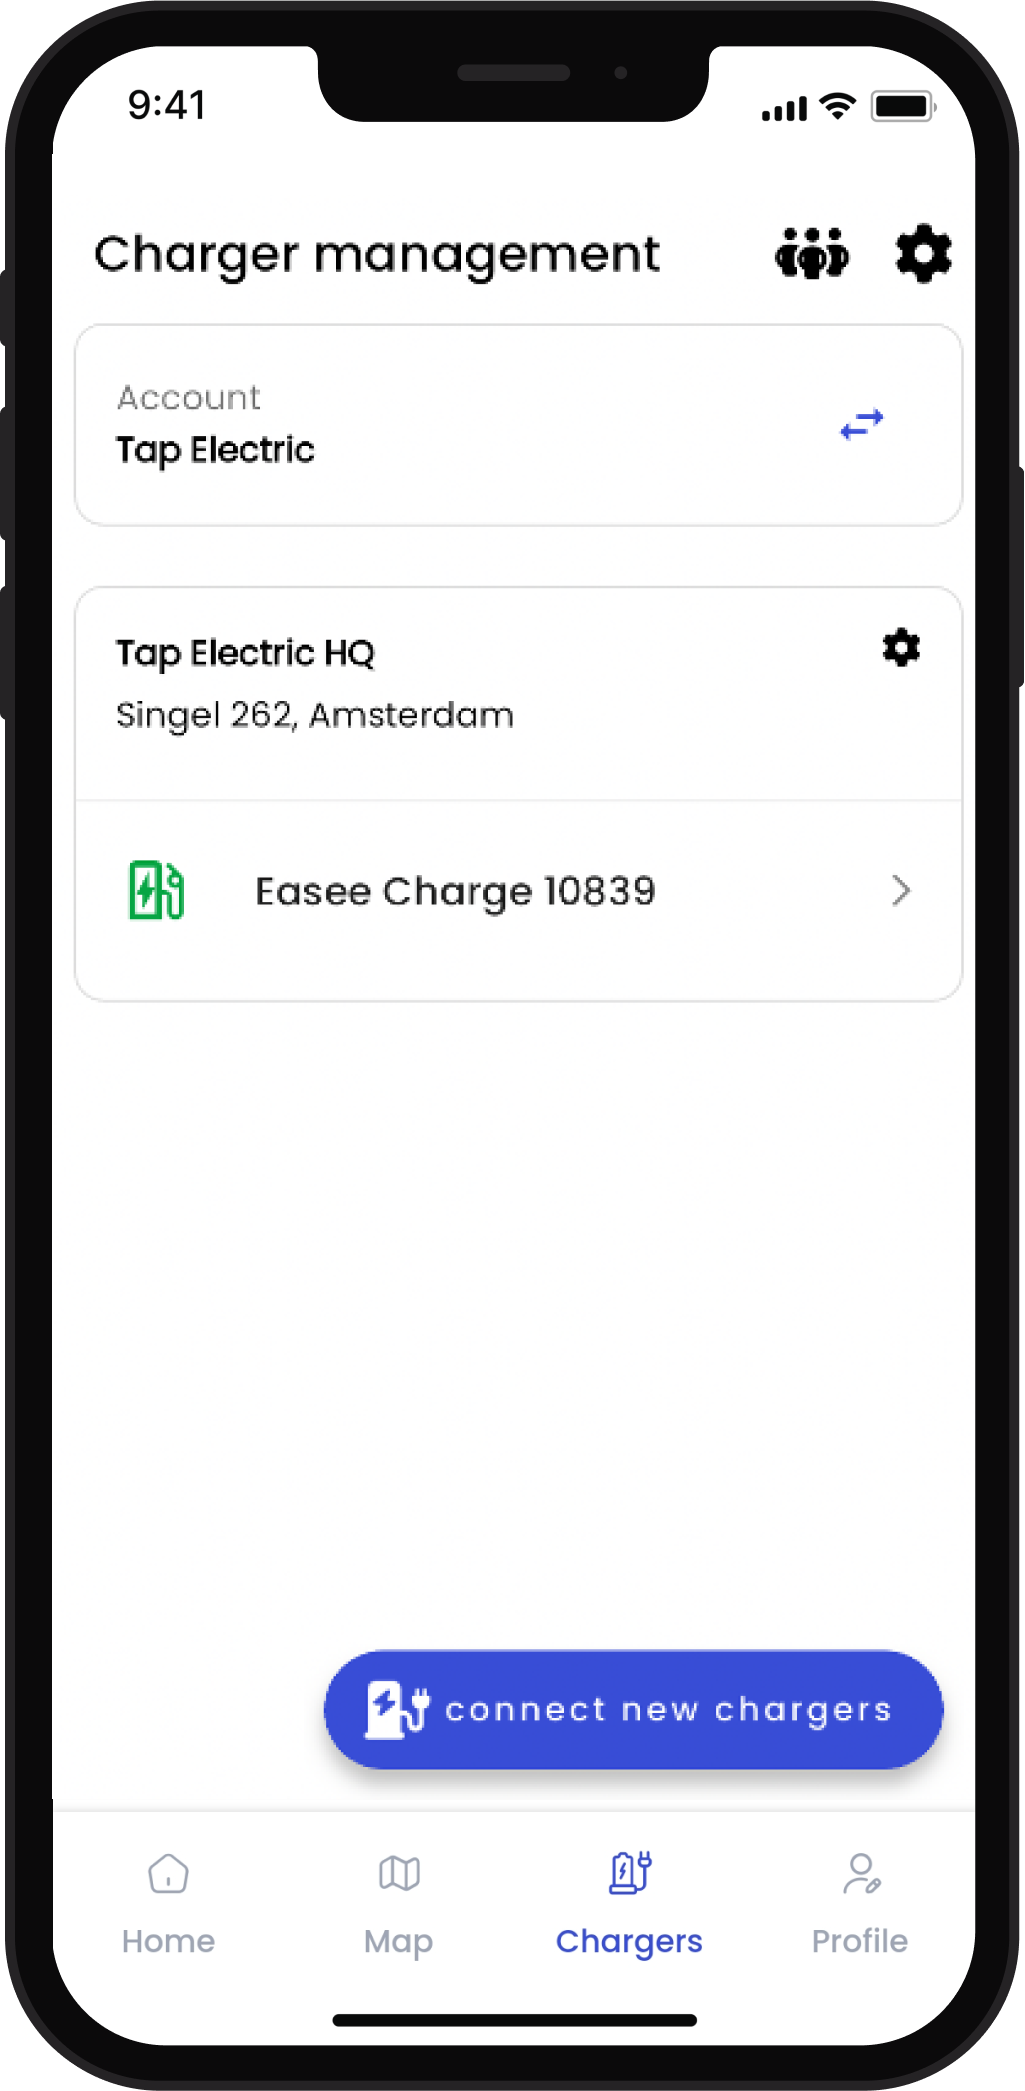
In the Tap app: Locations > connect new charger
-
Select Charge Amps.
-
Copy the URL provided.

-
Turn on the Charge Amps charger.
-
Using a smartphone or computer, open the wireless settings of the device and scan for networks.
-
The Charge Amps charger will provide a Wi-Fi access point which is available for 10 minutes. Select the network called:
"AURA_nnnnnnA" (where "nnnnnn" equals the last 6 digits of the serial number). -
When asked, enter the Charge Amps PIN code (found in the documentation which came with the packaging) as Network key.
-
Once connected, open a new window in the network browser on the same device. Enter "192.168.250.1" in the adress field to reach the local management interface.
-
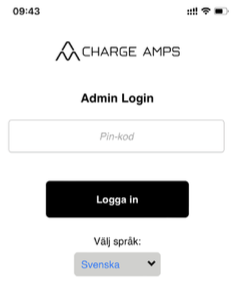
When reaching the local management interface, login by entering the Charge Amps PIN code again.
-
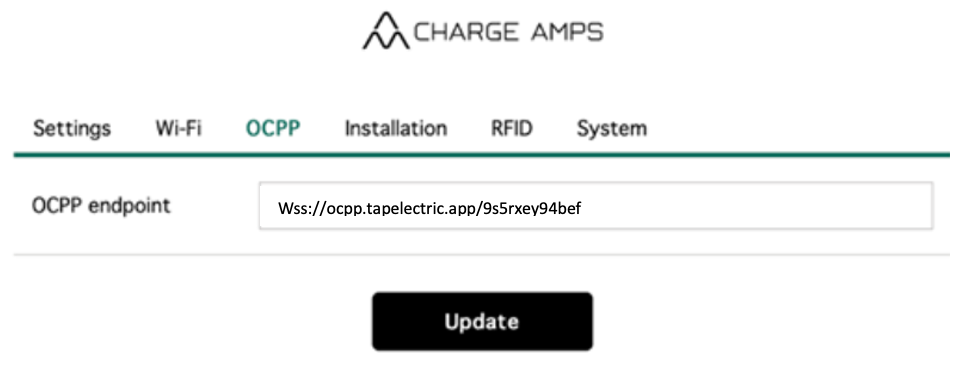
Once logged in, click the "OCPP" tab and enter your Tap URL in the "OCPP endpoint" field.
-
Press "Update" to save the settings.
-
Reboot the charger.
-
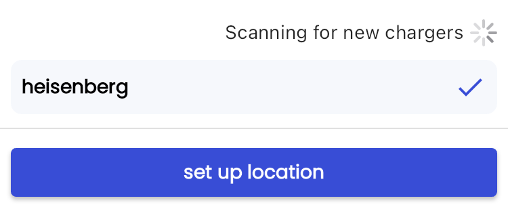
Return to the Tap app. After a minute the charger should appear and you can proceed with onboarding.