This guide describes how to onboard zappi chargers with Tap.
Onboarding in this context means getting the charger communicating with Tap. If you are looking for a complete guide for setting up an account and configuring your locations, see our Quick Start Guide.
- You’ll need a zappi with built in WI-FI to use OCPP. These zappi’s have a ‘H’ in their model number. They also have a serial number starting with a 2.
- You’ll also need to have updated your zappi to the latest firmware to get started. Check the zappi manual if you need assistance with this.
- You must have a myenergi myaccount, which is free to sign up for. You must have registered your zappi on myenergi myaccount.
- Your zappi should be set as vHub. You can find out how to do this in the zappi manual.
- If you want to collect payments on your Zappi, it's important that you set the "StopTransactionOnInvalidId" field to TRUE. By default, Zappi has this set to False, which means that even if Tap tries to stop a session from starting because it was not a valid payment method, the session will start anyway. Read this Zappi article for more info.
-
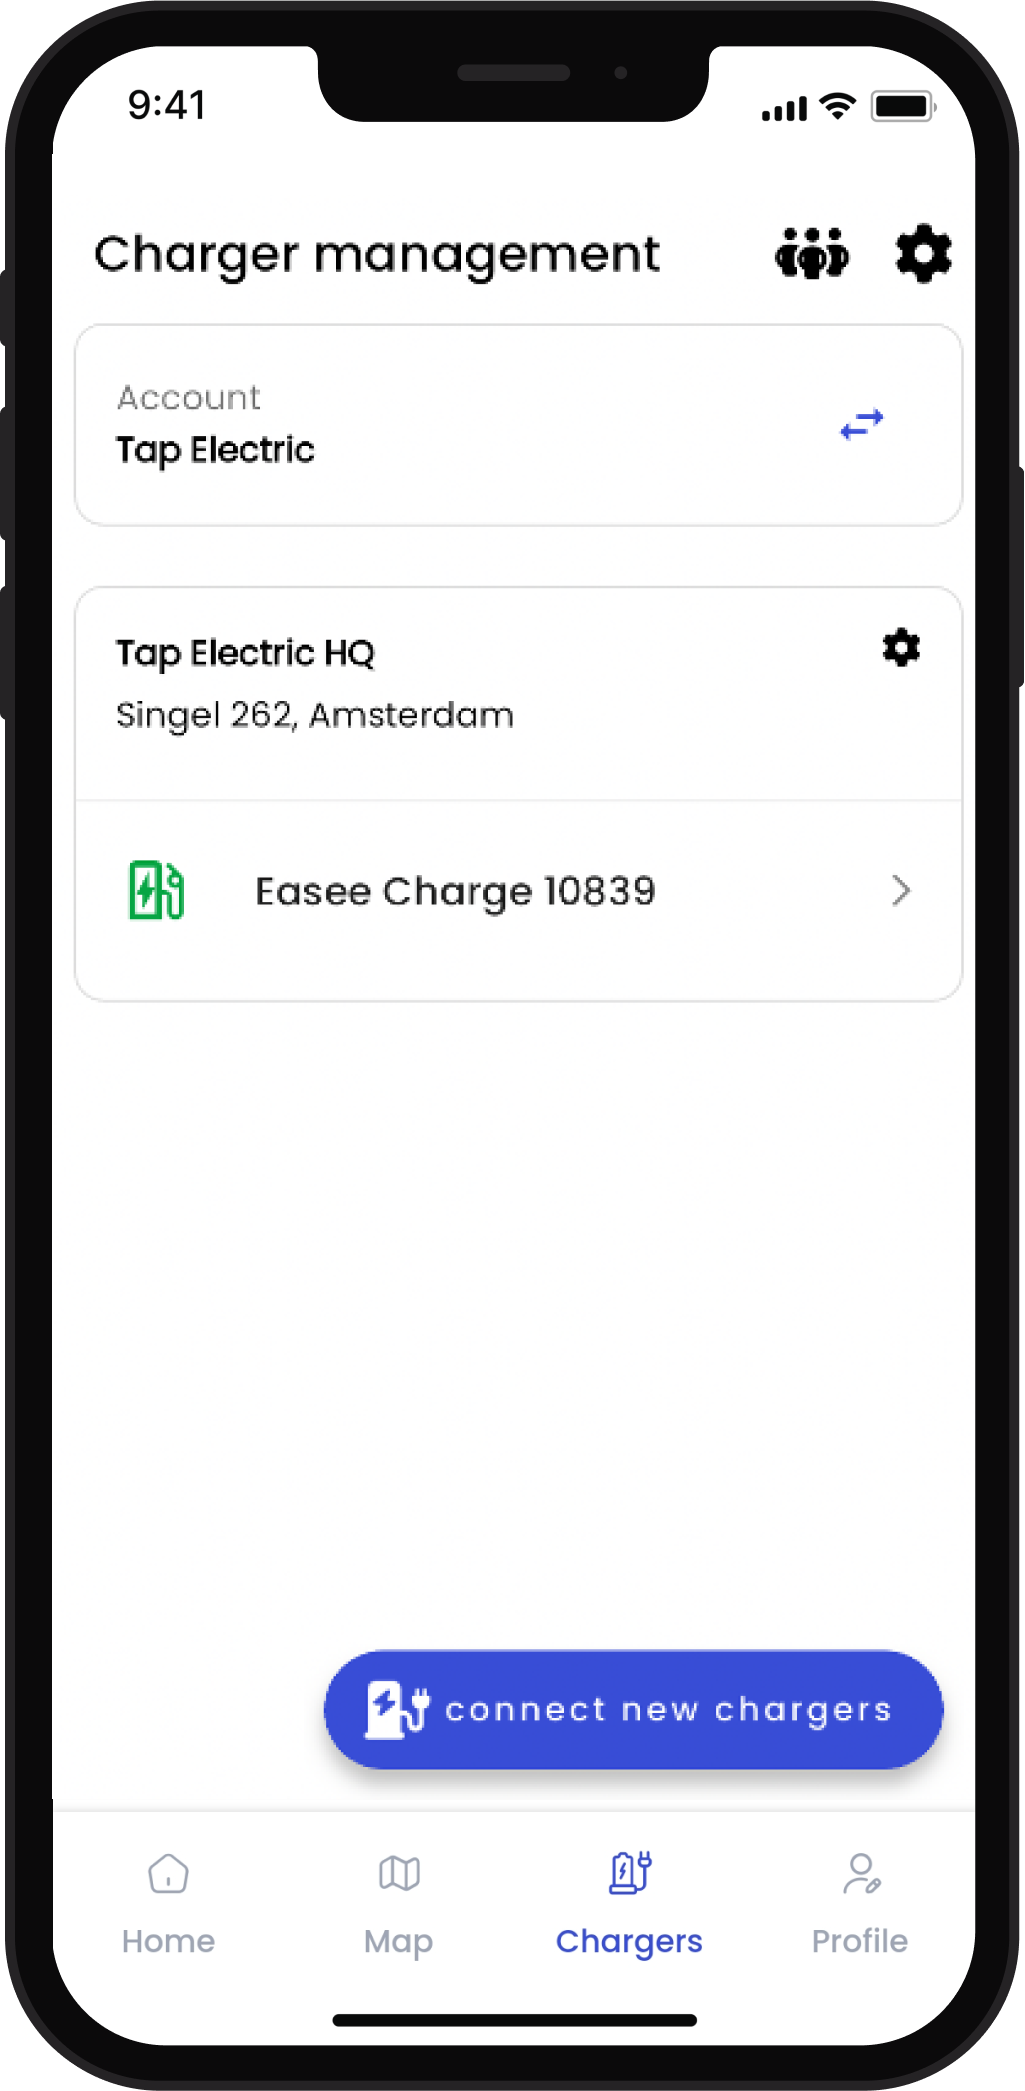
In the Tap app: Locations > connect new charger
-
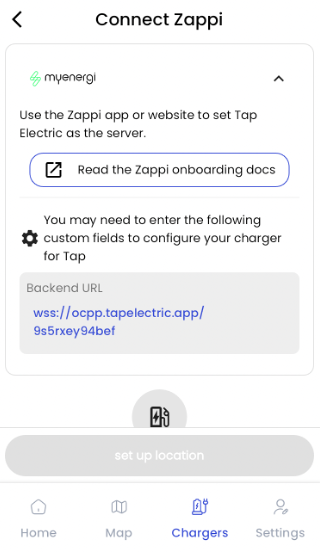
Select zappi.
-
Copy the URL provided.
-
Go to your myenergi myaccount https://myaccount.myenergi.com
-
Sign in or create an account if you haven’t already done so
-
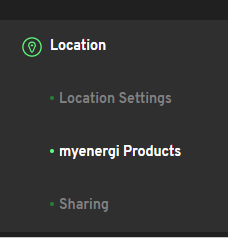
On the side bar click on the location tab, then click myenergi products
-
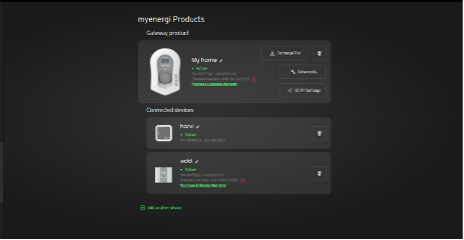
Find the zappi you wish to enabled OCPP for and select OCPP settings
-
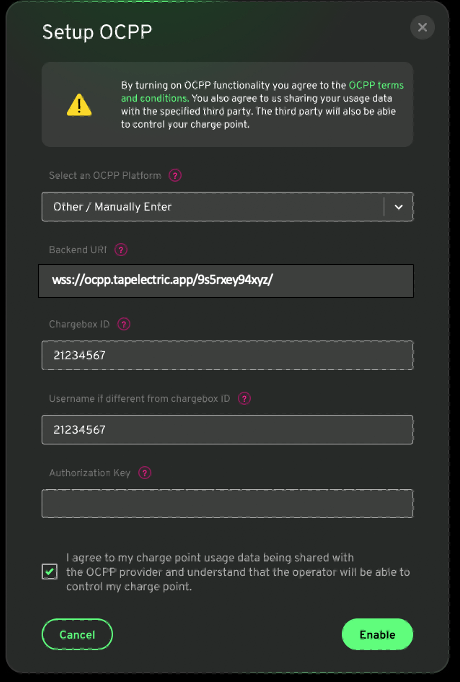
Select Manual / Other and enter the details of your OCPP service provider.
-
In the "Backend URL" field, paste the URL copied from Tap.
-
. ChargeboxID: By default this is the serial number of your zappi.
-
Username: For best practice this should match the chargeBoxID. If you do change the chargeBoxID you should also change the username to match.
-
Authorisation Key: Leave this blank.
-
Accept the terms and conditions and select "Enable".
-
Return to the Tap app. After a minute the charger should appear and you can proceed with onboarding.
[onboardingcap]
Troubleshooting zappi OCPP
Not Connecting?
Please use this checklist:
- Please check your charge point is online in your myenergi myaccount. You should see online on the my products page.
- Try rebooting the charge point. You can do this by pressing the menu icon on zappi and holding the button down until the charge point restarts.
- The username and ChargeBoxID match,
- Go to the OCPP settings and check the URL matches what was given by your platform provider.
If you continue to have issues connecting your zappi, reach out to support@tapelectric.app.
Setting your Zappi fleet charger for "plug and charge"
Zappi chargers do not have an RFID reader. This means that if you want to charge using a (fleet) RFID card, you need to enable Plug n Charge.
Using Advanced charger configuration, you can setup your charger to automatically start as soon as you plugin, without having to swipe your RFID tag.
-
First, you need to find the internal chip ID of your RFID tag. To do this you will need an Android phone, and an app such as NFC Tools. Open NFC Tools on your Android phone, click "Read", and scan your RFID tag. This will read a 14 character ID, copy this.
-
Open the Tap webportal. Navigate to Charger > Charger settings > Advanced charger configuration
-
Click "Read configuration from charger"
-
Find the field called "PlugAndChargeID"
-
Once you have found the correct field(s), click the pencil icon next to the field to edit. Paste in the ID you found with the NFC Tools app.
-
Click Confirm.

-
Do a test session to ensure Plug and Charge is working.