This guide describes how to onboard Circontrol chargers with Tap.
Onboarding in this context means getting the charger communicating with Tap. If you are looking for a complete guide for setting up an account and configuring your locations, see our Quick Start Guide.
To connect Circontrol chargers, you will need to be physically located at the charger with a Windows laptop and a LAN cable.
-
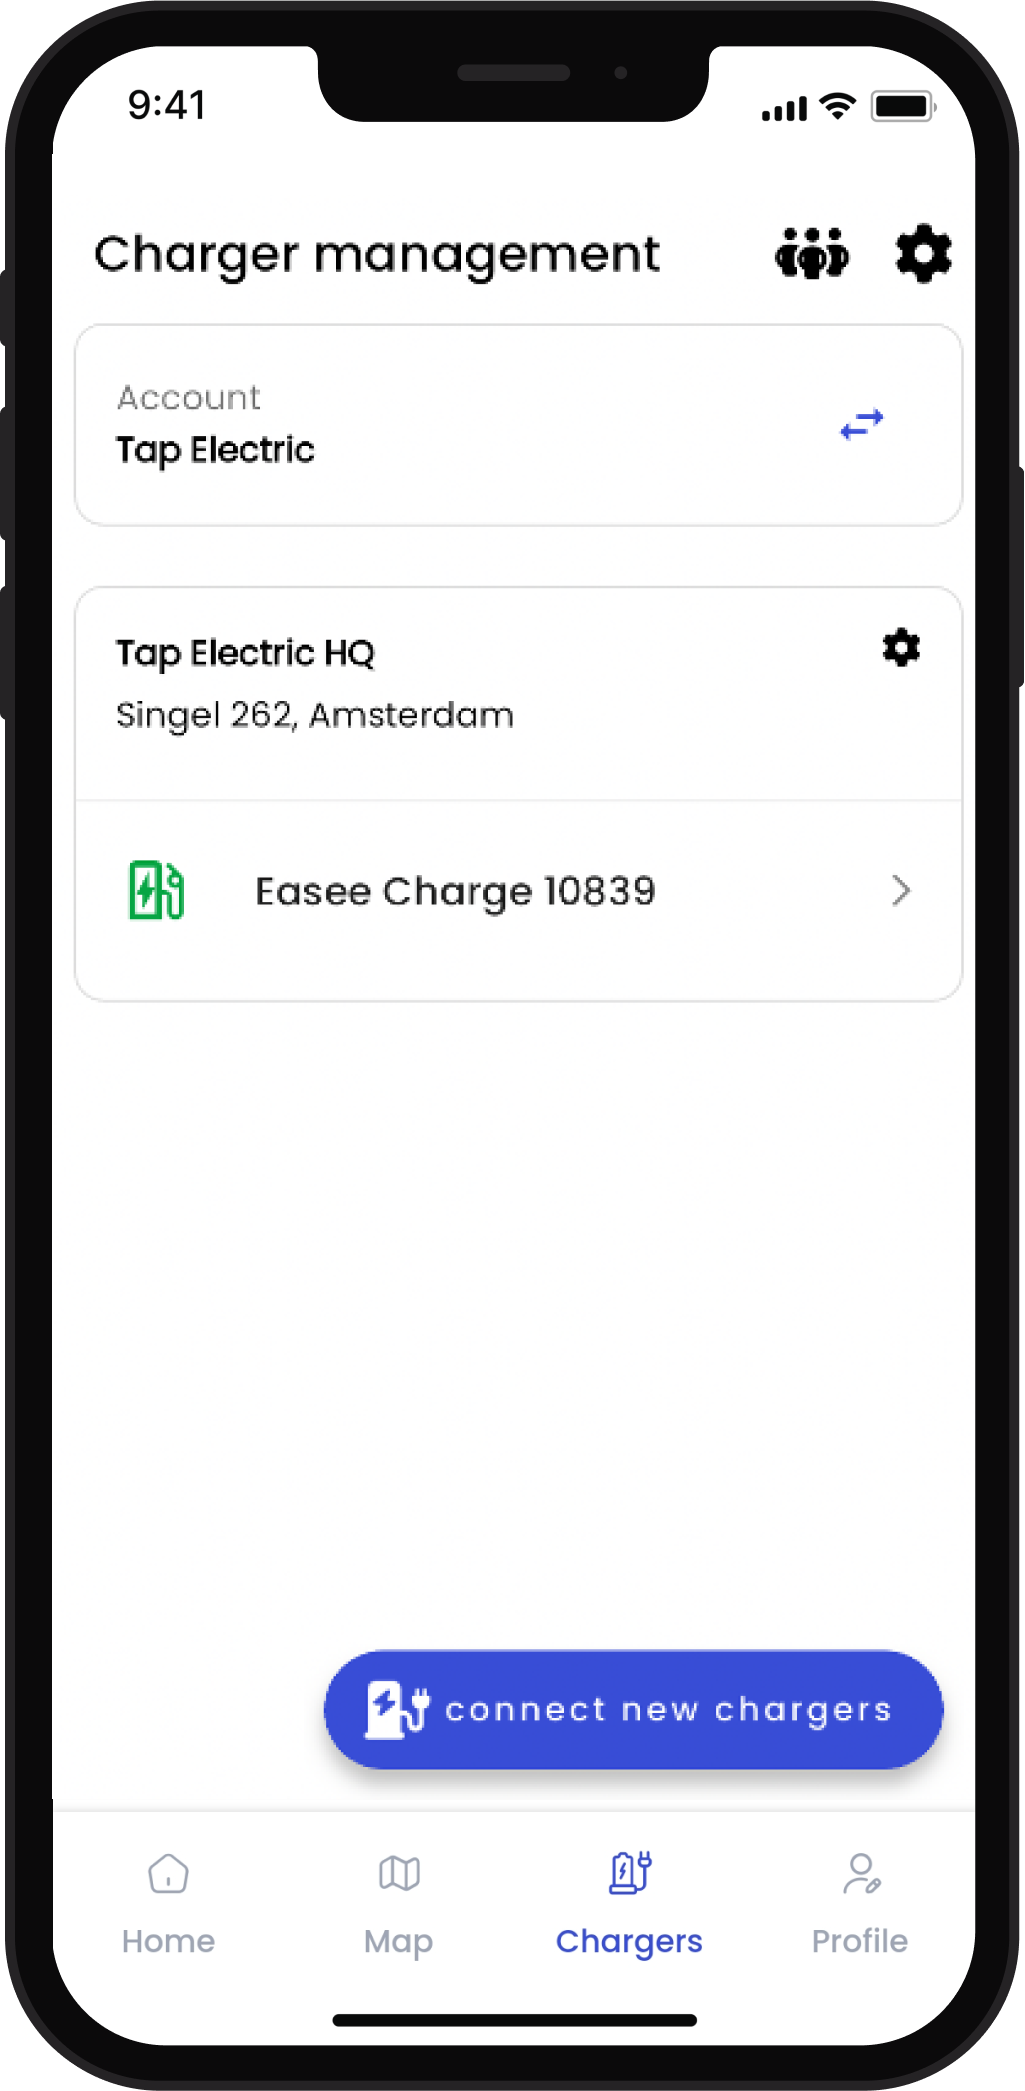
In the Tap app: Locations > connect new charger
-
Select Circontrol.
-
Copy the URL provided.
-
Connect your Windows laptop to the charger using a LAN cable.
-
Download IPSetup.exe.
-
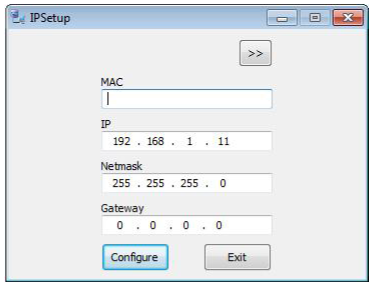
Run IP Setup.
-
Connecting a PC directly with the Charge Point needs to be done with static IP address. The PC and the Charge Point must be in the same network and in the same range. Enter the desired IP in IP Setup.
-
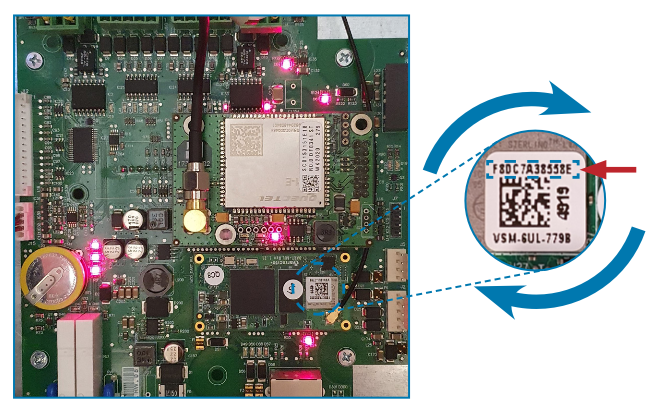
Enter the MAC address found inside the charger panel.
-
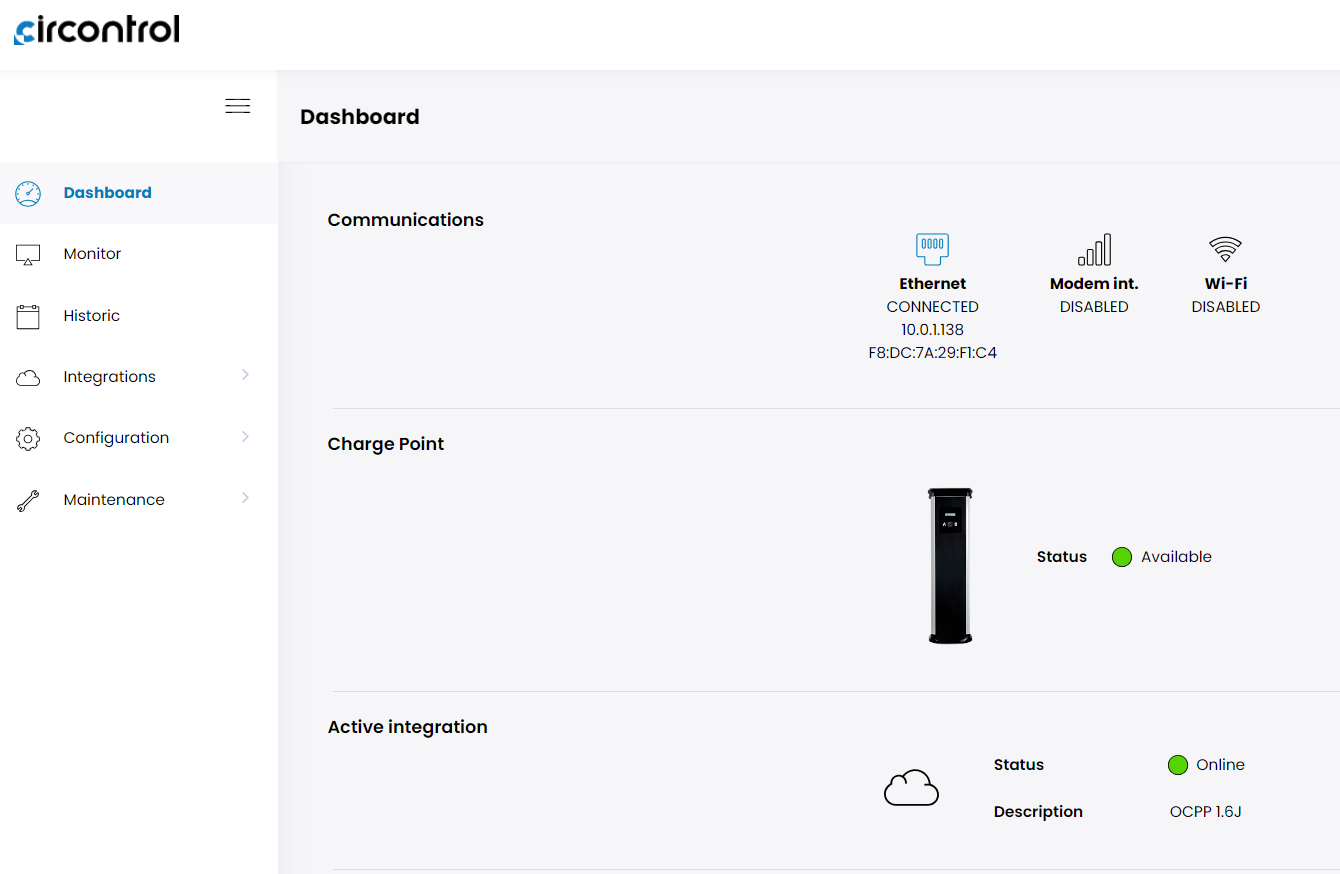
Click Configure. Once done, the Setup Webpage is opened automatically on the default web browser.
-
Go to the Integrations tab. If you are asked for credentials, use the username "admin", and password "1234".
-
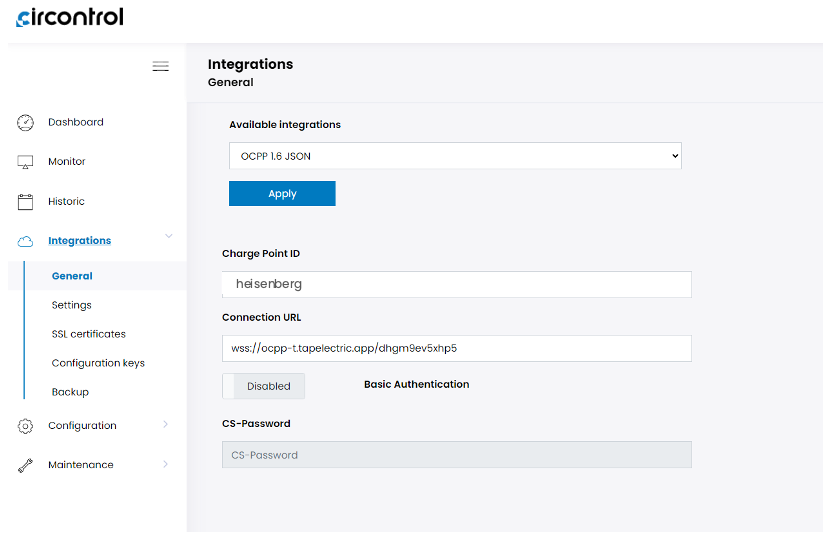
Go to General.
-
In Available Integrations, select OCPP 1.6 JSON
-
Charge Point ID can be anything you wish to call the charger.
-
In Connection URL, paste the URL copied from Tap.
-
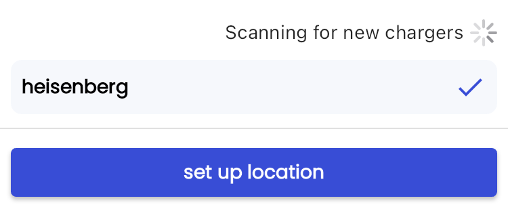
Return to the Tap app. After a minute the charger should appear and you can proceed with onboarding.