This guide describes how to onboard Evec chargers with Tap.
Onboarding in this context means getting the charger communicating with Tap. If you are looking for a complete guide for setting up an account and configuring your locations, see our Quick Start Guide.
To connect Evec chargers to Tap, you will need the Evec mobile app.
-
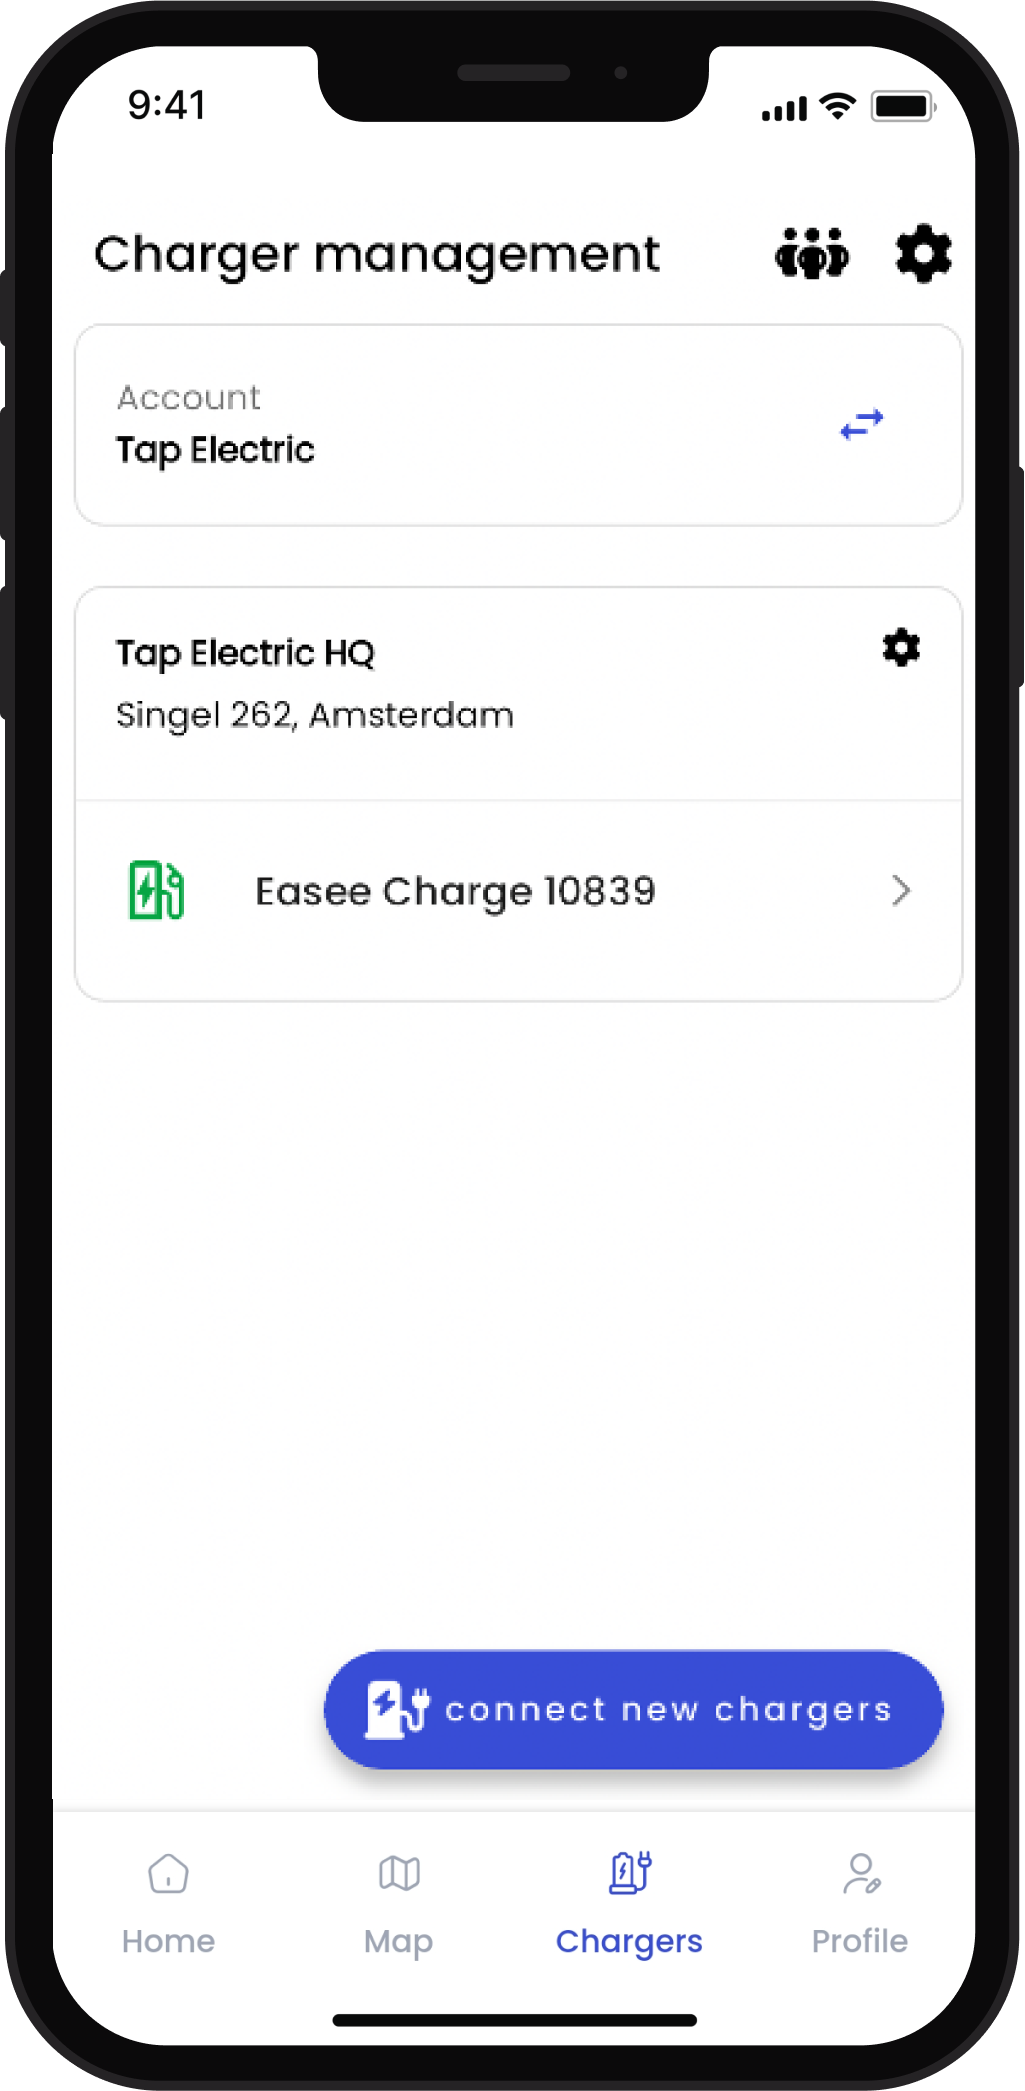
In the Tap app: Locations > connect new charger
-
Select Evec.
-
Copy the URL provided.
-
Open the Evec app.
-
Click “Add Device”, or the “+” icon in the top-right corner and then “Add Device”. This will locate both sockets of the pedestal. Pair with them both.
-
With the sockets added, click on 1 of them to open the menu for it.
-
Click “Manual Mode”.
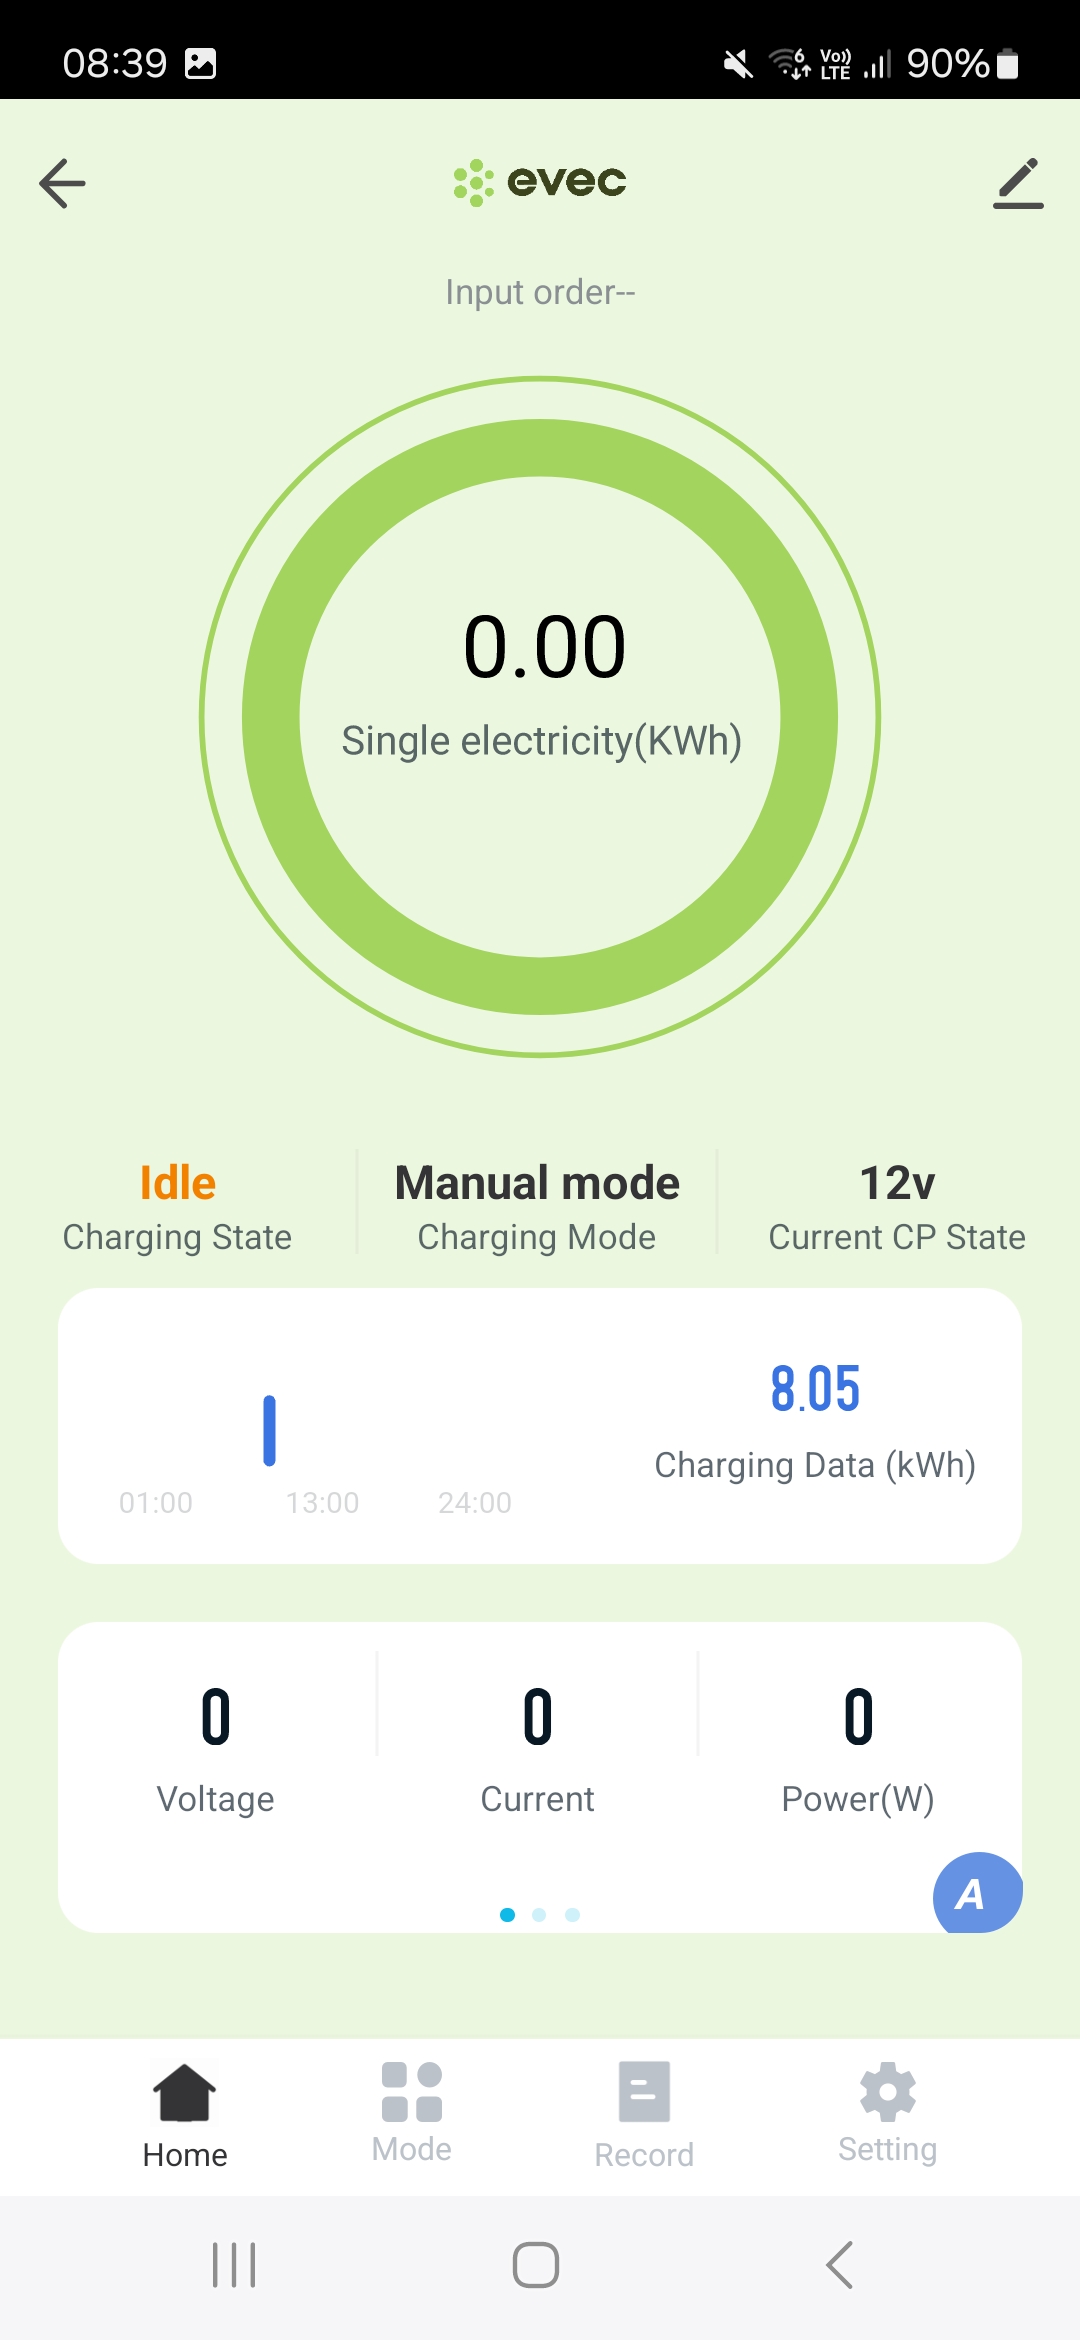
-
Click on “Setting” in the bottom-right to access the background settings.
-
Scroll down to “IP Address”. Paste the URL you copied from Tap and confirm.
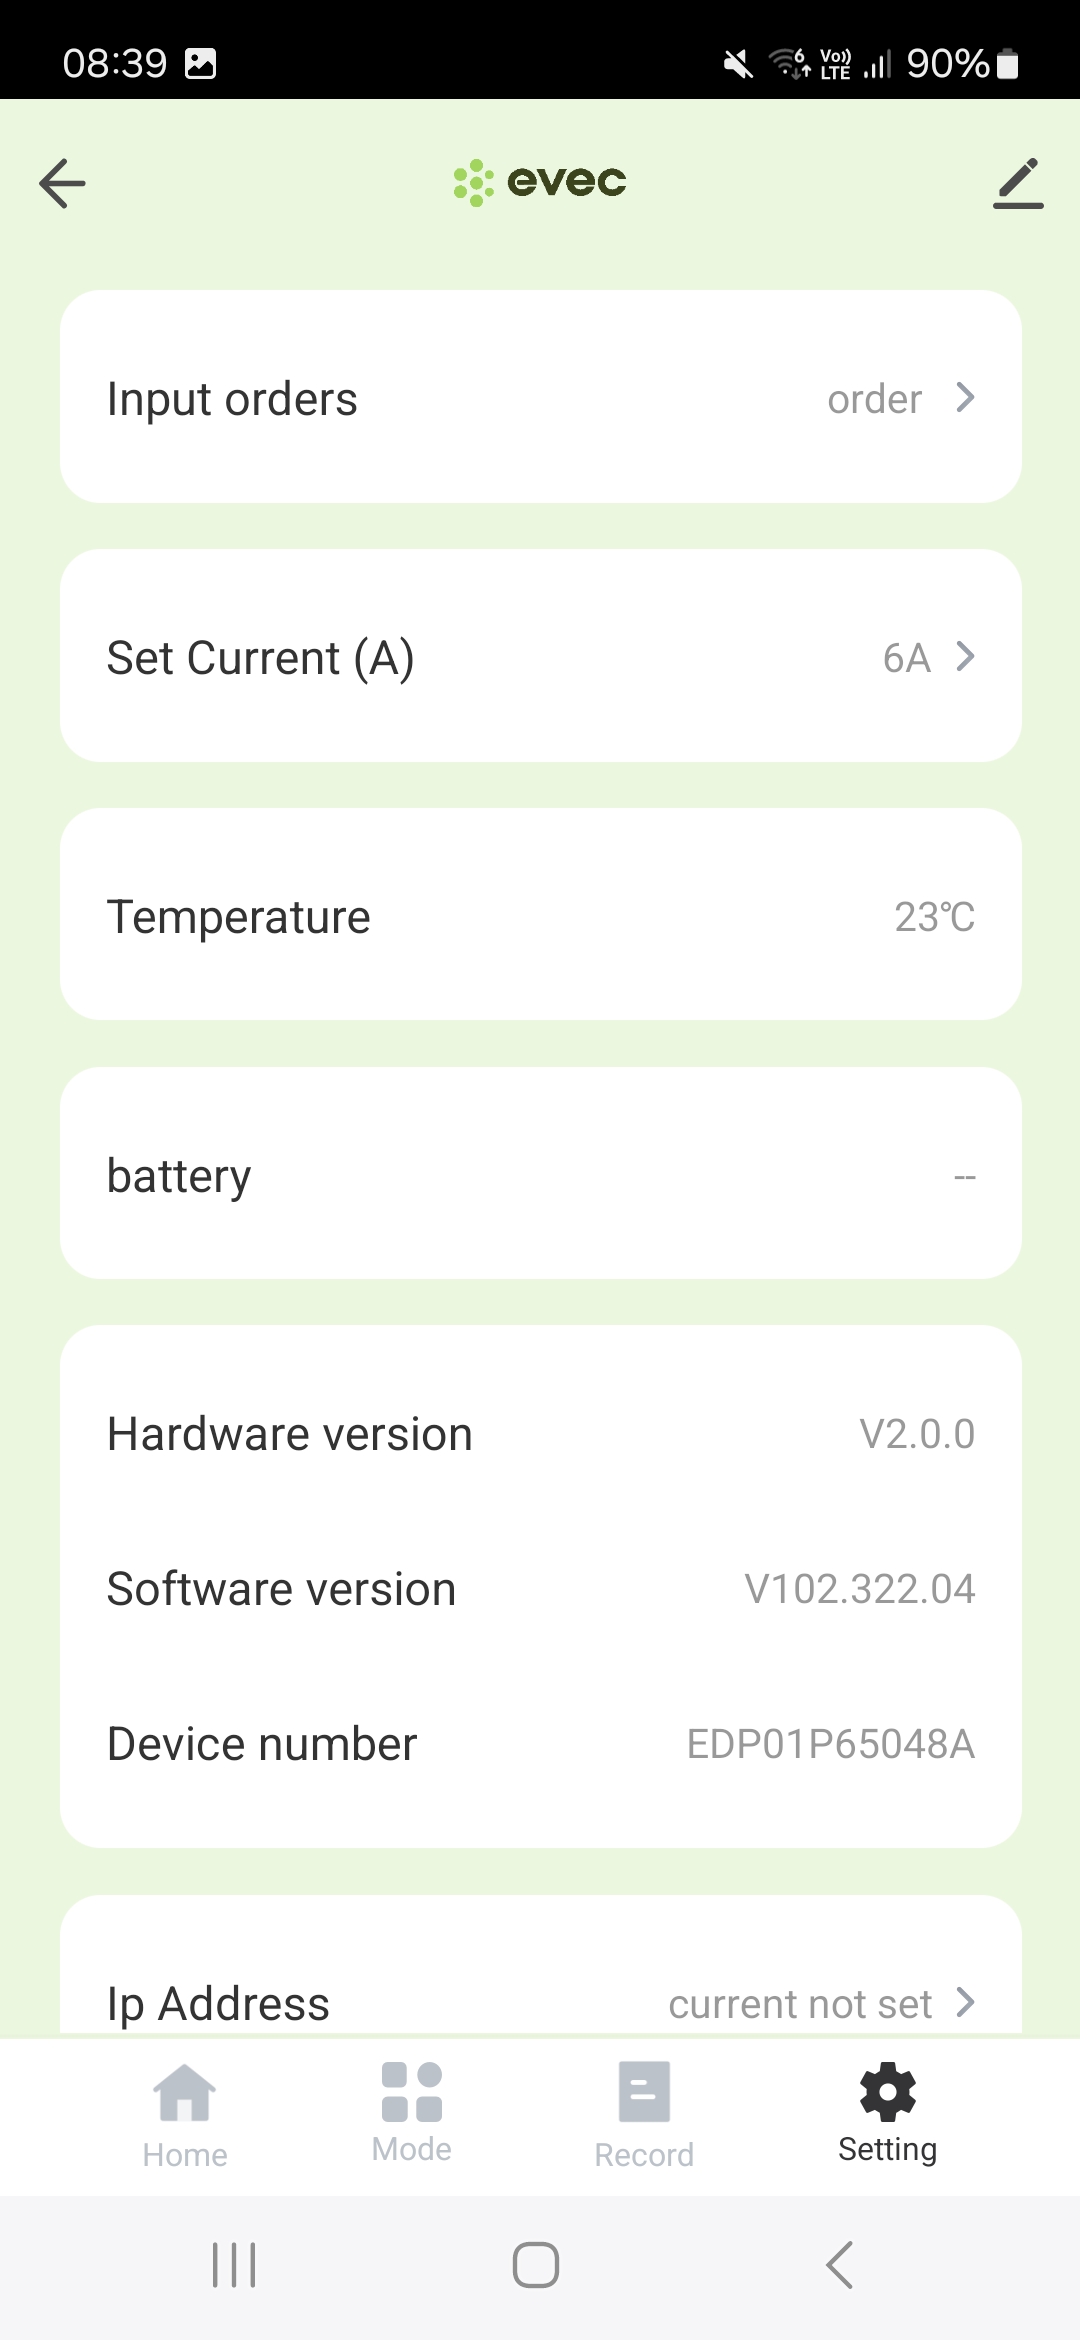
-
The pedestal will beep.
-
Repeat the same steps for the 2nd socket.
-
Switch off pedestal and switch back on.
-
Confirm the settings have saved.
-
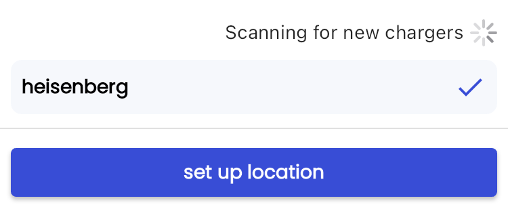
Return to the Tap app. After a minute the charger should appear and you can proceed with onboarding.