This guide describes how to onboard Wallbox chargers with Tap.
Onboarding in this context means getting the charger communicating with Tap. If you are looking for a complete guide for setting up an account and configuring your locations, see our Quick Start Guide.
To connect Wallbox chargers, you will need a Wallbox account in the myWallbox app. You can find more details on that here.
-
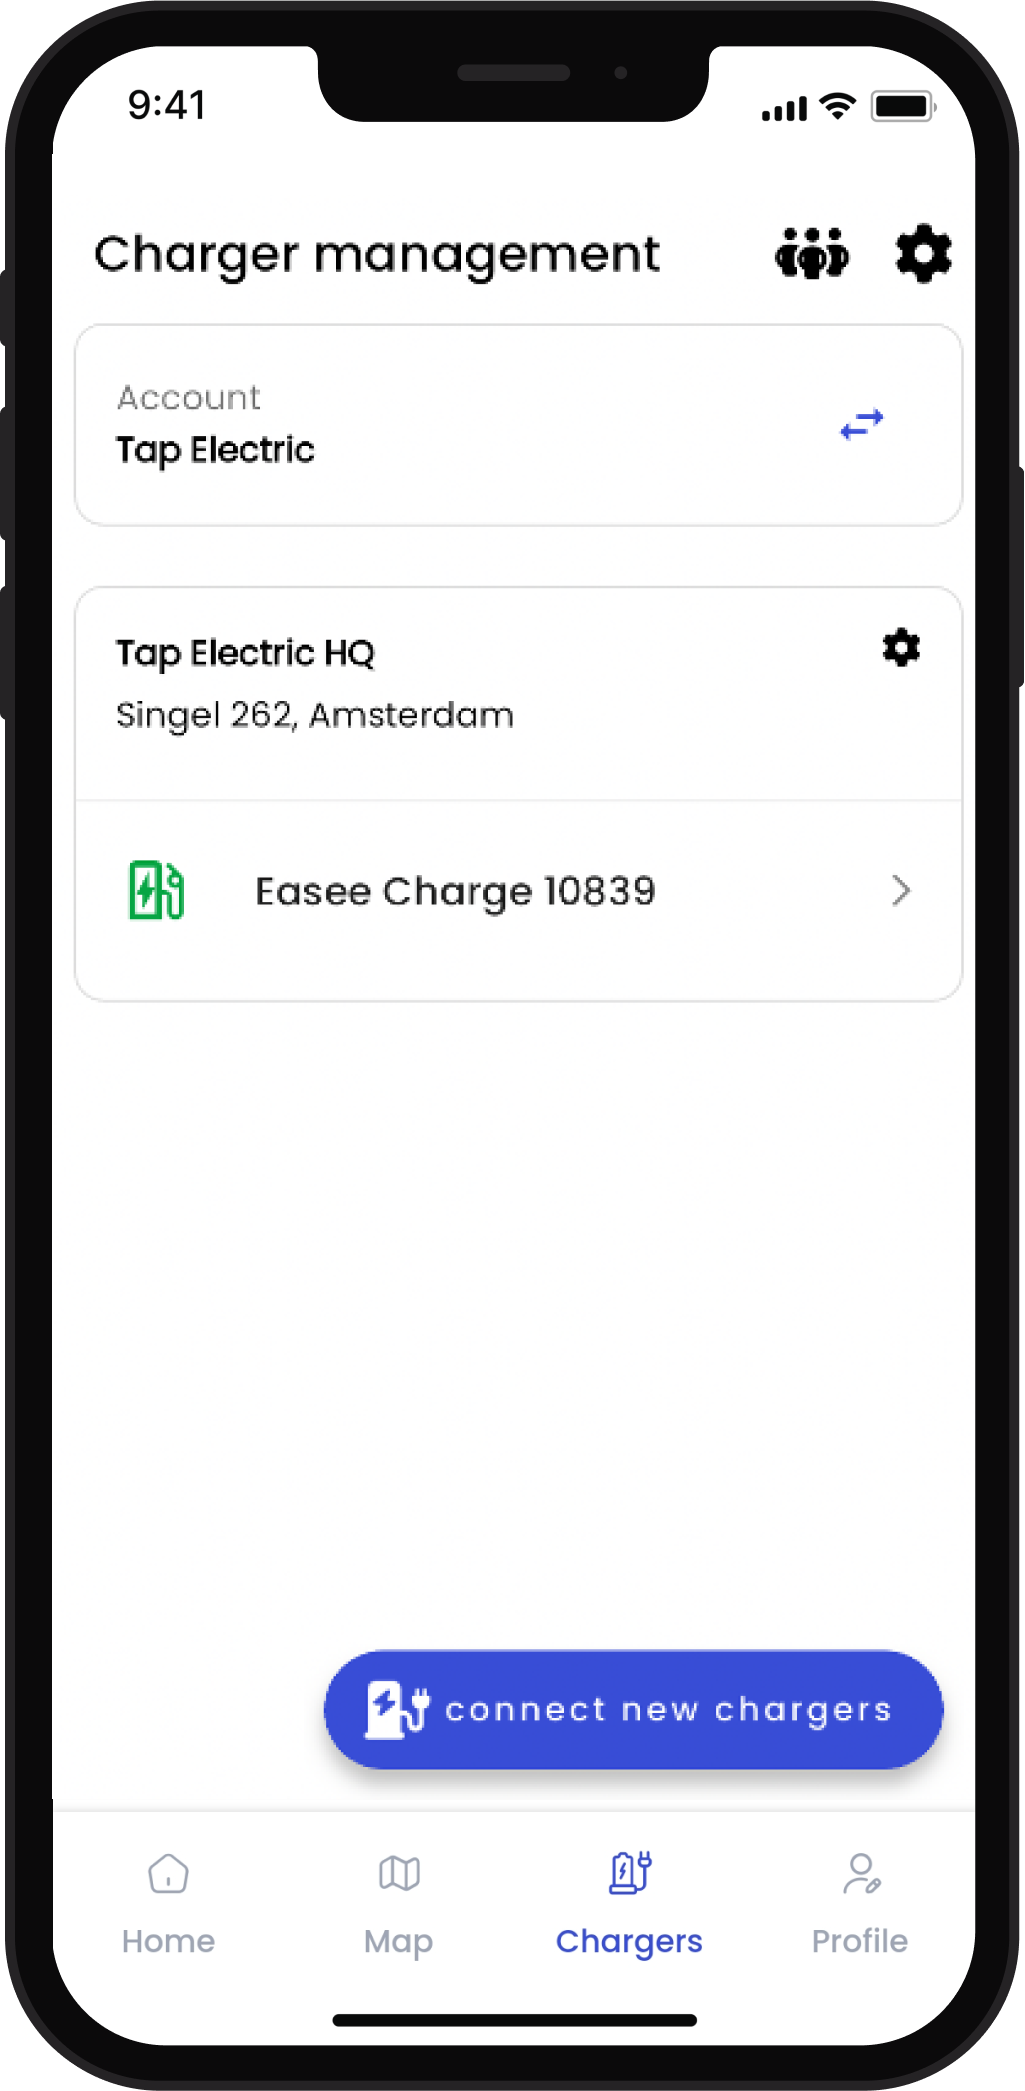
In the Tap app: Locations > connect new charger
-
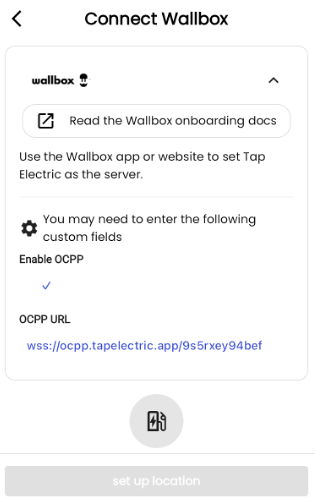
Select Wallbox.
-
Copy the URL provided.
-
Go to the myWallbox app, login to add your charger and connect it to the internet.
-
Select the Settings cogwheel in the top right corner.
-
Select OCPP and switch on “Enable OCPP”.
-
In the URL field, paste the URL you copied in the Tap app.
-
In the Charge Point Identity field, enter your charge point ID.
-
Enter your password in the Password field if there is one configured.
-
Accept the Terms & Conditions, and click Save. The charger will automatically restart, and the new OCPP configuration will be applied. An OCPP icon will display on your charger app overview screen.
-
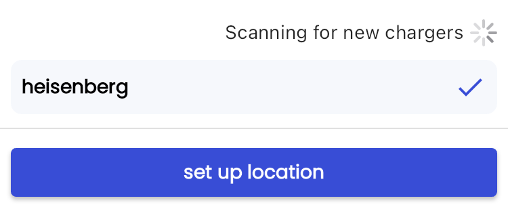
Return to the Tap app. After a minute the charger should appear and you can proceed with onboarding.
If your charger is not successfully connecting to Tap, try these steps:
- Restore charger to factory settings, wait for complete reboot (around 15min)
- Insert OCPP settings (per the steps above) and wait for reboot (around 5min)
- Check if correctly connected to Tap. If it is still not working, update the charger to latest software (around 5min).
- Check again if connected to Tap.