This guide describes how to onboard Gewiss chargers with Tap.
Onboarding in this context means getting the charger communicating with Tap. If you are looking for a complete guide for setting up an account and configuring your locations, see our Quick Start Guide.
Before heading to site to connect Gewiss chargers, make sure you have the most recent firmware files for your charger model downloaded to your laptop. These can be found on the Gewiss website.
To connect Gewiss chargers, you will need to be physically located at the charger to connect to Gewiss WebUI. You have 2 options: connect to the charger with a laptop and ethernet cable, or via (possibly) the charger's wifi.
-
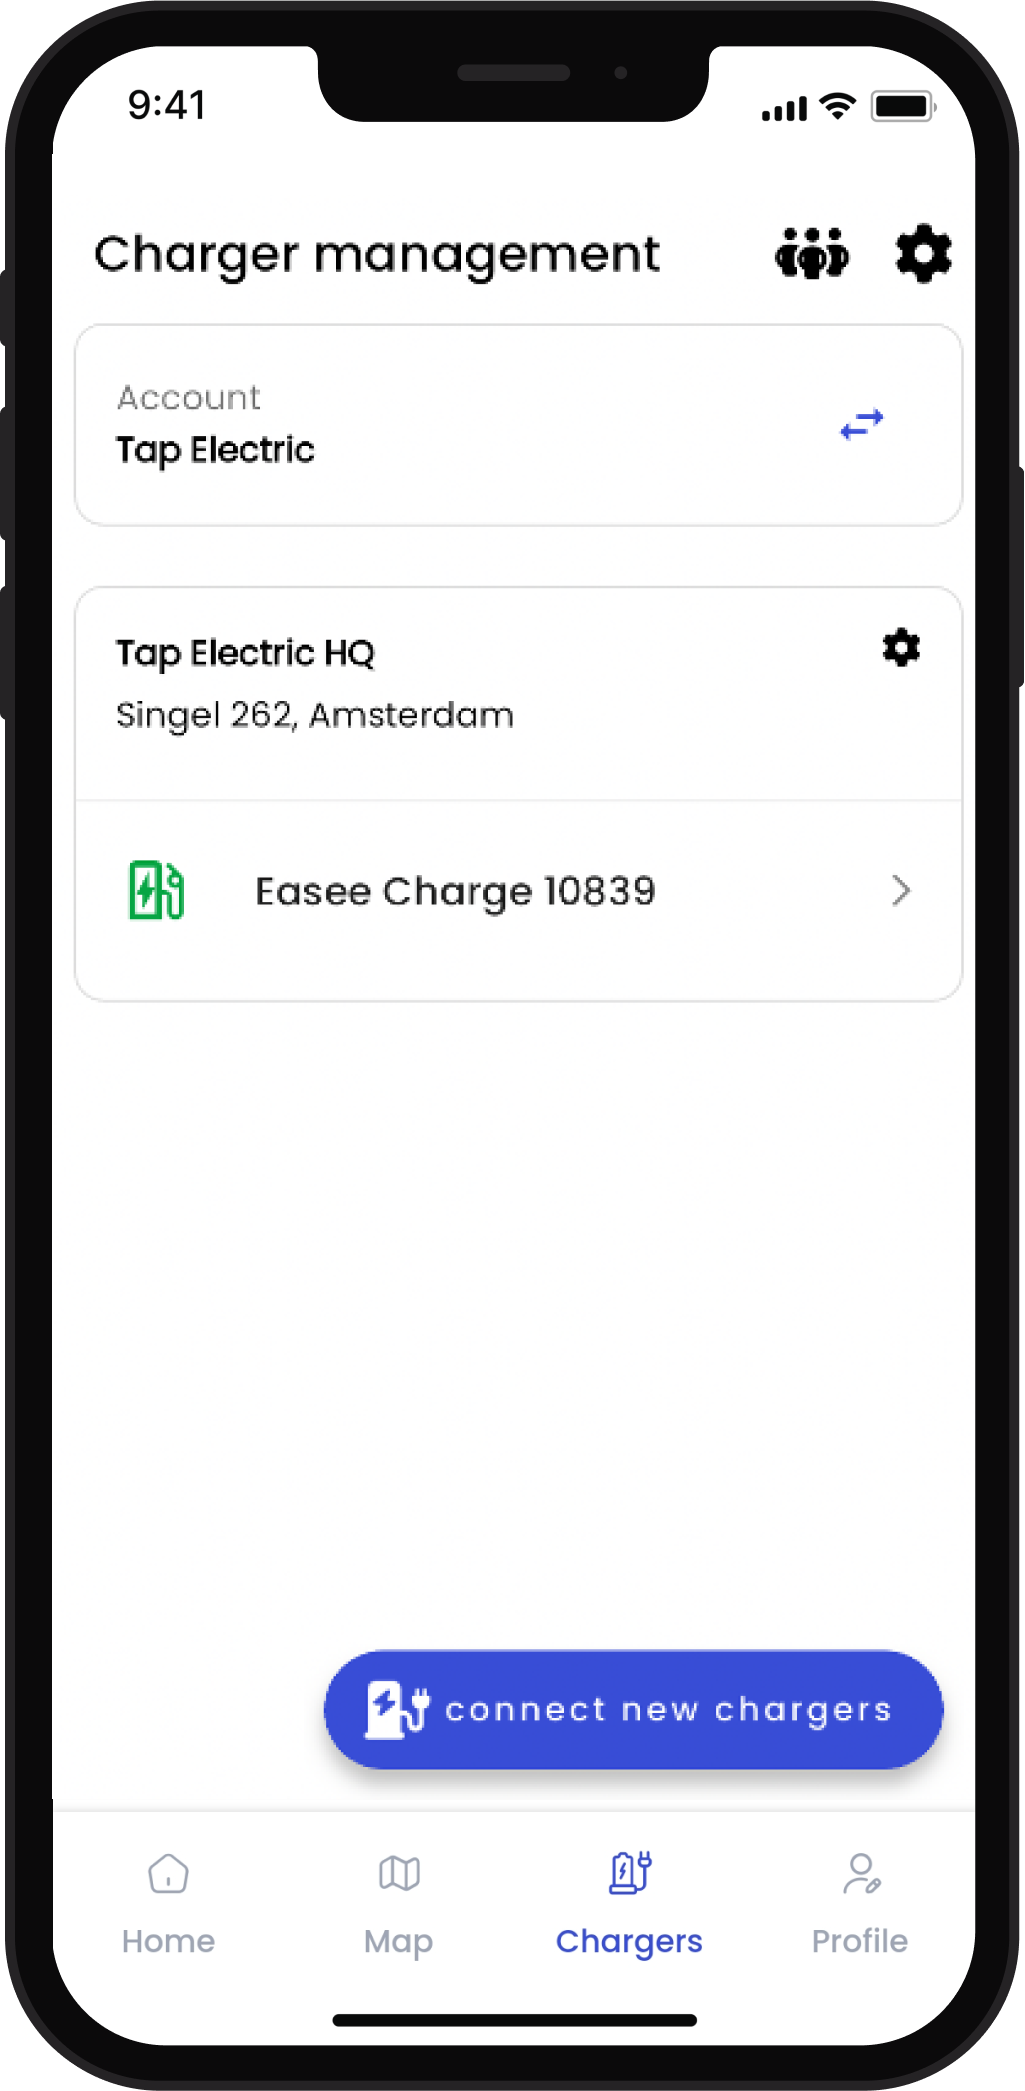
In the Tap app: Locations > connect new charger
-
Select Gewiss.
-
Copy the URL provided.
Access WebUI
Using a laptop, login to Gewiss WebUI either via ethernet cable or via wifi.
WebUI Access through Ethernet Port
- To access the Gewiss WebUI through the Ethernet port, open the charger front (90 to 180 kW models) or side (60 kW models) panel and plug an Ethernet cable between the installer’s laptop and the EVSE port (30 kW models do not require opening). Consult the charger manual for help locating the ethernet port.
- Open the Settings page on your laptop. Navigate to Network & Internet > Ethernet.
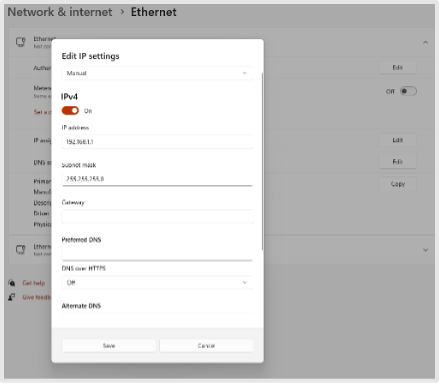
- Navigate to IP assignment > Edit.
- Enter the following:
IP address: 192.168.1.1
Subnet mask: 255.255.255.0
- Open an internet browser like Chrome and enter the following in the address bar. If the browser shows a warning message, ignore it and proceed.
192.168.1.10
- You will arrive at the WebUI login. Enter the following credentials:
User: admin
Password: 1231231238
WebUI Access through Wifi
The charger's wifi can be used in two modes:
- Station: this connects the charger to the internet for operational use.
- Access point: this enables you to configure the charger via WebUI without connecting via ethernet.
If you have not set the wifi mode to Access Point in the past, you may first need to set that via ethernet cable - see previous section. You will know if it is in Access Point mode if the wifi network appears in the list of available wifi networks in your laptop.
-
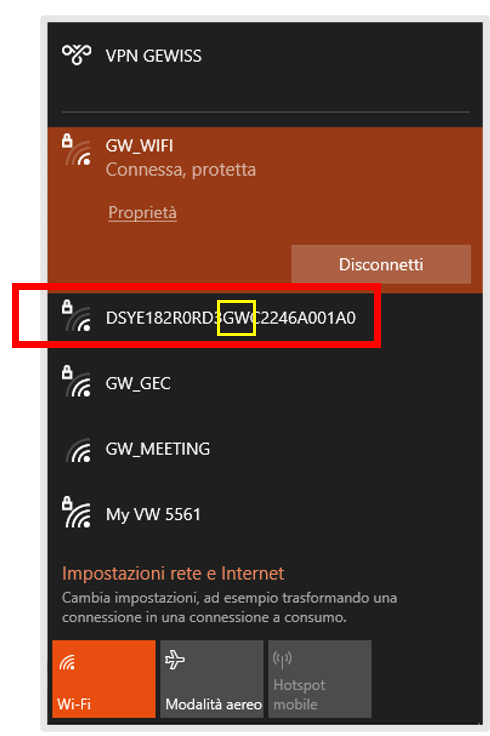
To access the Gewiss WebUI through wifi, stand near the charger, and open your laptop's wifi menu. The WiFi network takes its name (SSID) from the union of the Model Name (always ends in GW) and the Serial Number. Example below:
-
The wifi password is the serial number + model name, example below. The password can be changed after login to WebUI.

-
Open an internet browser like Chrome and enter the following in the address bar. If the browser shows a warning message, ignore it and proceed.
192.168.10.10
- You will arrive at the WebUI login. Enter the following credentials:
User: admin
Password: 1231231238
- If you need to change the Wifi mode to Access Point for future easier use, navigate to: SET > Network > Wifi.
- Set the following parameters:
Mode: Access Point
Password: empty
WiFi Broadcast SSID: broadcast
DHCP Server: enable
- NOTE: Leave the Password field empty to have the default password, which is the Serial Number + Model Name combination reported before; otherwise, the password can be set freely.
Configure Charger
Check firmware
- To check firmware version, navigate to: SET > System > Version Information.
- Csu Root Fs Fw Rev: The CSU firmware version must be the V4.07.M0 or higher.
- Connector1(CCS) Fw Rev and if 2nd socket Connector2(CCS) Fw Rev: The CCS firmware version must be the V1.36.S0 or higher.
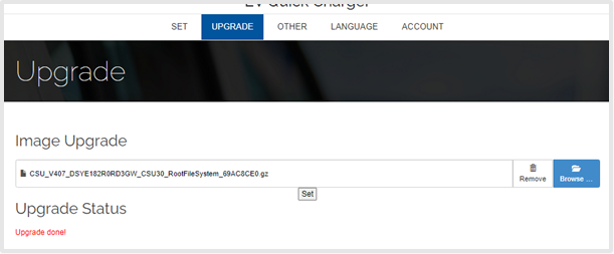
All the software version files are specific for the EVSE’s Model Name, which is to say that a software version is always the same across the models, but the actual file has a different name depending on the model it must be installed on: following is an example of a file for the CSU, version V4.07.M0, to be installed on a DSYE182R0RD3GW charging station. Before the On-Site operations, always be sure to have the right files for the EVSEs to operate on.

- If the charging station has the wrong CSU or/and CCS version, a software update is required. Navigate to UPGRADE > Browse > select the firmware file to install > Set.
- After the file is uploaded, the actual upgrade will take place: a timer is then showed, and the EVSE will install the CSU version and reboot itself (the reboot can happen more than once during the process).
- Wait for the timeout to expire and the EVSE to stop rebooting: finally, LED should be green, and the display should show the home page.
Mind that the reboot will close the connection between the laptop and the charging station, so the login in the WebUI must be done again (if the WiFi has been used, the SSID selection in the laptop WiFi list must be done again as well). - After the upgrade is done, and the charging station has stopped the automatic reboots, access the WebUI and check the CSU version in the Version Information tab (SET > System).
Configure a Tap SIM Card
If you are using a Tap SIM card, follow the below instructions.
- To access the charger’s router and its SIM slot, open the charger front (90 to 180 kW models) or side (60 kW models) panel: mind that 30 kW models require unscrewing a panel from the side of the charging station. If you need further help locating the router, consult the charger manual.
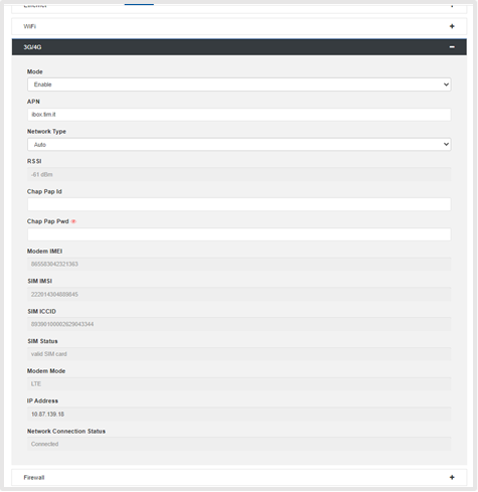
- To SIM connectivity, open WebUI and navigate to: SET > Network > 3G/4G.
- Configure the module as follow.
Mode: Enable
APN: Tapelectric
Network Type: Auto
Chap Pap Id: empty
Chap Pap Pwd: empty
- Press Ok.
- After few minutes, the Network Connection Status parameter will appear as Connected, and all the read-only values will be filled.
Point the charger to Tap
- To set the OCPP connection, open WebUI and navigate to: SET > Backend > OCPP Backend.
- Enter the following:
Central System URL: URL you copied from Tap.
Support V2.0.1: Disable
Charge Box Id: Your unique name of choice, or use the charger serial number.
Charge Point Vendor: JOINON
OCPP Security Profile: None security
Manufacturer Root Certificate file sha256 hash: empty
All other fields: leave default.
-
Press Ok.
-
Reboot the charger by navigating to OTHER > Reboot.
-
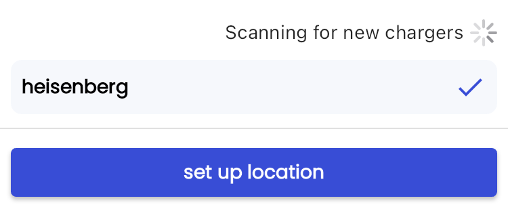
Return to the Tap app. After a few minutes the charger should appear and you can proceed with onboarding.
-
If all the settings have been done properly, in the Gewiss WebUI, the OCPP Backend tab will show the OCPP Connection Status to be Connected.