This guide describes how to onboard Rolec GreenFlux chargers with Tap. If you have a newer Rolec you can find the guide for Rolec EV Connect here.
Onboarding in this context means getting the charger communicating with Tap. If you are looking for a complete guide for setting up an account and configuring your locations, see our Quick Start Guide.
This charger is an older legacy product and is not simple to configure. If you are not a technical person you may want to seek assistance.
- To connect Rolec GreenFlux chargers, you will need the charger password. If you do not have this, contact Rolec.
- You will need a Windows 10 laptop and ethernet cable, and to be physically located at the charger.
-
In the Tap app: Locations > connect new charger
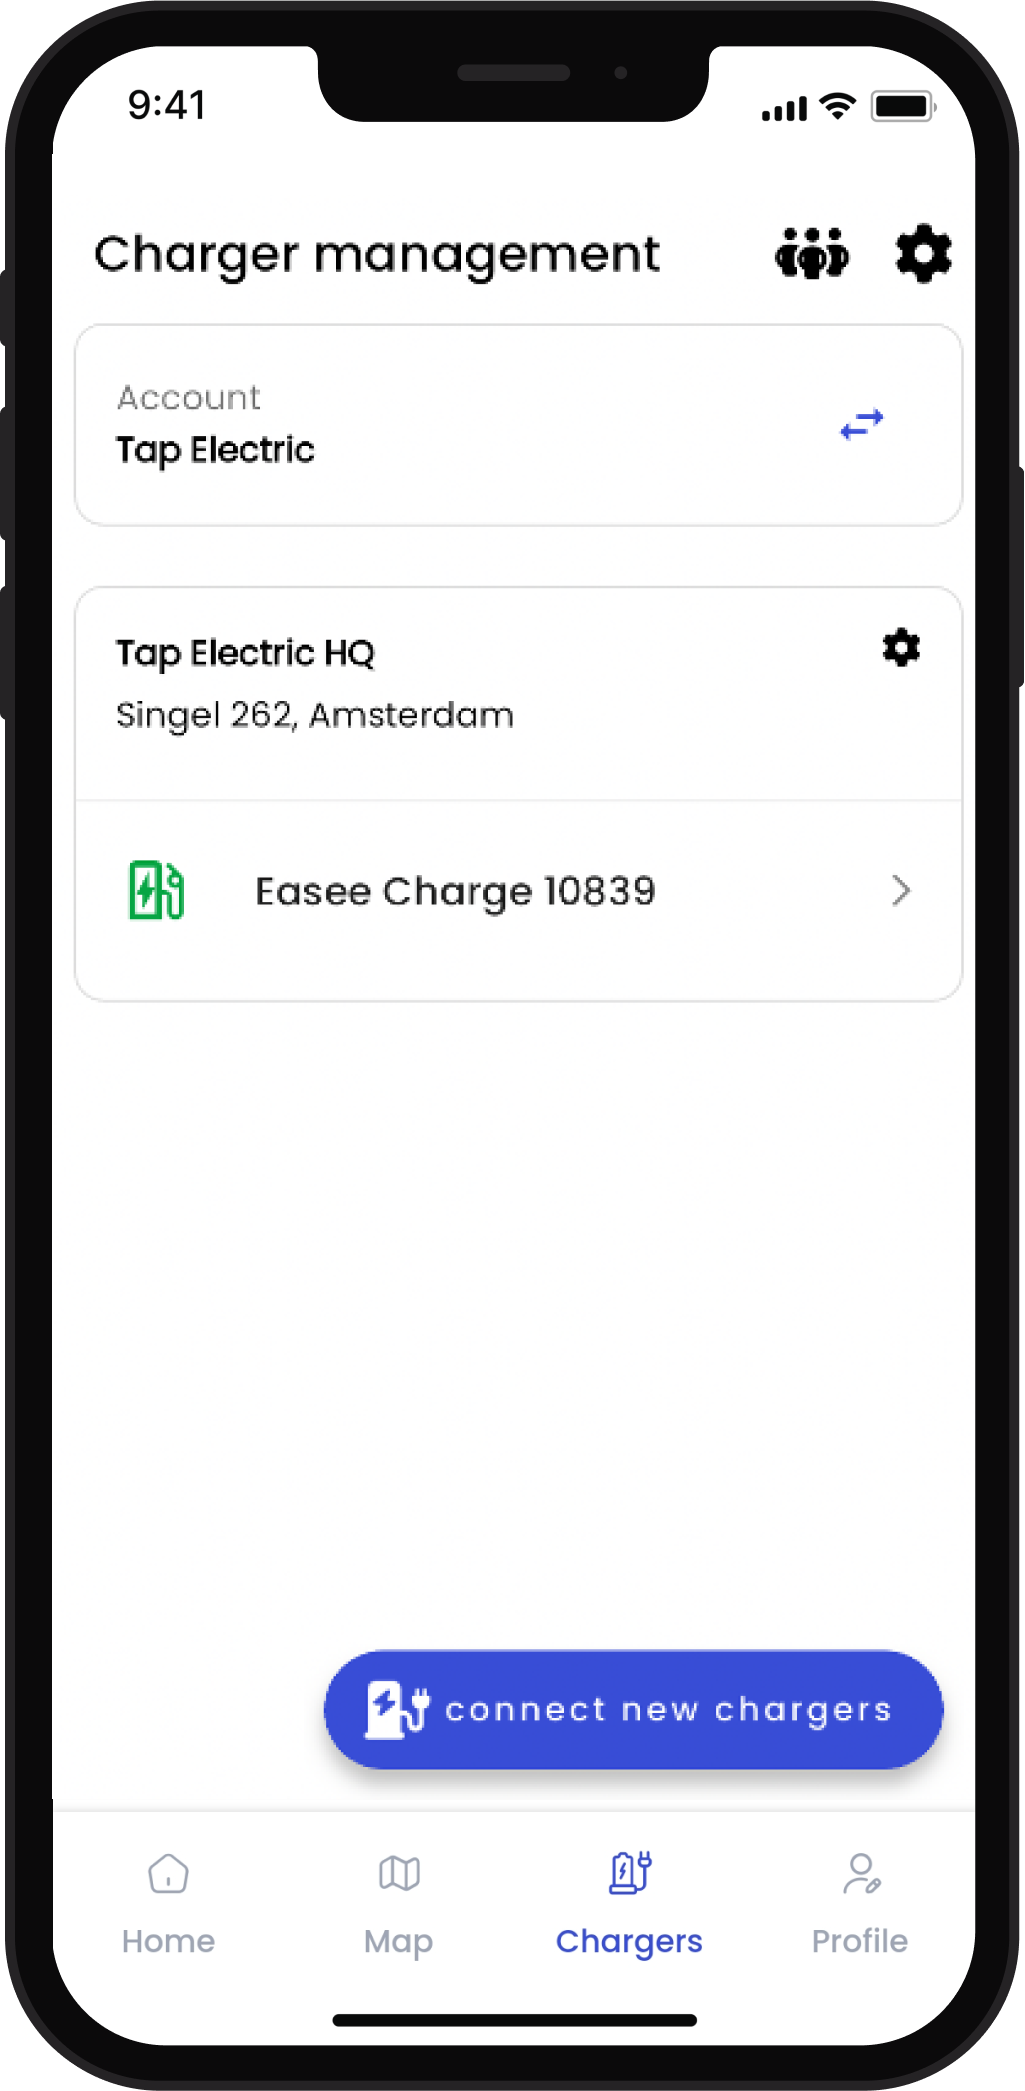
-
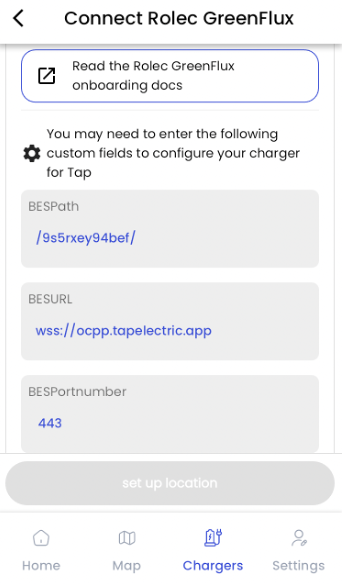
Select Rolec GreenFlux.
-
The GreenFlux portal requires the Tap URL to be split into different fields, which you can copy from this page in the app.
There are several tasks to setup the Rolec GreenFlux system:
- Configure the IP on your laptop
- Configure the firewall on your laptop
- Connect your laptop and configure the charger with Tap's URL and you SIM info
Configuring the IP
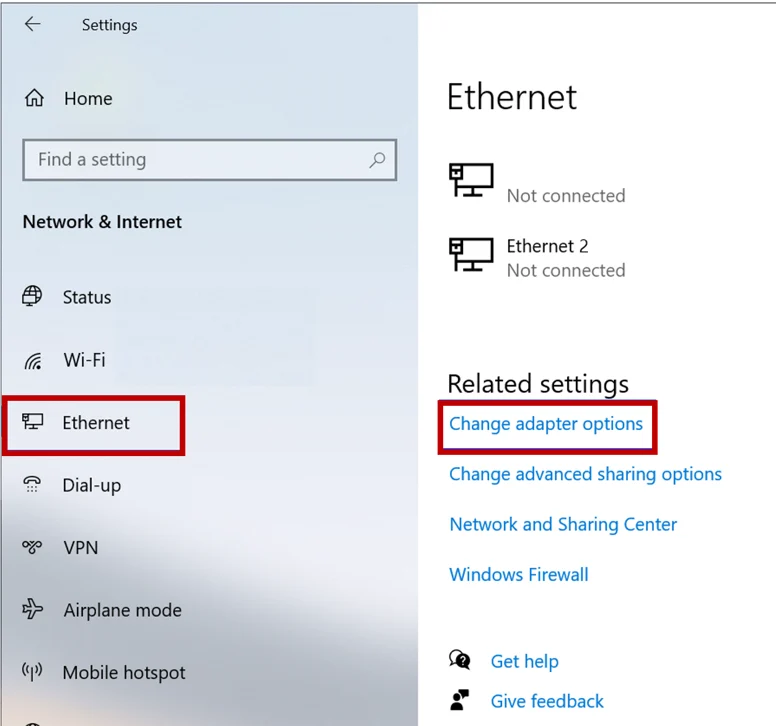
- In your Windows laptop, navigate to: Start > Settings > Network & Internet.
- In the left pane, select the topic “Ethernet”.
- Then on the left side click on "Change adapter options".
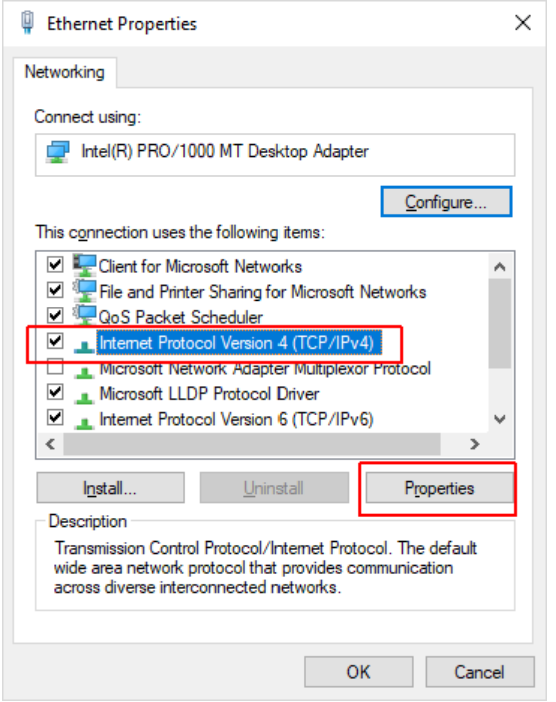
4.Select the adapter to configure, then do a right-button click on it and select “Properties”.
5. In the appearing window, Select the Internet Protocol Version 4 (TCP/IPv4) setting and click properties.
-
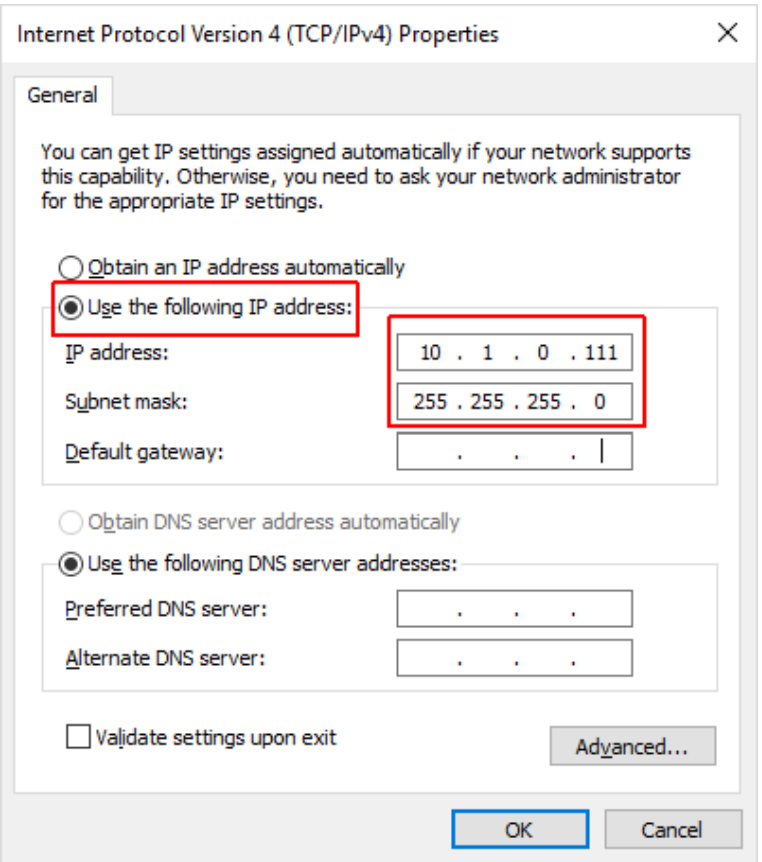
Adjust the IP address and the subnet-mask of the adapter to the following values:
- IP address: 10.1.0.111
- Subnet mask: 255.255.255.0
-
Click on the "OK" button and close all settings windows.
-
For the configuration to work properly the adapter needs to be reset by unplugging and re-plugging the LAN cable.
Configuring the firewall
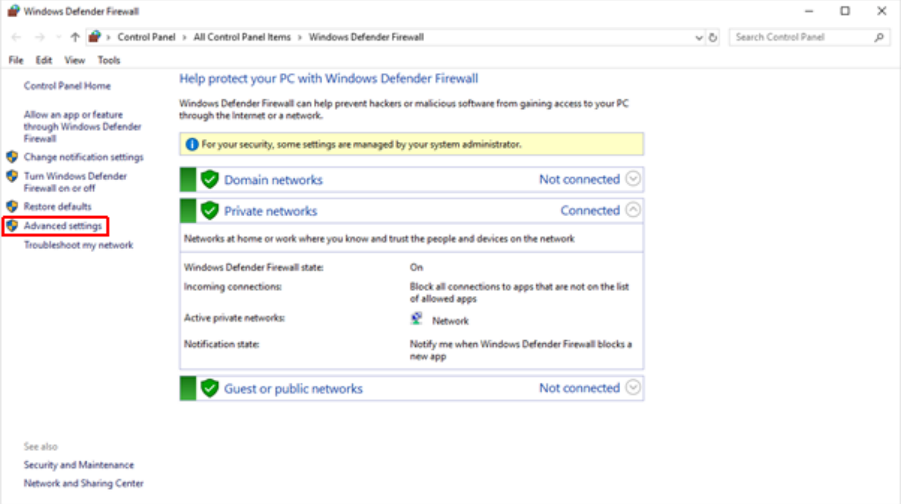
- Click “Start” and search for “Windows Defender Firewall” (simply type in the start menu). Click on the “Windows Defender Firewall” icon that appears.
- Select “Advanced Settings” on the left
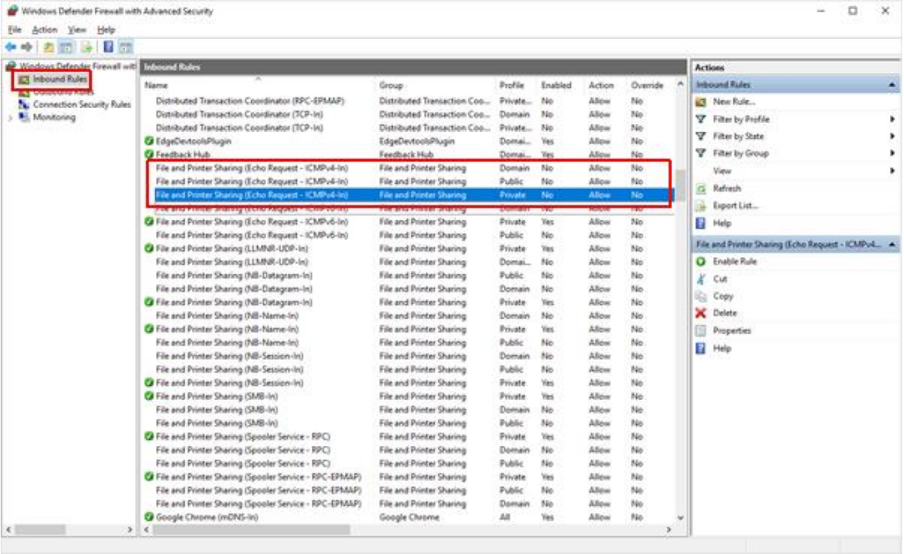
- In the appearing window, in the left pane select “Inbound Rules”.
- In the middle pane look for the rules titled “File and Printer Sharing (Echo Request - ICMPv4-In)”.
- Make sure that all rules above rules for all profiles (Domain, private and Public) are enabled (by selecting the rule and clicking “enable rule” in the right pane). A green checkmark must be shown.
Configuring Tap and SIM
-
Turn the charger on and let it run for at least 2 minutes.
-
Plug your laptop into the charger controller using an ethernet cable.
-
Open Google Chrome or Mozilla Firefox. In the address bar enter the IP address: 10.1.0.110
-
The login page will open. Enter your charger password. If you do not know the password, contact Rolec.
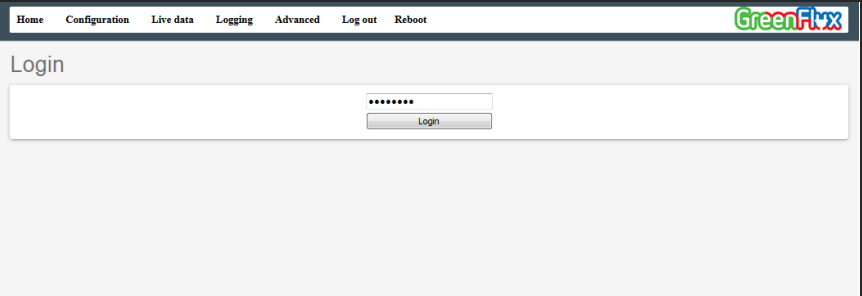
-
The configuration screen will now be open. In Backend Settings, paste the 3 fields you copied from the Tap app:
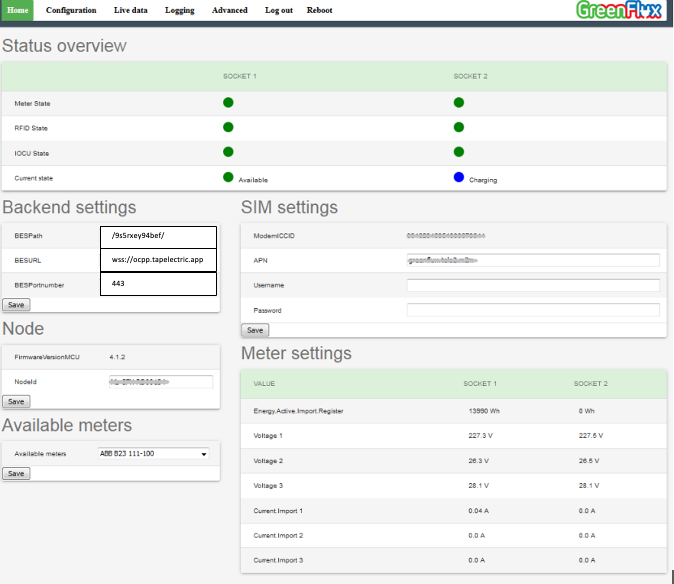
-
In the SIM settings, fill out your SIM card's APN. If it has one, enter the Username and Password.
-
In the configuration tab, tick "Use Secure Websocket".
-
Click the Reboot button in the top menu bar.
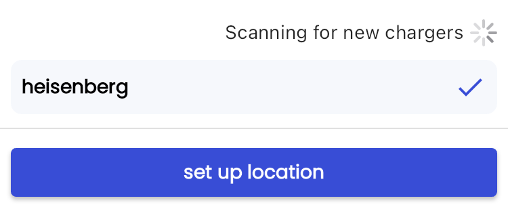
Return to the Tap app. After a minute the charger should appear and you can proceed with onboarding.