
What is Dynamic Load Balancing, and how can I set it up with Tap?
Laatst bewerkt:
Deze inhoud is nog niet vertaald.
Dynamic Load Balancing (DLB) adjusts charging in real time to the power your grid connection has free. An external meter measures your site’s load, and DLB scales charging up or down so your chargers deliver as much as they safely can.
- Avoids tripping circuits or going over what your grid connection can deliver
- Charges faster whenever more power is free
- Adjusts automatically, with nothing to manage by hand
Dynamic or static load balancing?
Section titled “Dynamic or static load balancing?”- Dynamic Load Balancing reacts to live meter readings and uses whatever capacity is free. It needs an external meter and is a paid feature.
- Static Load Management uses a fixed limit you set in advance. It needs no extra hardware and is free, but can leave capacity unused if your limit is cautious. See What is Tap’s Charge Control and how can it help optimise my charging set up?.
Supported meters: Tap integrates with the Charge-m8 Libra. You can also connect your own meter through the External Meters API.
Set up Dynamic Load Balancing
Section titled “Set up Dynamic Load Balancing”-
With Manage selected at the top, go to Home > [your location] > Charge control.
-
Under Charge control program, choose Dynamic Load Balancing.
-
Choose the meter’s Brand and Model, and enter its Meter ID.
-
Enter the Meter limit and Fallback limit, and choose a Distribution mode.
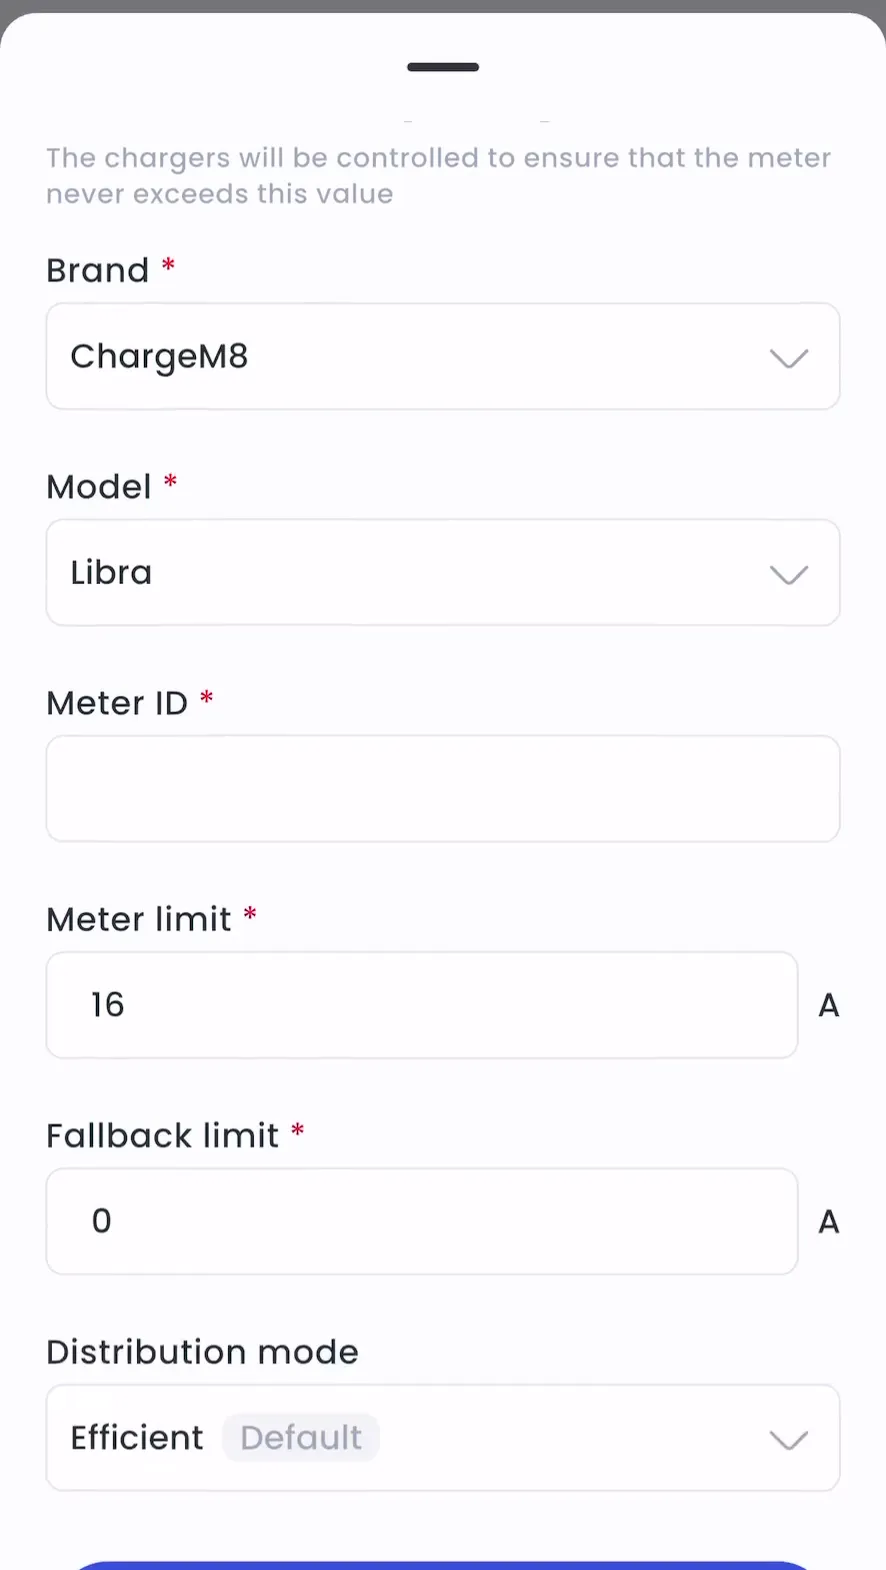
-
Tap Save.
- Locations > [your location] > Charge control
- Click Change program and choose Dynamic Load Balancing.
- Choose the meter’s brand and model, and enter its meter ID or serial number.
- Enter the Meter limit and Fallback limit, and choose a Distribution mode.
- Click Save.
Meter limits
Section titled “Meter limits”- Meter limit: the normal maximum available from your supply. DLB optimises within this.
- Fallback limit: the maximum Tap distributes if it loses contact with the meter or chargers.
Example: an office has a 100 A grid connection. The building uses 30 A at minimum and 80 A at most. Set the meter limit to 70 A (100 − 30) and the fallback limit to 20 A (100 − 80).
Distribution modes
Section titled “Distribution modes”- Efficient (default): optimises using factors such as driver preferences.
- Equal: splits the available power equally across all chargers.
Connect your own meter via the API
Section titled “Connect your own meter via the API”Choosing the meter brand Other (via the Tap API) and saving buys a licence for the External Meters endpoint.
- Create an API key: Admin > Account > API > create new API app.
- Send meter readings with the External Meters endpoint. See the API documentation.
Add subgroups
Section titled “Add subgroups”Use subgroups when circuits on your site have their own limits. They work within the meter’s limits and distribution mode.
- On Tap Web, open the location’s Charge control.
- Under Subgroups, click Add new.
- Name the subgroup, add a limit and select its chargers. Chargers not in a subgroup follow the main settings.
Monitor Dynamic Load Balancing
Section titled “Monitor Dynamic Load Balancing”On Tap Web, open the location’s Charge control and click Monitor. You’ll see the queue order, priority scores, limits and amps per phase.
Market Price Based Reduction (Netherlands and Belgium)
Section titled “Market Price Based Reduction (Netherlands and Belgium)”Add market prices (EPEX in the Netherlands, BELPEX in Belgium) as an input, so chargers charge more when prices are low. Available with Dynamic Load Balancing and Static Load Management Pro.
- In the program settings, switch on Enable price-based reduction.
- Set the Reduction factor: 0 means prices have no effect; 1 means prices have a strong effect.
- Save.
If you don’t see this option, contact [email protected].