
Charge Amps onboarding guide
Last updated:
You need to be near the charger, with the charger’s PIN code (in the documents that came in the box). Add the charger to your own Individual or Organisation Account. Installers: switch into your customer’s account first.
Copy your Tap URL
Section titled “Copy your Tap URL”-
With Manage selected at the top, open your location on the Home tab, tap Chargers, then Connect new chargers. For a new location, tap + below your locations on the Home tab.
-
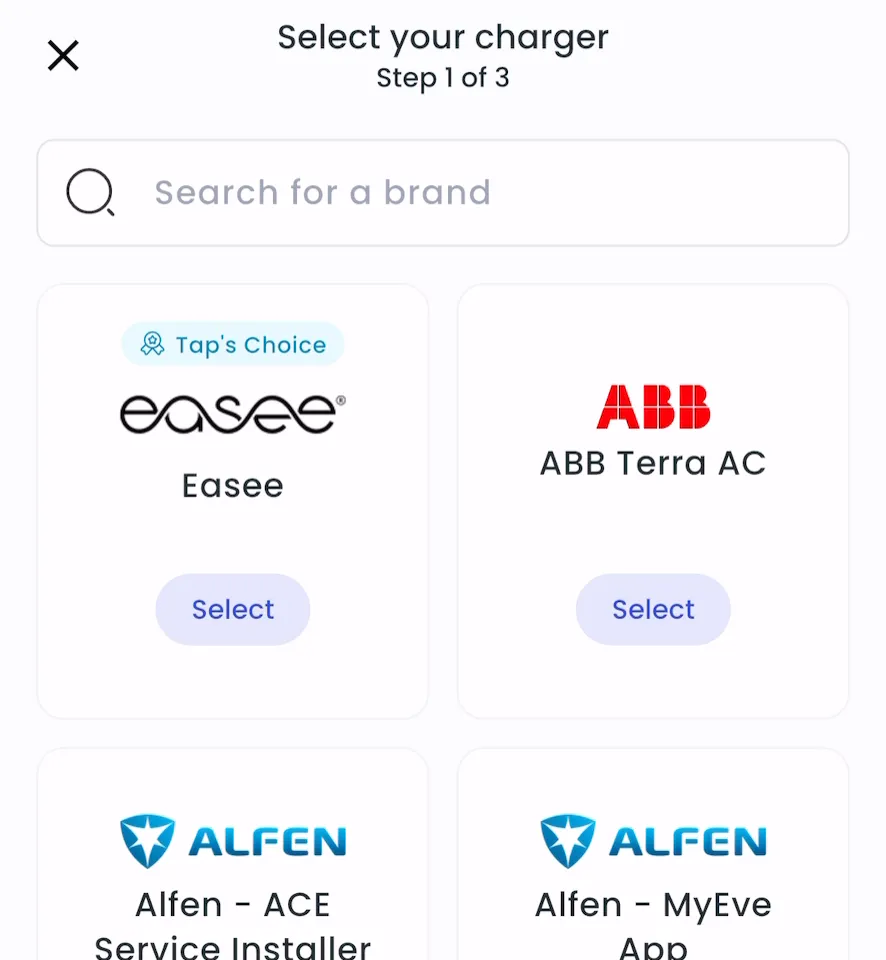
Search for Charge Amps and tap Select.
-
Copy the URL.
-
Locations > Connect new chargers, or click Connect new chargers on a location page.
-
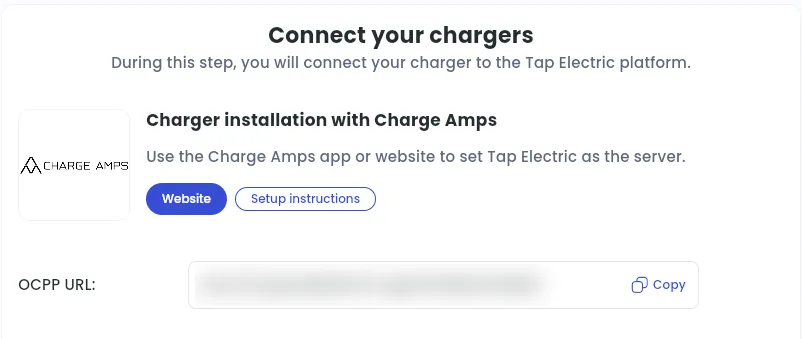
Under Choose your charger brand, search for Charge Amps and click it.
-
Next to OCPP URL, click Copy.
Set Tap as the backend on the charger
Section titled “Set Tap as the backend on the charger”-
Turn on the charger.
-
On a phone or computer, open the Wi-Fi settings and scan for networks.
-
Select the charger’s network, AURA_nnnnnnA (nnnnnn is the last 6 digits of the serial number). It’s available for 10 minutes after start-up.
-
When asked for the network key, enter the charger’s PIN code.
-
In a browser on the same device, go to 192.168.250.1 to open the local management interface.
-
Sign in with the PIN code again.
-
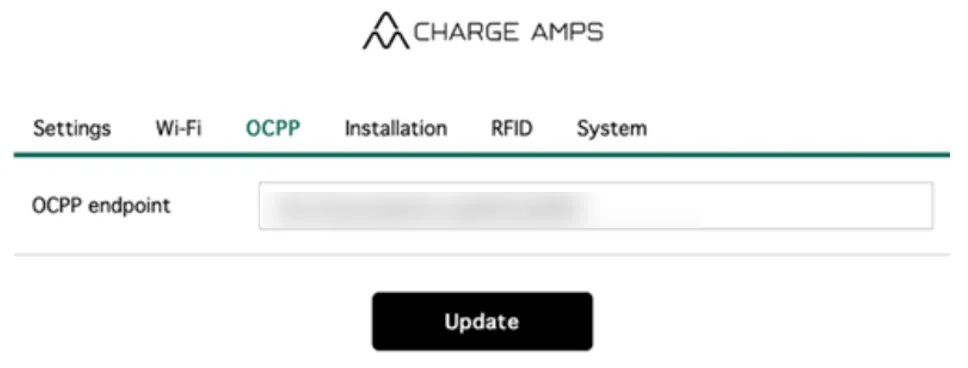
Open the OCPP tab and paste the Tap URL into OCPP endpoint.
-
Press Update to save.
-
Reboot the charger.
After a minute, the charger appears in Tap.
Set the location
Section titled “Set the location”- Under Where is the charger?, choose New location and enter the address, or pick an Existing location.
- On You’re all set, choose what to do next, or tap Go to my location.
- Under Your chargers, check that the charger is listed, then click Continue.
- Complete the Set location and Location settings steps.