
KEBA P40 series onboarding guide
Last updated:
You need the KEBA eMobility app on your phone. Have an older KEBA P30? See KEBA P30 series onboarding guide. Add the charger to your own Individual or Organisation Account. Installers: switch into your customer’s account first.
Copy your Tap server details
Section titled “Copy your Tap server details”-
With Manage selected at the top, open your location on the Home tab, tap Chargers, then Connect new chargers. For a new location, tap + below your locations on the Home tab.
-
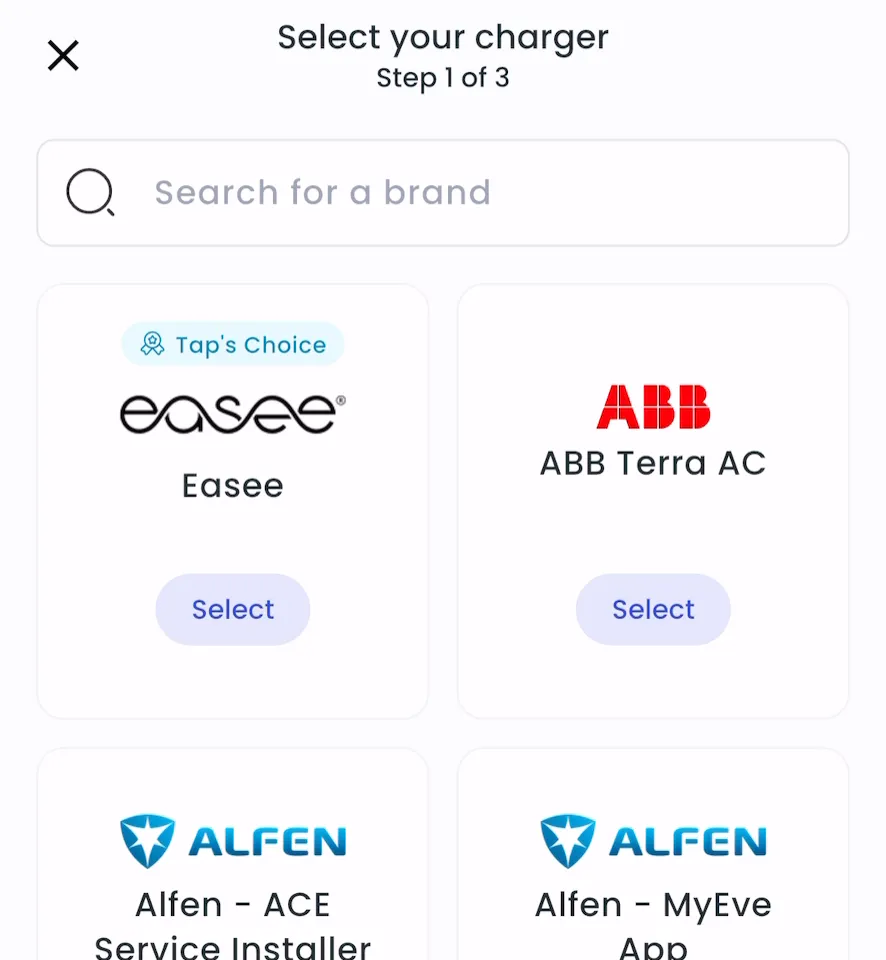
Search for KEBA P40 Series and tap Select.
-
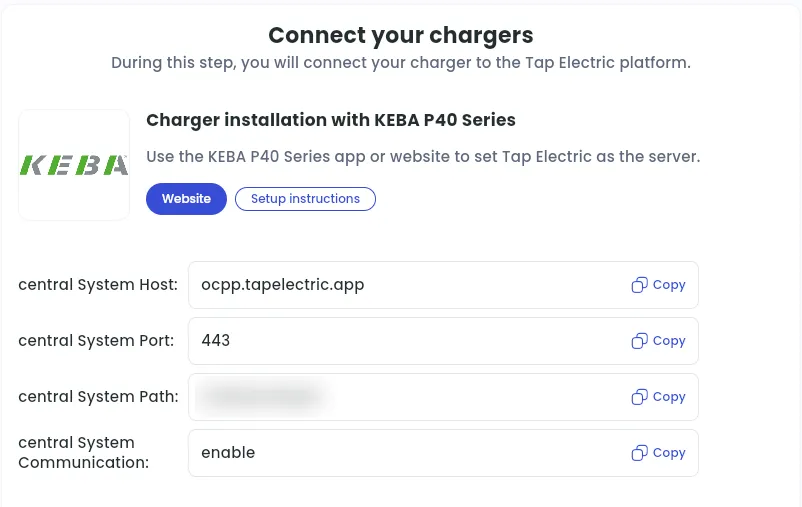
Copy the Path. You also need the host and port shown.
-
Locations > Connect new chargers, or click Connect new chargers on a location page.
-
Under Choose your charger brand, search for KEBA P40 Series and click it.
-
Note the central System Host, central System Port and central System Path. Each has a Copy button.
Set Tap as the central system in the KEBA eMobility app
Section titled “Set Tap as the central system in the KEBA eMobility app”-
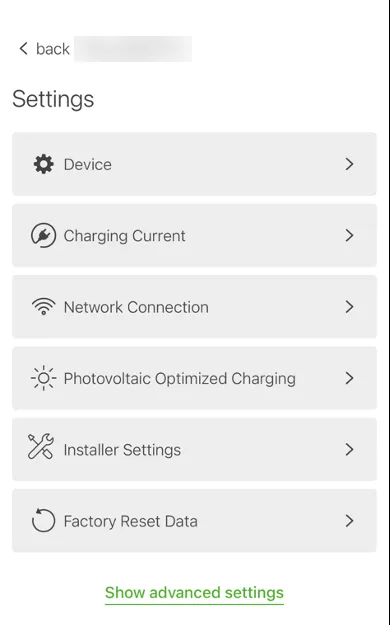
In the KEBA eMobility app, select the charger, tap ⋯ and choose Settings.
-
Tap Show advanced settings.
-
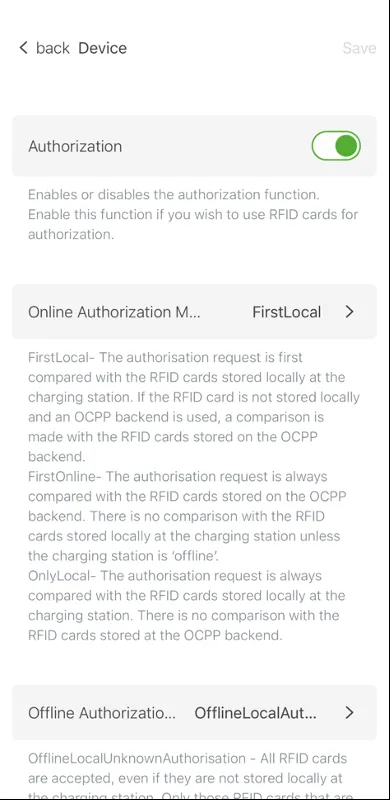
Under Device, turn on Authorization and tap Save.
-
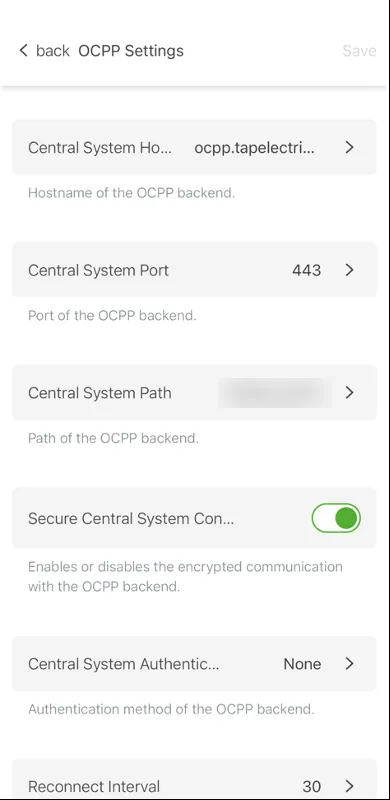
Open OCPP Settings and enter:
- Central System Hostname: ocpp.tapelectric.app
- Central System Port: 443
- Central System Path: the path you copied from Tap
- Secure Central System Communication: enable
-
Leave the other settings as they are and tap Save.
After a minute, the charger appears in Tap. The blue LED bar blinks every 5 seconds.
Set the location
Section titled “Set the location”- Under Where is the charger?, choose New location and enter the address, or pick an Existing location.
- On You’re all set, choose what to do next, or tap Go to my location.
- Under Your chargers, check that the charger is listed, then click Continue.
- Complete the Set location and Location settings steps.