
EVBox onboarding guide
Last updated:
You can connect EVBox Gen 3 and Gen 4 chargers. Gen 1, Gen 2 and Gen 5 (Livo, Liviqo) can’t be connected. Not sure which generation you have? See EVBox’s article How can I identify the generation of my AC Station?
Add the charger to your own Individual or Organisation Account. Installers: switch into your customer’s account first.
Copy your Tap URL
Section titled “Copy your Tap URL”You need this URL for every generation.
-
With Manage selected at the top, open your location on the Home tab, tap Chargers, then Connect new chargers. For a new location, tap + below your locations on the Home tab.
-
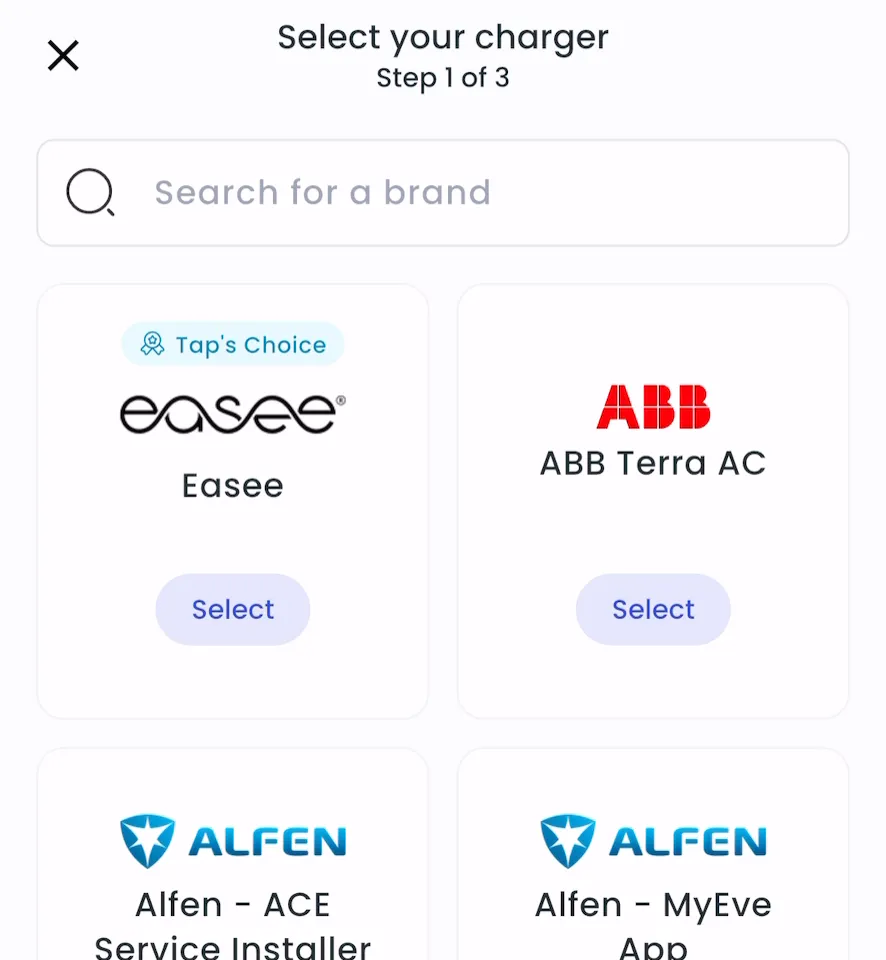
Search for EVBox and tap Select.
-
Copy the URL.
-
Locations > Connect new chargers, or click Connect new chargers on a location page.
-
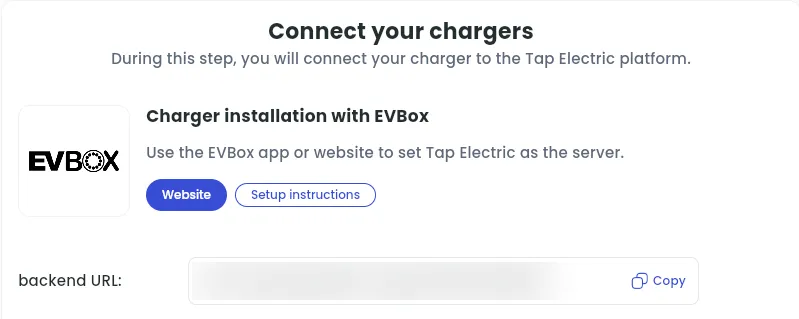
Under Choose your charger brand, search for EVBox and click it.
-
Next to backend URL, click Copy.
EVBox Gen 4 (BusinessLine Gen 4, Elvi)
Section titled “EVBox Gen 4 (BusinessLine Gen 4, Elvi)”-
Open the EVBox Connect app and connect to the station:
- Select Start Pairing.
- Select your station ID, then Pair > Continue.
- Enter the station’s security code.
- Select Authorize > Continue.
-
Select Installer Mode and enter the security code again.
-
Make sure the station has the latest firmware. If it doesn’t, or no firmware version is shown, select Update Firmware, then repeat steps 1 and 2.
-
Turn on Set charger to online and select Save. If asked, reboot the station: the new settings apply after the reboot.
-
Repeat steps 1 and 2.
-
Select Charging Management Platform.
-
Enter the Tap URL as the backend URL, then select Select.
-
Select Save and reboot the station.
After a minute, the charger appears in Tap.
EVBox Gen 3 (BusinessLine Gen 3, HomeLine)
Section titled “EVBox Gen 3 (BusinessLine Gen 3, HomeLine)”Gen 3 stations can’t be moved with an app. An installer has to connect on site with a cable and a specific tool, and enter the Tap URL. Many installers already have this tool, so ask your local installer.
Set the location
Section titled “Set the location”- Under Where is the charger?, choose New location and enter the address, or pick an Existing location.
- On You’re all set, choose what to do next, or tap Go to my location.
- Click Continue, then complete the Set location and Location settings steps.