
Veton onboarding guide
Last updated:
You need a computer on the same network as the charger, and the charger’s web interface login from Veton’s installer documentation. Add the charger to your own Individual or Organisation Account. Installers: switch into your customer’s account first.
Set Tap as the backend in the Veton web interface
Section titled “Set Tap as the backend in the Veton web interface”-
Connect a network cable from your router to the ETH0 port of the charging controller.
-
Power up the charger. This can take around 5 minutes.
-
On your computer, open http://ev3000.local/ in a browser.
-
Click the person icon and sign in.
-
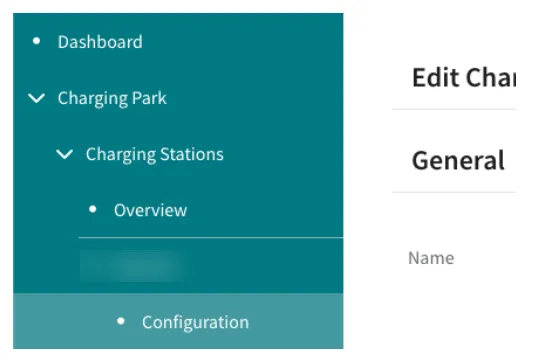
Go to Charging Park > Charging Stations, select the charger and open Configuration.
-
Set Release Mode to By OCPP.
-
Set OCPP ID to a unique name for the charger and click Save changes.
-
Go to Charging Park > OCPP > Configuration.
-
In Backend URL, enter
wss://ocpp.tapelectric.app/veton/followed by the charger’s serial number.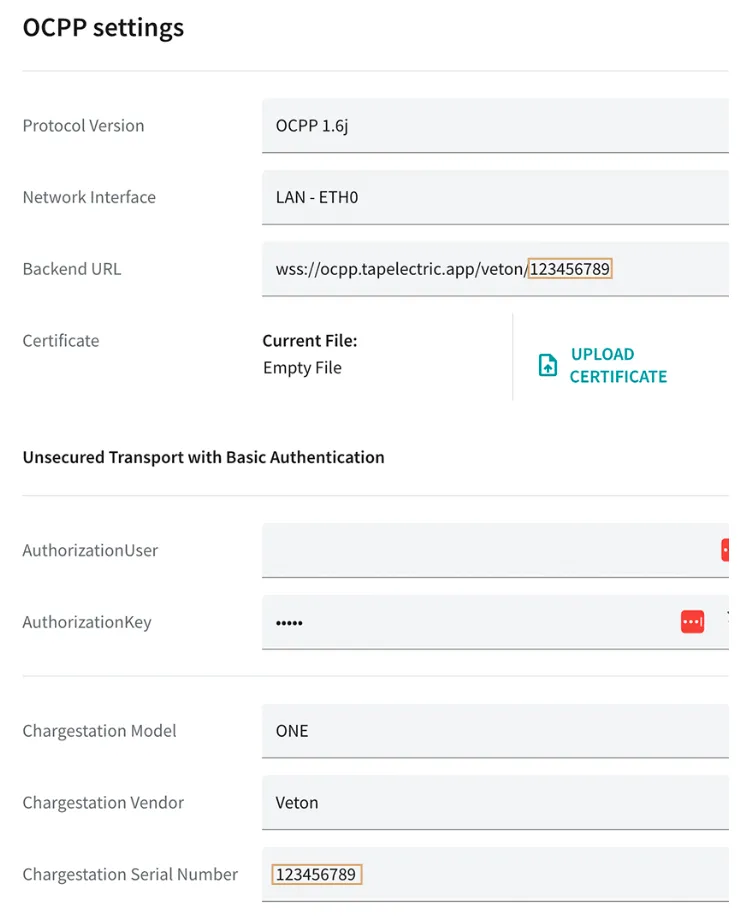
-
Go to System Control > Time and check the date and time. If they’re wrong, set them to match your computer and click Save. You may need to sign in again.
-
Go to System Control > Network and make sure No Gateway isn’t ticked. Click Save if you changed it.
-
Go to System Control > Status, click Reboot system and wait about 5 minutes for the controller to restart.
Add the charger in Tap
Section titled “Add the charger in Tap”-
With Manage selected at the top, open your location on the Home tab, tap Chargers, then Connect new chargers. For a new location, tap + below your locations on the Home tab.
-
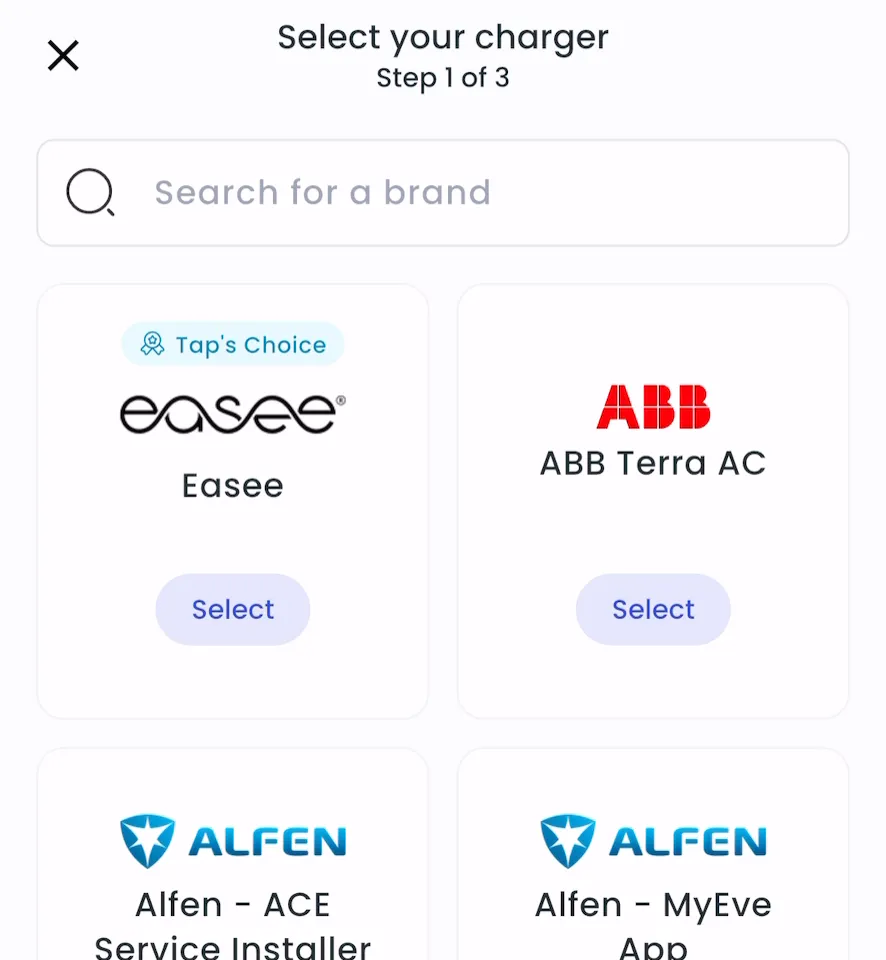
Search for Veton and tap Select.
-
Enter the Veton serial number and tap Add.
-
Locations > Connect new chargers, or click Connect new chargers on a location page.
-
Under Choose your charger brand, search for Veton and click it.
-
Under Charger ID, enter the Veton serial number and click + Add. The screen also shows the backend URL format.
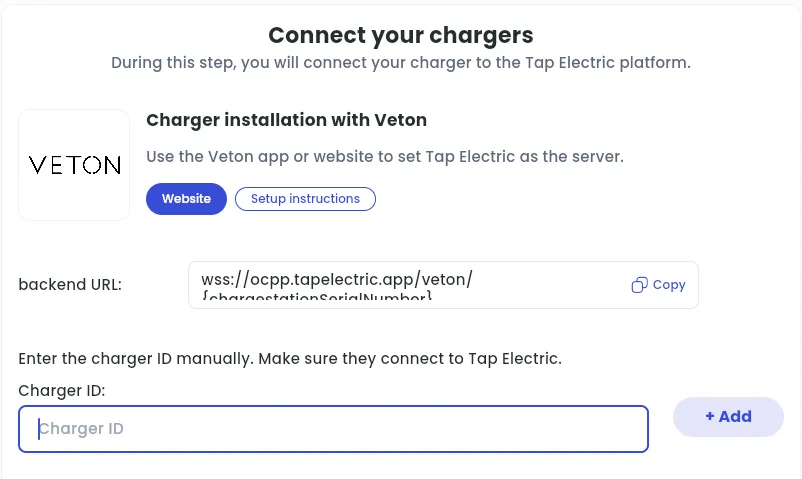
After a minute, the charger shows up and you can set its location.
Set the location
Section titled “Set the location”- Under Where is the charger?, choose New location and enter the address, or pick an Existing location.
- On You’re all set, choose what to do next, or tap Go to my location.
- Click Continue, then complete the Set location and Location settings steps.