
GL EV-IQ onboarding guide
Last updated:
Some EV-IQ chargers come from the factory already set up for Tap: just power them on and they appear in your Tap account. This guide is for chargers that aren’t. You need the Installer Miles app. Add the charger to your own Individual or Organisation Account. Installers: switch into your customer’s account first.
Copy your Tap URL
Section titled “Copy your Tap URL”-
With Manage selected at the top, open your location on the Home tab, tap Chargers, then Connect new chargers. For a new location, tap + below your locations on the Home tab.
-
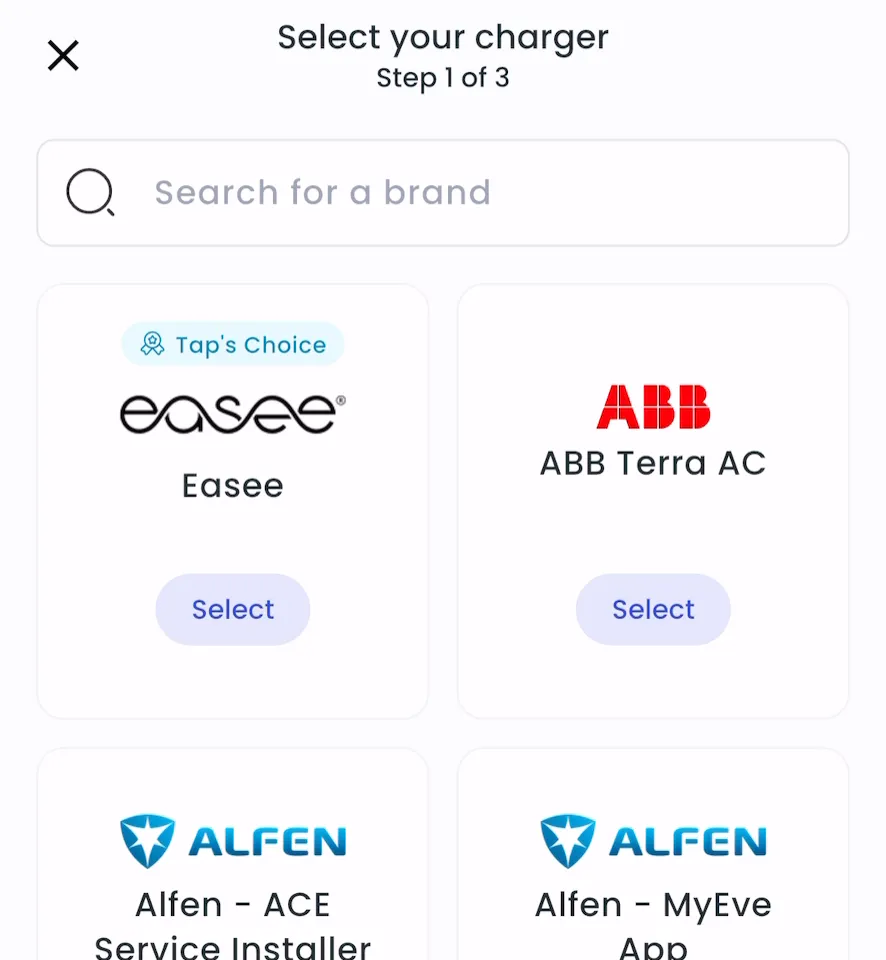
Search for GL EV-IQ and tap Select.
-
Copy the URL.
- Locations > Connect new chargers, or click Connect new chargers on a location page.
- Under Choose your charger brand, search for GL EV-IQ and click it.
- Copy the ocpp URL.
Connect the charger in the Installer Miles app
Section titled “Connect the charger in the Installer Miles app”-
Make sure the charger is powered on.
-
Open the Installer Miles app and select Access for Electric Miles Drivers.
-
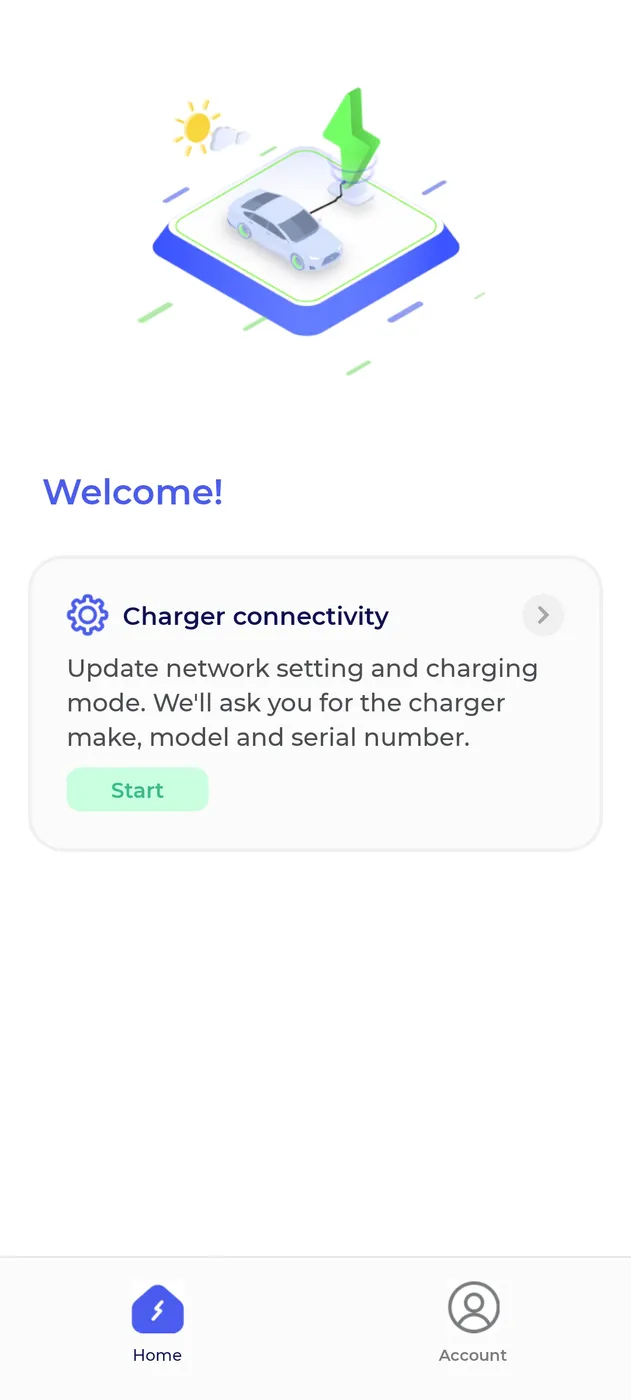
Select Charger connectivity.
-
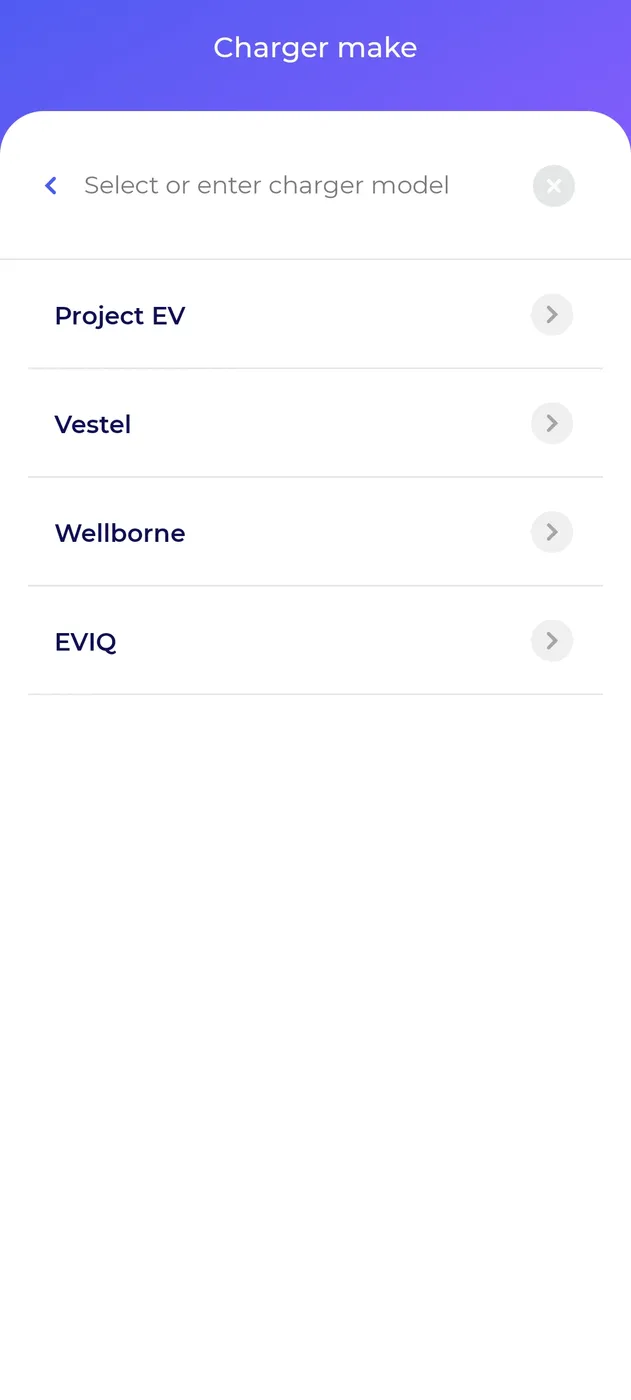
Select EVIQ, then GL-EVIQ07WRS.
-
Scan the serial number QR code on the charger.
-
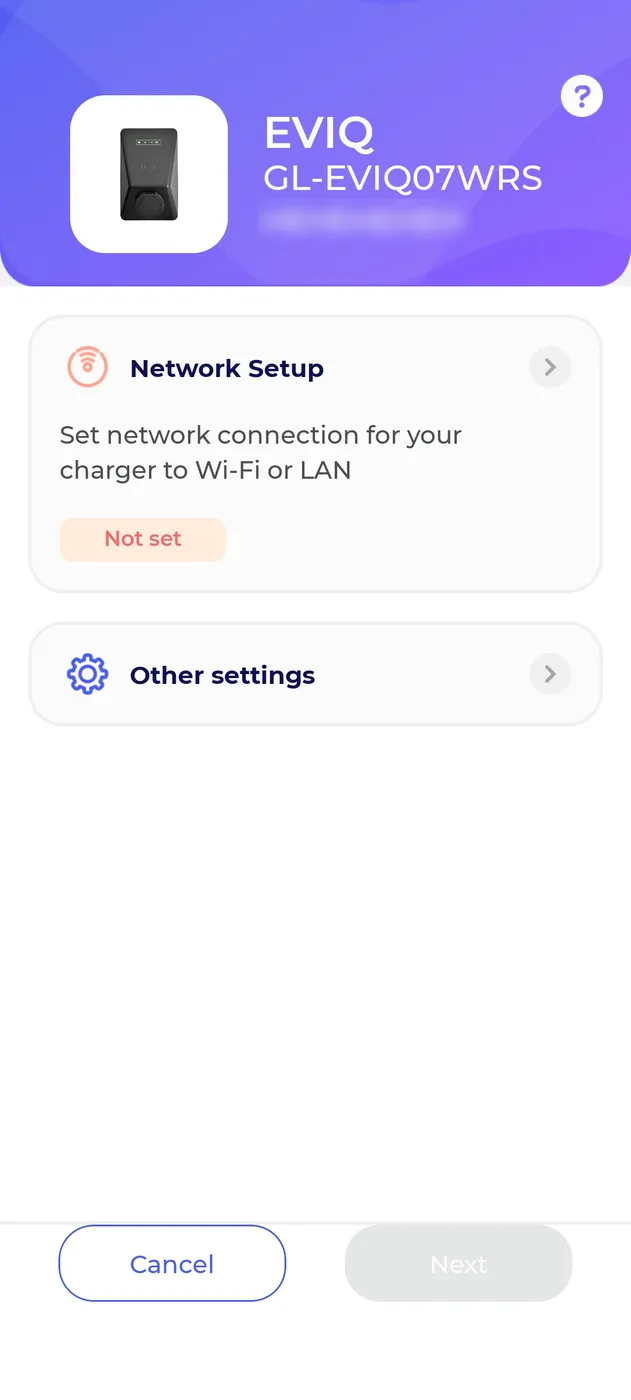
Select Network Setup and enter your network details.
-
Tap Next and connect your phone to the charger over Bluetooth with the charger’s Bluetooth password. The app shows that the charger is connected.
-
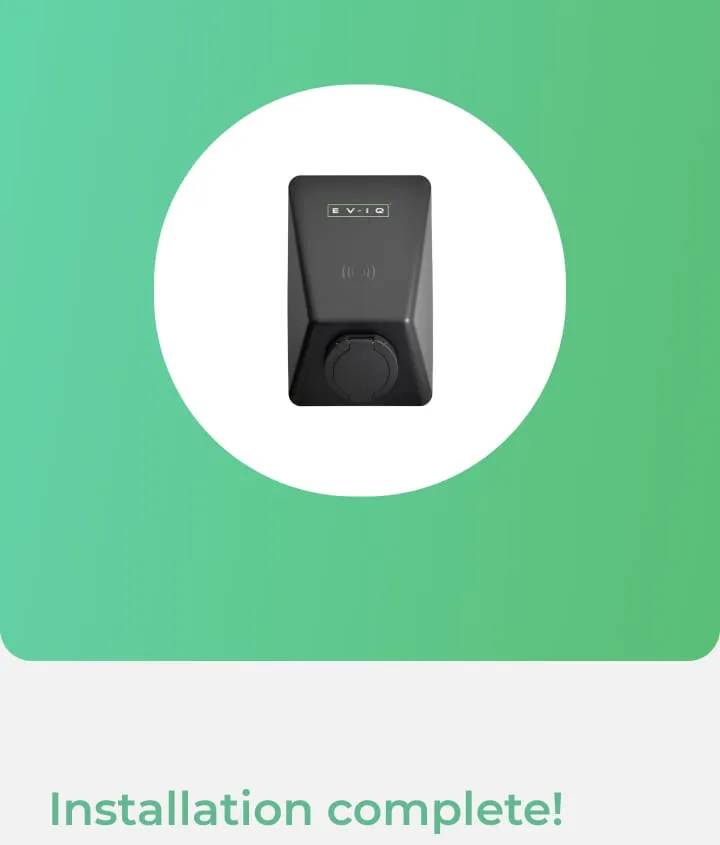
Wait a few minutes. The screen turns green and the charger resets.
-
Email the Electric Miles team at [email protected] with the charger’s serial number. Ask them to change the server URL to the URL you copied from Tap, and to set the randomised delay to 1 second.
When Electric Miles has made the change, the charger appears in Tap.
Set the location
Section titled “Set the location”- Under Where is the charger?, choose New location and enter the address, or pick an Existing location.
- On You’re all set, choose what to do next, or tap Go to my location.
- Under Your chargers, check that the charger is listed, then click Continue.
- Complete the Set location and Location settings steps.