
Tellus Power onboarding guide
Last updated:
You make these changes on the charger’s touchscreen and need its admin passcode. If you don’t have it, ask your installer or Tellus Power. Add the charger to your own Individual or Organisation Account. Installers: switch into your customer’s account first.
Copy your Tap URL
Section titled “Copy your Tap URL”-
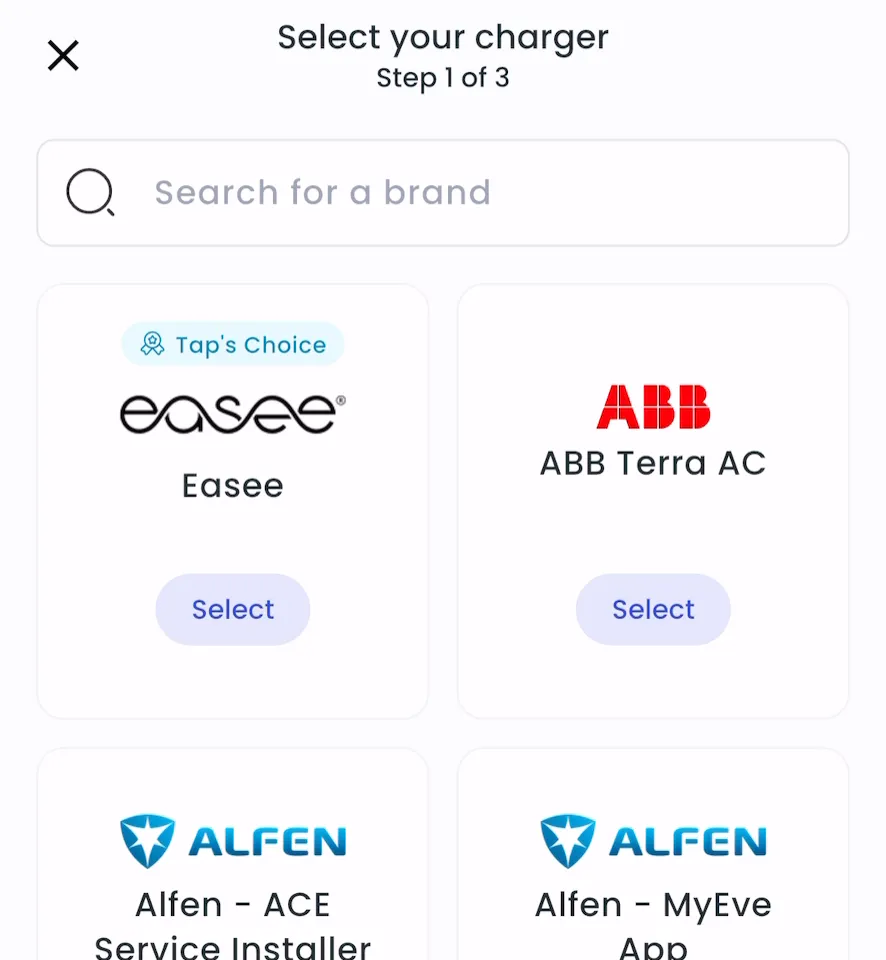
With Manage selected at the top, open your location on the Home tab, tap Chargers, then Connect new chargers. For a new location, tap + below your locations on the Home tab.
-
Search for Tellus Power and tap Select.
-
Copy the URL.
-
Locations > Connect new chargers, or click Connect new chargers on a location page.
-
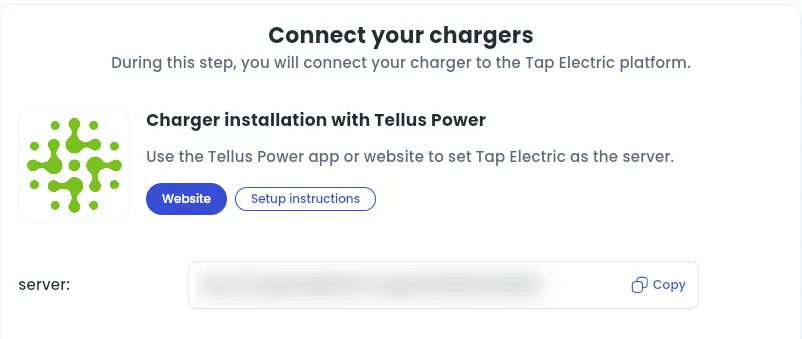
Under Choose your charger brand, search for Tellus Power and click it.
-
Copy the server URL.
Open the settings menu
Section titled “Open the settings menu”- Make sure no vehicle is plugged into either connector.
- On the touchscreen, tap the Tellus Power logo in the centre of the screen.
- Enter the admin passcode. The Settings menu opens with System Setting, Basic Parameters and Network Setting.
Set the charger to online mode
Section titled “Set the charger to online mode”- Tap System Setting.
- Set Working Mode to 1 (Online Mode).
- Note the Device ID. Don’t change it.
- Set the correct Time Zone. For the UK: 0 = UTC (winter), 1 = BST (summer).
- Tap Write to save, then Read to check.
Connect the charger to the internet
Section titled “Connect the charger to the internet”In Network Setting, choose one option and tap Write:
- Ethernet (recommended): connect an Ethernet cable and set Network Mode to 1 (Ethernet/LAN).
- Wi-Fi: set Network Mode to Wi-Fi, then enter the WiFi SSID and WiFi Password.
- 4G: insert a 4G SIM card, set Network Mode to 5 (4G), then enter the APN, Auth Type, Username and Password.
Set Tap as the server
Section titled “Set Tap as the server”- In Network Setting, find the Server field.
- Enter the URL you copied from Tap exactly, with no spaces or extra characters.
- Tap Write, then Read to check.
- In the Settings menu, tap Reset (System Reset). The charger restarts in about 60 to 90 seconds and returns to the home screen.
After a minute, the charger appears in Tap.
Set the location
Section titled “Set the location”- Under Where is the charger?, choose New location and enter the address, or pick an Existing location.
- On You’re all set, choose what to do next, or tap Go to my location.
- Under Your chargers, check that the charger is listed, then click Continue.
- Complete the Set location and Location settings steps.