
NewMotion Home Advanced 2.1 & 2.2 onboarding guide
Last updated:
The Home Advanced 2.1 and 2.2 are the models we know can be moved to Tap. Other NewMotion models may work if they support OCPP 1.6. You need the charger’s admin password, which you get from your current charger operator. Add the charger to your own Individual or Organisation Account. Installers: switch into your customer’s account first.
Copy your Tap URL
Section titled “Copy your Tap URL”-
With Manage selected at the top, open your location on the Home tab, tap Chargers, then Connect new chargers. For a new location, tap + below your locations on the Home tab.
-
Search for NewMotion and tap Select.
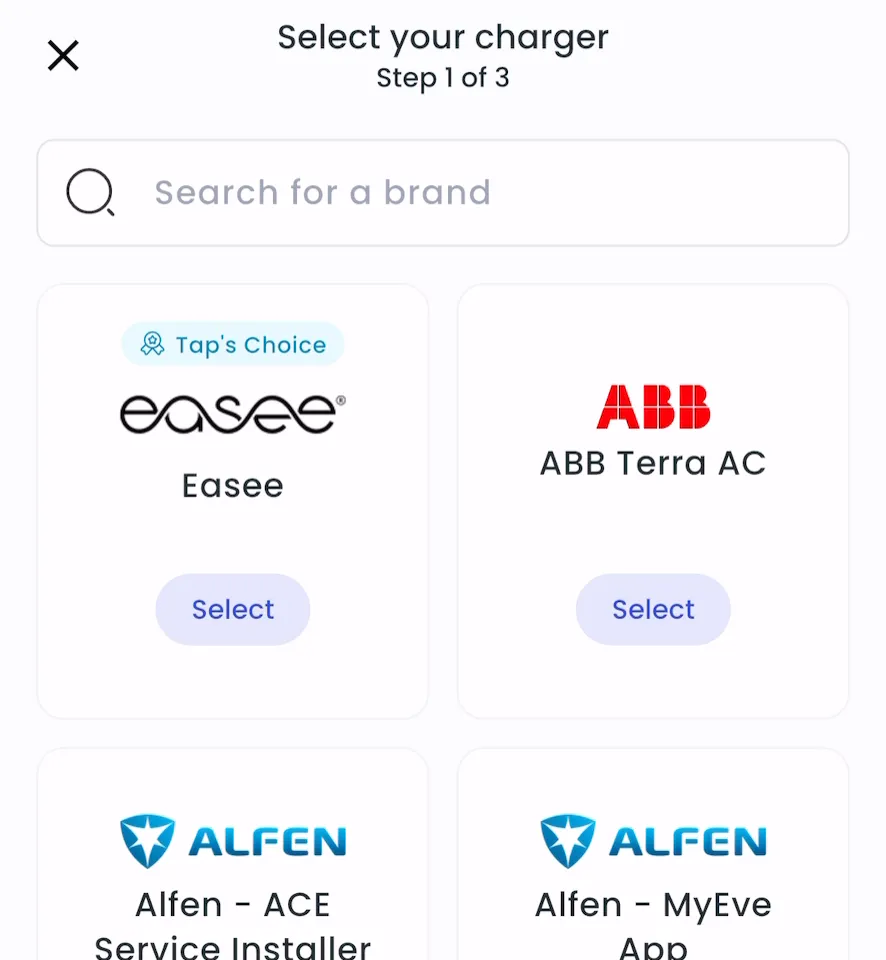
-
Copy the URL.
-
Locations > Connect new chargers, or click Connect new chargers on a location page.
-
Under Choose your charger brand, search for NewMotion Home Advanced 2.1 & 2.2 and click it.
-
Copy the OCPP URL.
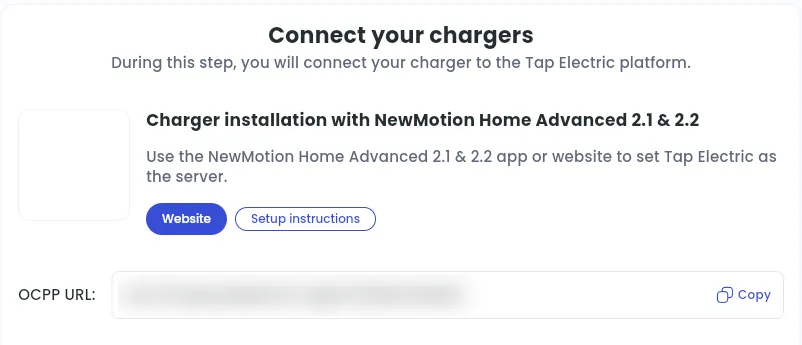
Find the charger on your network
Section titled “Find the charger on your network”- Connect the charger to your home internet.
- Connect your phone or laptop to the same Wi-Fi as the charger.
- In a browser, open your router’s page and sign in. Common router addresses are
192.168.1.1,192.168.0.1and192.168.178.1. - Open the list of connected devices. It may be called Connected devices, Device list, LAN devices or DHCP clients.
- Find the charger and note its IP address, for example
192.168.1.37. It may show as Shell, EV charger, Wallbox, an unknown device, or only a MAC address.
Set Tap as the backend
Section titled “Set Tap as the backend”- In a browser, go to
http://<charger IP>:12800/admin/admin.html, using the charger’s IP address. For example:http://192.168.1.37:12800/admin/admin.html. - Enter the admin password from your current charger operator.
- Paste the URL you copied from Tap as the backoffice URL and save.
- Reboot the charger.
After a minute, the charger appears in Tap.
Set the location
Section titled “Set the location”- Under Where is the charger?, choose New location and enter the address, or pick an Existing location.
- On You’re all set, choose what to do next, or tap Go to my location.
- Under Your chargers, check that the charger is listed, then click Continue.
- Complete the Set location and Location settings steps.