
Ratio io7 onboarding guide
Last updated:
Have a Ratio io5, io6, Smart or Solar? See Ratio io5 / io6 / Smart / Solar - onboarding guide. You need to be at the charger with a phone or laptop, and the installer login from the charger’s Installer Label. Add the charger to your own Individual or Organisation Account. Installers: switch into your customer’s account first.
Copy your Tap URL
Section titled “Copy your Tap URL”-
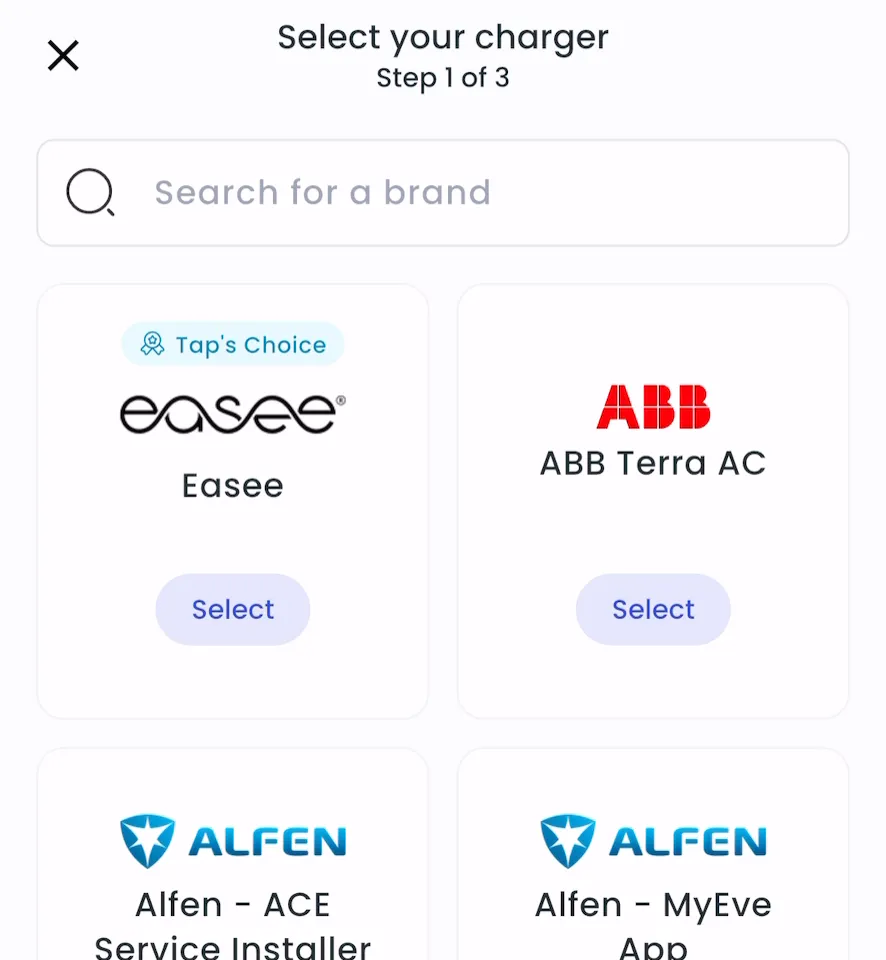
With Manage selected at the top, open your location on the Home tab, tap Chargers, then Connect new chargers. For a new location, tap + below your locations on the Home tab.
-
Search for Ratio io7 and tap Select.
-
Copy the URL.
-
Locations > Connect new chargers, or click Connect new chargers on a location page.
-
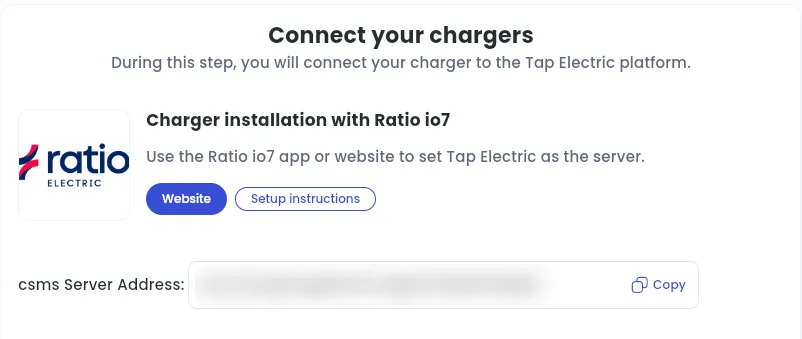
Under Choose your charger brand, search for Ratio io7 and click it.
-
Copy the csms Server Address.
Set Tap as the CSMS in the Ratio io7 portal
Section titled “Set Tap as the CSMS in the Ratio io7 portal”- Power up the charger. The LEDs are white while it boots and turn green when it’s ready. The charger’s Wi-Fi hotspot is then on for 10 minutes. If you don’t finish signing in within that time, reboot the charger.
- On your phone or laptop, connect to the ratio_io7 Wi-Fi network with the password from the Installer Label. On a Windows laptop, you may need to choose Connect using a security key instead.
- In a browser, go to https://10.7.10.7. If you see a security warning, click Advanced, then Continue.
- Sign in with the installer login from the Installer Label.
- In User Settings, change the password to a secure one and store it safely.
- Open the CSMS section.
- Turn Offline Authorization off.
- In CSMS Server Address, paste the URL you copied from Tap and click Save.
After a minute, the charger appears in Tap.
Set the location
Section titled “Set the location”- Under Where is the charger?, choose New location and enter the address, or pick an Existing location.
- On You’re all set, choose what to do next, or tap Go to my location.
- Under Your chargers, check that the charger is listed, then click Continue.
- Complete the Set location and Location settings steps.
Check one charger setting
Section titled “Check one charger setting”After the charger is added, open the charger in Tap, go to Advanced charger configuration and search for OEM_NoAuthEnabled. Make sure it’s set to false.