
Hydra onboarding guide
Last updated:
You need access to the charger’s touchscreen, which is protected by a passcode. Don’t know the passcode, or not at the site? Contact Hydra support to connect the charger to Tap remotely. Add the charger to your own Individual or Organisation Account. Installers: switch into your customer’s account first.
Copy your Tap URL
Section titled “Copy your Tap URL”-
With Manage selected at the top, open your location on the Home tab, tap Chargers, then Connect new chargers. For a new location, tap + below your locations on the Home tab.
-
Search for Hydra and tap Select.
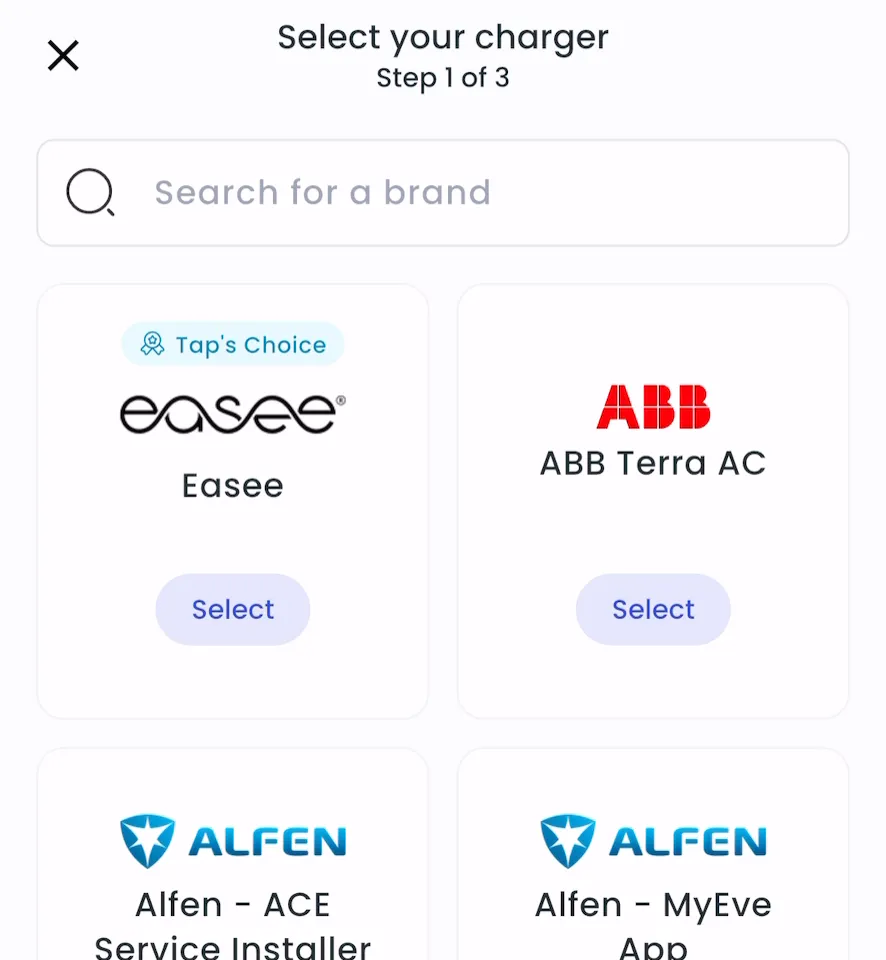
-
Copy the URL.
-
Locations > Connect new chargers, or click Connect new chargers on a location page.
-
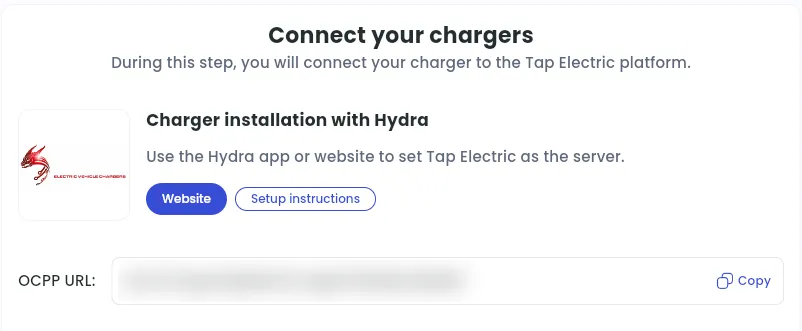
Under Choose your charger brand, search for Hydra and click it.
-
Next to OCPP URL, click Copy.
Set Tap as the server on the touchscreen
Section titled “Set Tap as the server on the touchscreen”-
On the charger’s touchscreen, enter the passcode.
-
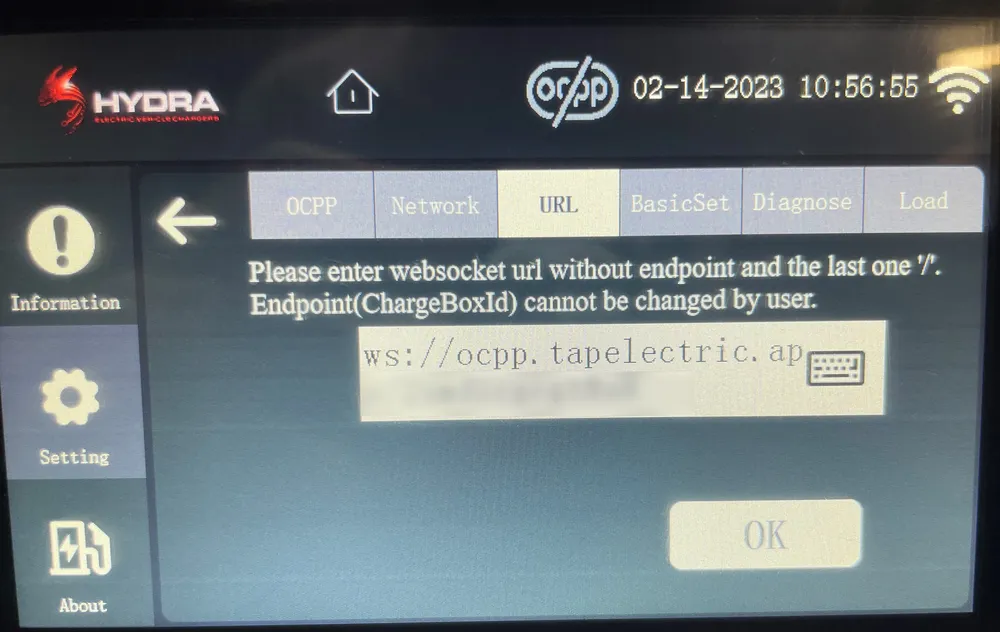
Go to Setting > URL.
-
Enter the URL from Tap.
-
Press OK.
After a minute, the charger appears in Tap. If it doesn’t, reboot the charger from the touchscreen.
Set the location
Section titled “Set the location”- Under Where is the charger?, choose New location and enter the address, or pick an Existing location.
- On You’re all set, choose what to do next, or tap Go to my location.
- Under Your chargers, check that the charger is listed, then click Continue.
- Complete the Set location and Location settings steps.