
Gewiss onboarding guide
Last updated:
You need to be at the charger with a laptop, connected by ethernet cable or through the charger’s Wi-Fi. Before you go, download the latest firmware files for your charger model from the Gewiss website. Add the charger to your own Individual or Organisation Account. Installers: switch into your customer’s account first.
Copy your Tap URL
Section titled “Copy your Tap URL”-
With Manage selected at the top, open your location on the Home tab, tap Chargers, then Connect new chargers. For a new location, tap + below your locations on the Home tab.
-
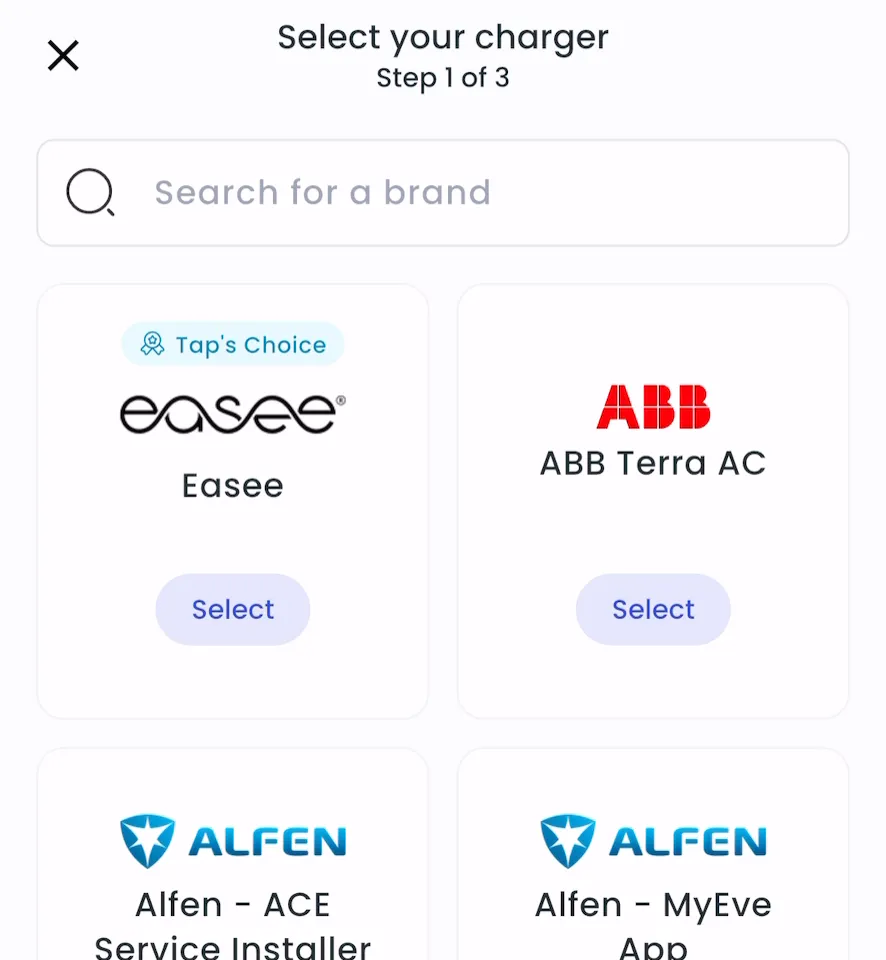
Search for Gewiss and tap Select.
-
Copy the URL.
-
Locations > Connect new chargers, or click Connect new chargers on a location page.
-
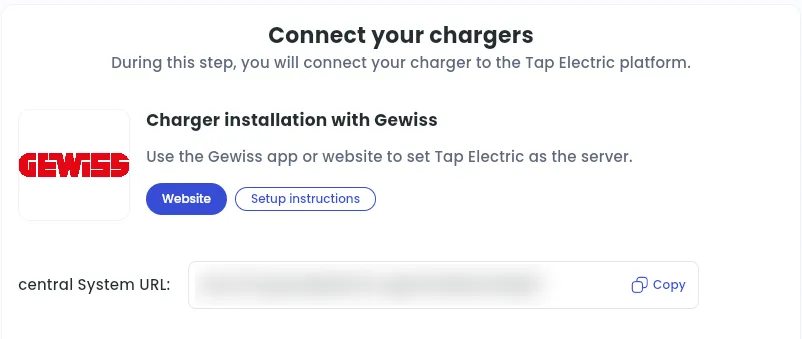
Under Choose your charger brand, search for Gewiss and click it.
-
Next to central System URL, click Copy.
Open the Gewiss WebUI
Section titled “Open the Gewiss WebUI”Through the ethernet port
- Plug an ethernet cable from your laptop into the charger’s EVSE port. On 90–180 kW models, open the front panel; on 60 kW models, the side panel. 30 kW models don’t need opening. The charger manual shows where the port is.
- On your laptop, go to Settings > Network & Internet > Ethernet > IP assignment > Edit.
- Set IP address to 192.168.1.1 and Subnet mask to 255.255.255.0.
- In a browser, go to 192.168.1.10. If the browser shows a warning, continue.
- Sign in with the user admin and the default password from Gewiss’s manual.
Through the charger’s Wi-Fi
The charger’s Wi-Fi works in two modes: Station (connects the charger to the internet) and Access point (lets you open the WebUI without a cable). If the charger’s network doesn’t appear on your laptop, set Access point mode over ethernet first.
- Near the charger, open your laptop’s Wi-Fi list. The network name is the model name (ending in GW) followed by the serial number.
- Connect with the password: the serial number followed by the model name.
- In a browser, go to 192.168.10.10. If the browser shows a warning, continue.
- Sign in with the user admin and the default password from Gewiss’s manual.
- To keep Access point mode for next time, go to SET > Network > Wifi and set Mode to Access Point, leave Password empty (keeps the default), set WiFi Broadcast SSID to broadcast and DHCP Server to enable.
Check the firmware
Section titled “Check the firmware”-
Go to SET > System > Version Information.
-
Check that Csu Root Fs Fw Rev is V4.07.M0 or higher, and that Connector1(CCS) Fw Rev (and Connector2(CCS) Fw Rev, if there’s a second socket) is V1.36.S0 or higher.
-
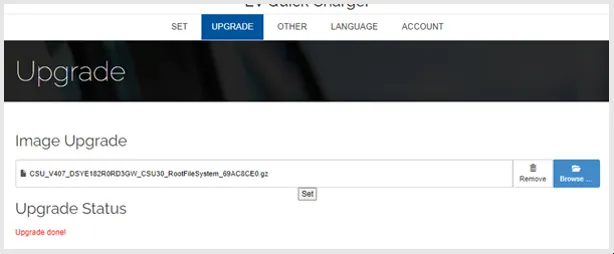
If not, go to UPGRADE > Browse, select the firmware file for your exact model, and click Set. Firmware files are model-specific: the model name is part of the file name.
-
Wait while the charger installs the update and restarts (it can restart more than once). When the LED is green and the display shows the home page, sign in to the WebUI again and check the versions.
Using a Tap SIM card
Section titled “Using a Tap SIM card”-
Open the charger’s front panel (90–180 kW) or side panel (60 kW; on 30 kW models, unscrew the side panel) and put the SIM in the router.
-
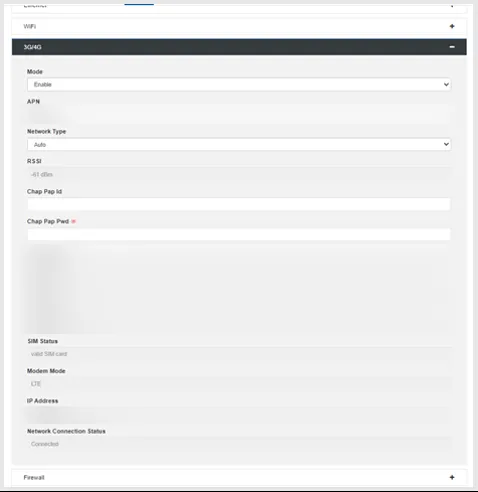
In the WebUI, go to SET > Network > 3G/4G.
-
Set Mode to Enable, APN to Tapelectric and Network Type to Auto. Leave Chap Pap Id and Chap Pap Pwd empty.
-
Click Ok. After a few minutes, Network Connection Status shows Connected.
Point the charger to Tap
Section titled “Point the charger to Tap”- Go to SET > Backend > OCPP Backend.
- Enter:
- Central System URL: the URL from Tap
- Support V2.0.1: Disable
- Charge Box Id: a unique name, or the charger’s serial number
- Charge Point Vendor: JOINON
- OCPP Security Profile: None security
- Manufacturer Root Certificate file sha256 hash: empty
- Leave all other fields as they are.
- Click Ok.
- Restart the charger: OTHER > Reboot.
After a few minutes, the charger appears in Tap, and OCPP Connection Status in the WebUI shows Connected.
Set the location
Section titled “Set the location”- Under Where is the charger?, choose New location and enter the address, or pick an Existing location.
- On You’re all set, choose what to do next, or tap Go to my location.
- Under Your chargers, check that the charger is listed, then click Continue.
- Complete the Set location and Location settings steps.