
Enphase IQ EV onboarding guide
Last updated:
Your installer needs a login to the Enphase Installer Toolkit app. Add the charger to your own Individual or Organisation Account. Installers: switch into your customer’s account first.
Install and set up the charger
Section titled “Install and set up the charger”- Install and commission the IQ EV Charger with the Enphase Installer Toolkit app. You can add it to an existing site or create a new one. Owners can also commission the charger in the Enphase app after installation: see Enphase’s commissioning guide.
- Set up the charger in the Enphase app with Enphase’s app setup guide: standalone (no Enphase solar or battery) or integrated (with Enphase solar or battery).
Connect the charger to Tap in the Enphase app
Section titled “Connect the charger to Tap in the Enphase app”-
In the Enphase app, go to Menu > Settings > IQ EV Charger > Partner Integration.
-
Select Tap Electric.
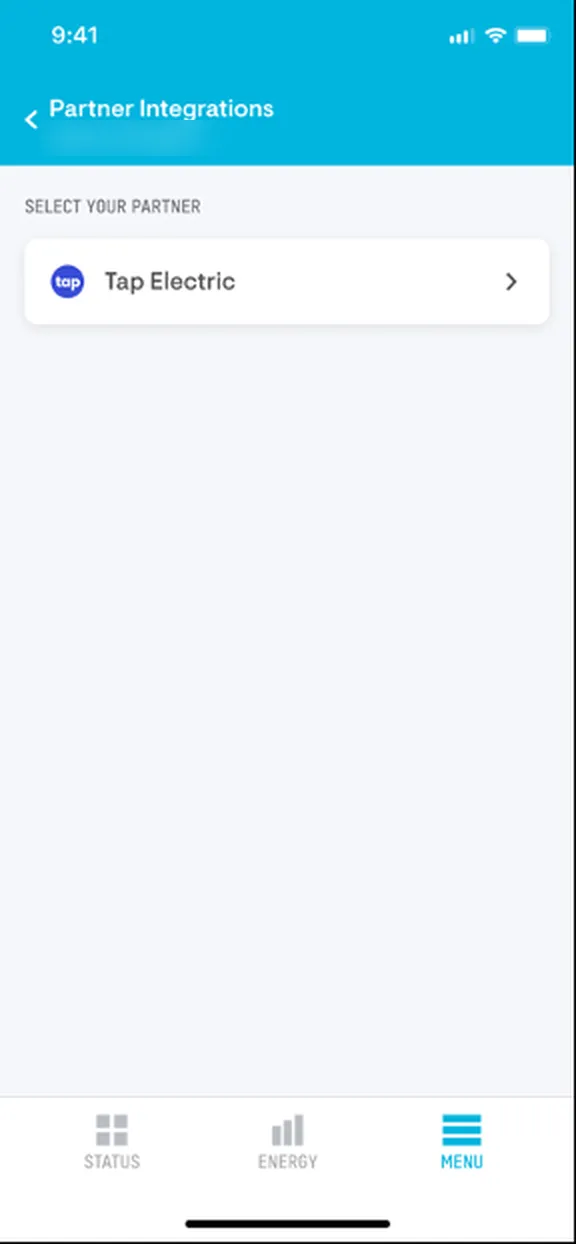
-
Read the details and give consent to let Tap Electric access your charger.
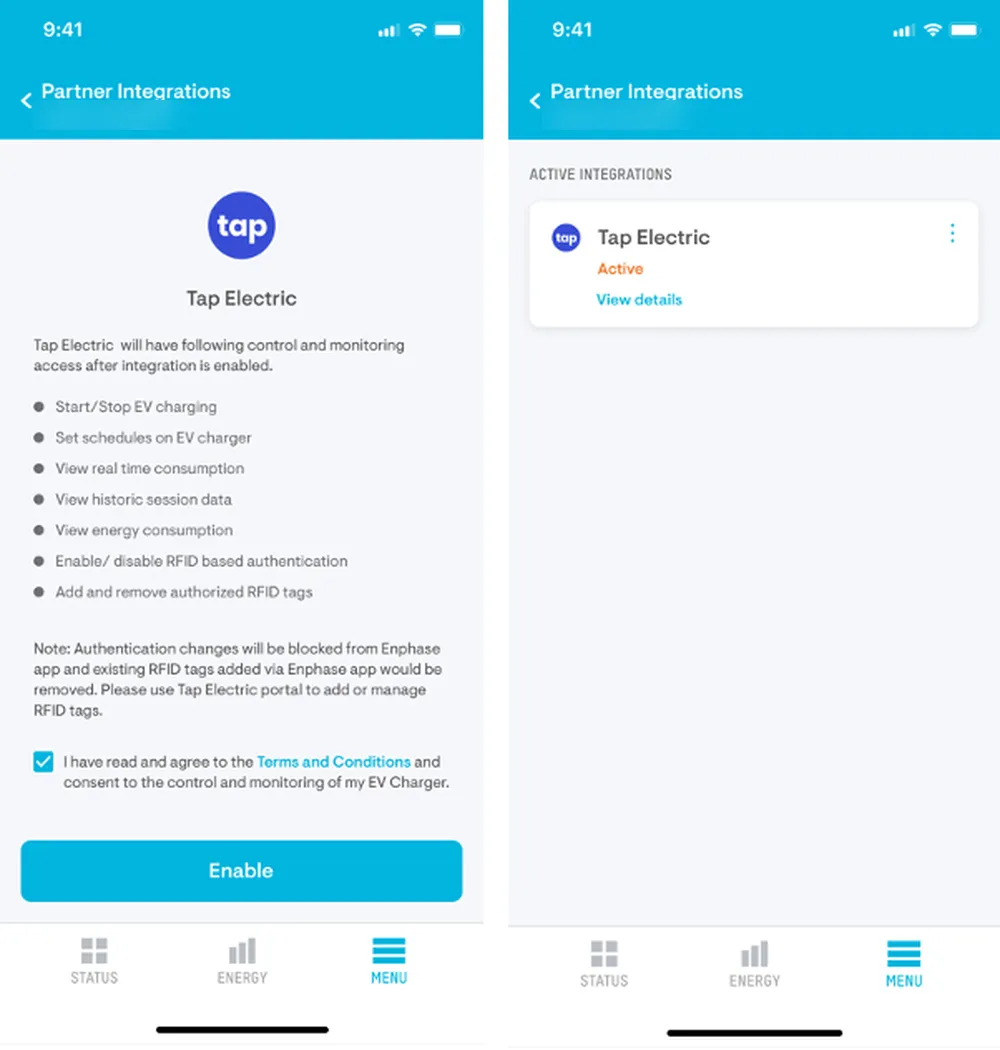
Add the charger in Tap
Section titled “Add the charger in Tap”-
With Manage selected at the top, open your location on the Home tab, tap Chargers, then Connect new chargers. For a new location, tap + below your locations on the Home tab.
-
Search for Enphase and tap Select.
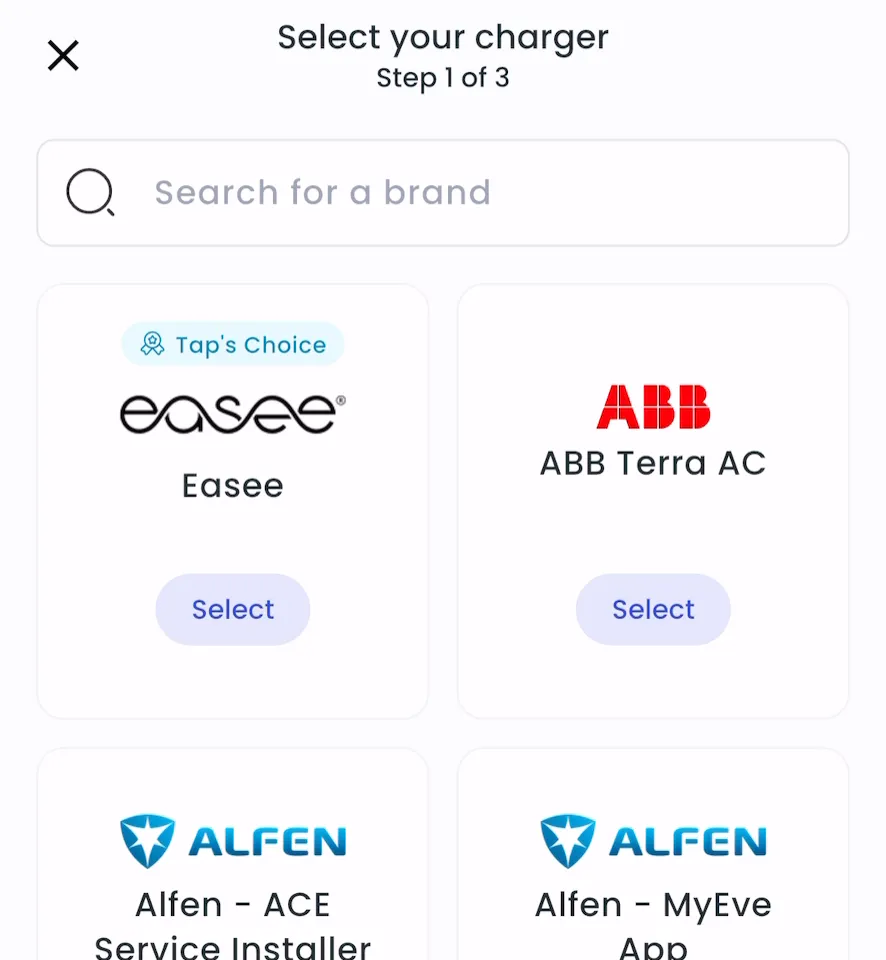
-
Enter the charger’s serial number as the charger ID and tap Add.
-
Locations > Connect new chargers, or click Connect new chargers on a location page.
-
Under Choose your charger brand, search for Enphase and click it.
-
Under Charger ID, enter the charger’s serial number and click + Add.
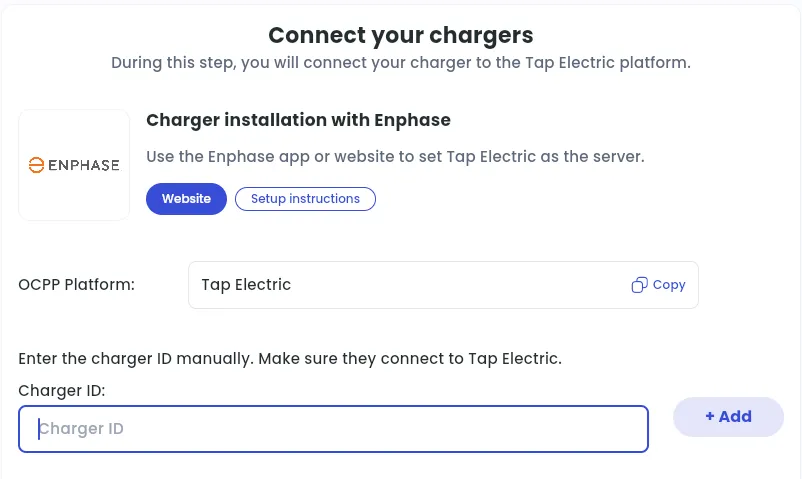
After a minute, the charger shows up and you can set its location.
Set the location
Section titled “Set the location”- Under Where is the charger?, choose New location and enter the address, or pick an Existing location.
- On You’re all set, choose what to do next, or tap Go to my location.
- Click Continue, then complete the Set location and Location settings steps.