
Enua onboarding guide
Last updated:
You need an account in the Enua Installer app. Add the chargers to your own Individual or Organisation Account. Installers: switch into your customer’s account first.
Set Tap as the operator in the Enua Installer app
Section titled “Set Tap as the operator in the Enua Installer app”-
Open the Enua Installer app and start the installation.
-
At the Charge Point Operator step, select Tap Electric.
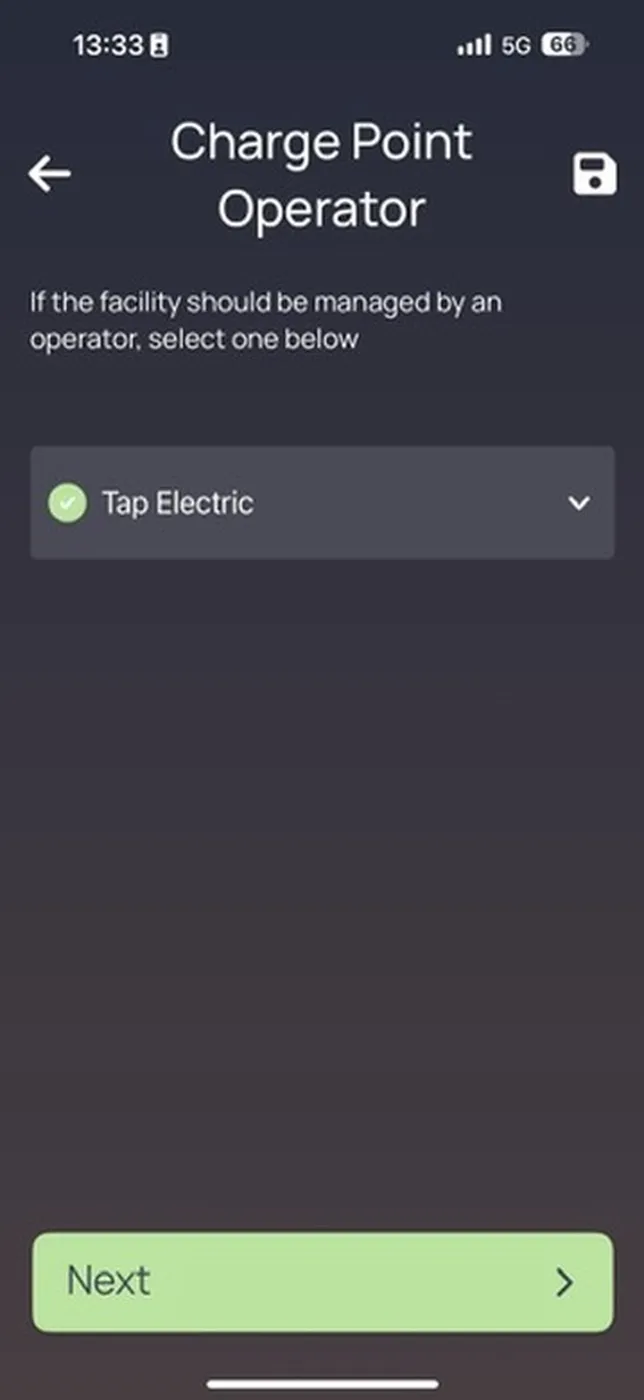
-
Finish the steps and scan all the Enua Wallmounts.
Enua then emails you an overview of each Wallmount with its parking spot and Device ID. By default, the Device ID is the Wallmount’s serial number. When an Enua Charge is plugged into a Wallmount, it connects to Tap automatically.
Add the chargers in Tap
Section titled “Add the chargers in Tap”-
With Manage selected at the top, open your location on the Home tab, tap Chargers, then Connect new chargers. For a new location, tap + below your locations on the Home tab.
-
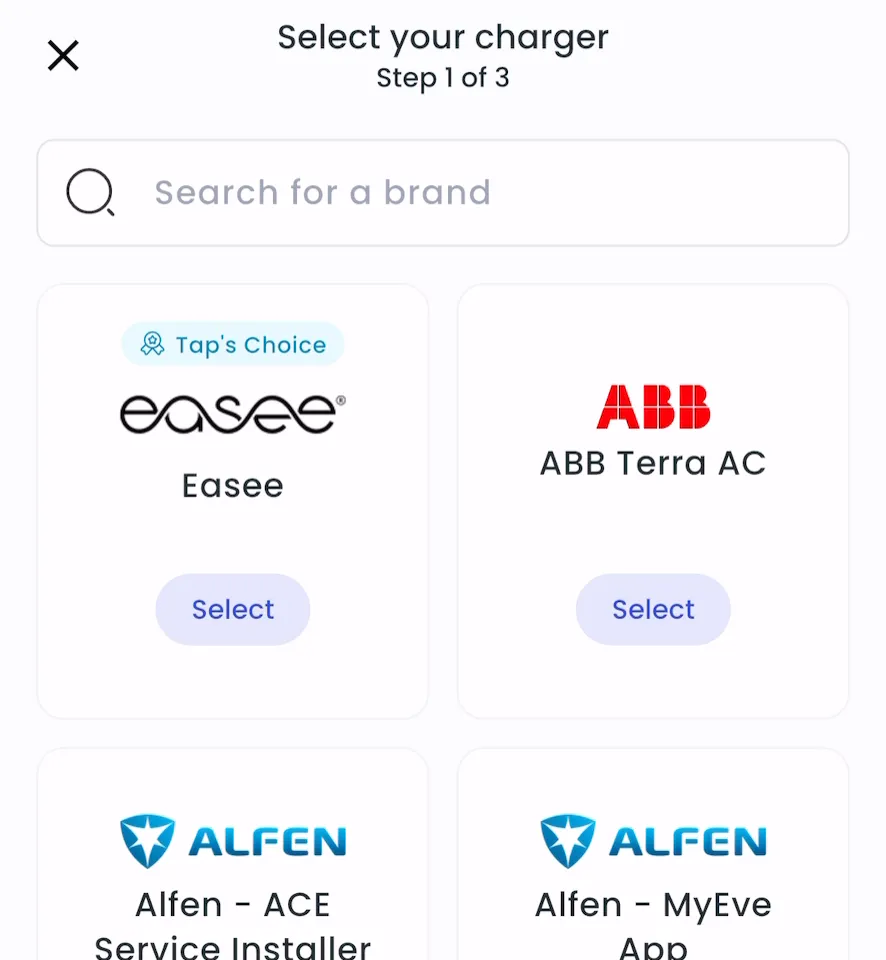
Search for enua and tap Select.
-
Enter the Device ID from Enua’s email and tap Add. Add every Device ID before you continue.
-
Locations > Connect new chargers, or click Connect new chargers on a location page.
-
Under Choose your charger brand, search for enua and click it.
-
Under Charger ID, enter the Device ID from Enua’s email and click + Add. Add every Device ID before you continue.
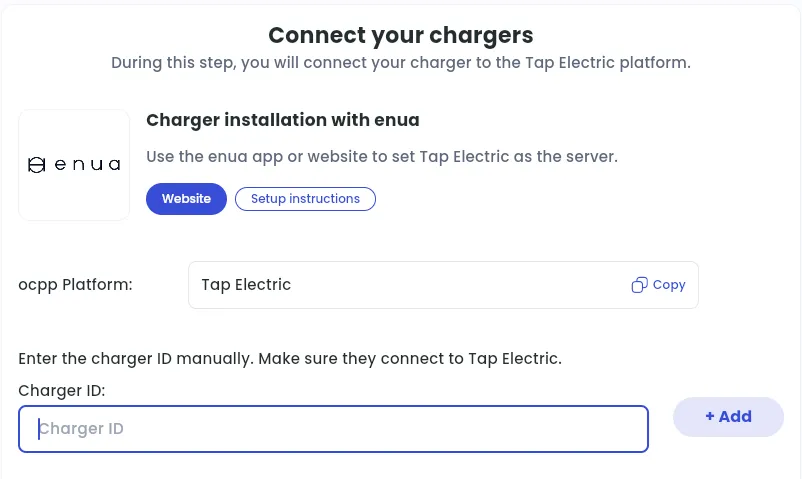
After a minute, the chargers show up and you can set their location.
Set the location
Section titled “Set the location”- Under Where is the charger?, choose New location and enter the address, or pick an Existing location.
- On You’re all set, choose what to do next, or tap Go to my location.
- Click Continue, then complete the Set location and Location settings steps.